Tag: home remedies

  • Homemade Oven Cleaner Without Baking Soda

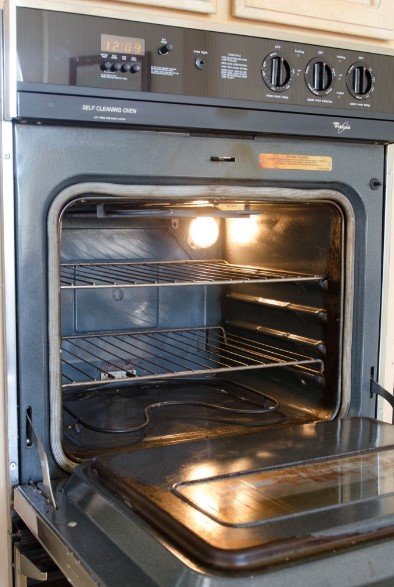
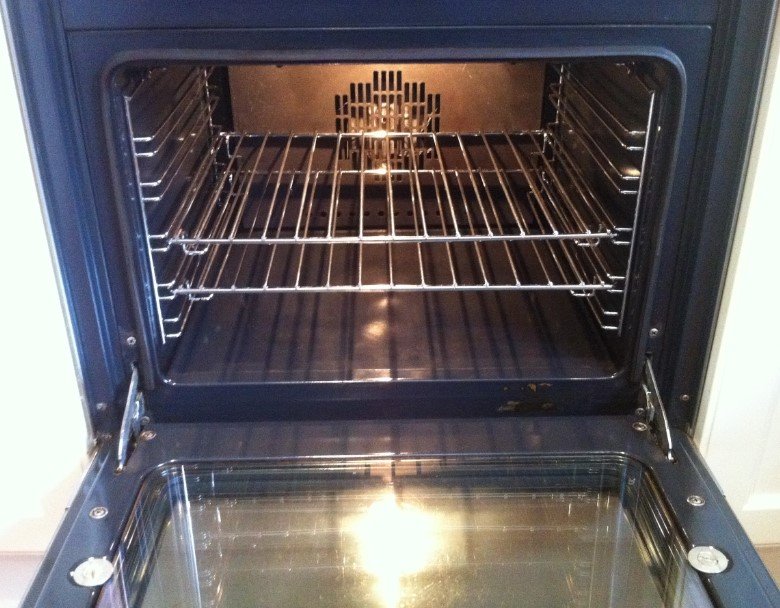
    Why do people love natural oven cleaner? Do you open your oven for cleaning it up and then close it as for later on home chores? Do you frequently think of clearing out your oven but cannot do it due to its visible messy condition? Let’s share homemade oven cleaner without baking soda with you.
    Homemade Oven Cleaner Without Baking Soda

    Well, I will be honest that it has happened with all the people availing oven facilities at their places pretty much repeatedly on daily basis. It can also be blamed for laziness or lethargic behavior but somehow it can also be held responsible towards the time taking and long procedure to make the oven tidy and back to its original looking organized position. Not to mention, but I cannot tell anyone else before that how to clean an oven so I used to put it aside until and unless my oven seems to look downright scary.

    It is not like I never tried to clean it up because I saw the pictures claiming that baking soda and vinegar can act together as natural oven cleaner that would magically dissolve away all the oven grease, I exclaimed wow that’s so easy.

    But unfortunately, it didn’t happen. So again I was standing with a filthy looking oven. Also, it can be said with a bad case of procrastination and it was more than resentment. Good thing was that it was not a condition of all is lost. From that time, I came to know and manage cleaning of the oven without using chemicals and hopefully with finger crossed it would also assist someone else in the same similar pinch.
    Homemade Oven Cleaner Without Baking Soda

    Here one question arises, whether to scrub or not to scrub? When it comes to the real world of doing that dirty work, reality tells that we need some elbow grease. I avoid cleaning but especially detest scrubbing. Some heavy usage of chemicals claims to clean without it, but the problem arises that firstly that these type of chemicals don’t always work and if it works well then also it’s not worth the risk I can take to do it.

    Homemade Oven Cleaner Without Baking Soda

    During the struggle of finding out how to clean the oven without baking soda, vinegar all that of other presumed chemical techniques, I have found some important keys to doing it in a very convenient, easy and least complicated manner. Here is what you need to do and follow some of the trouble-free steps:

    1.Doing the Right Preparation

    You will have to realize that it is not a spray and wipe it out the job. It requires some preparation to be done.
    You have to soak the grime for almost overnight. An overnight soaking will be most likely your best step especially when you have years of grease in your oven.

    2.Choosing the Right Tools

    It is always seen and suggested that perfect picking up of tools can turn oven cleaning into a relatively much unproblematic task. Some of the most commonly used tools for oven cleaning to have on hand are:

    • .Stainless steel scouring pads: For scrubbing so to make it easy for you and not to make it hard.
    • A good pair of cleaning gloves: For securing your fingers and nails and not making it greasy as your oven.
    • A few pieces of microfiber wash clothes to wipe out the grease. You can also use the paper towels if you want easier disposal as I am also not a big paper towel fan unless there is something really big to wrap it up.

    3.The Right Selection of Cleaner

    As already said above that vinegar and baking soda didn’t cut it all for my oven, then also I was not ready to quit and give up finding a natural oven cleaner that actually worked out. That was so-called green natural cleaner. I really worked out because all I have done above was the right and appropriate method to clean it up. A simple choosing of oven cleaner will also surprise you and will make you impress.

    4.Get Scrubbing

    Need to get to work, use your scouring pads to get the bulk of grime stick on to your oven and also the steel brush will now take care of your grease in the corners.
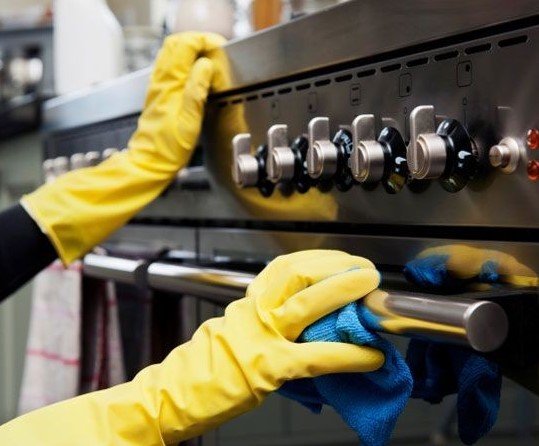
    Get Scrubbing

    5.Wipe it Down as Needed

    Now, all that melted stains and dirt should be wiped out so to know what still left to be cleaned. Wipe the excess off with the wash cloths. Rinse it out with warm water and if required again, get on the scrubbing. Repeat it if desired again. Scrub any remaining tough spots. Give your oven a last and then have a full and final wipe down.

    I will not say that my oven turned to look branded and unused. But still, after a little scrubbing, it was not in a bad condition that I imagined. Before that cleanup it can be said it totally turned around. I am not claiming that my oven seems brand new because it’s not a fairytale. One thing for I can say is that I just wanted a clean oven and that I actually had.

  • How to Clean Stove Top Burners

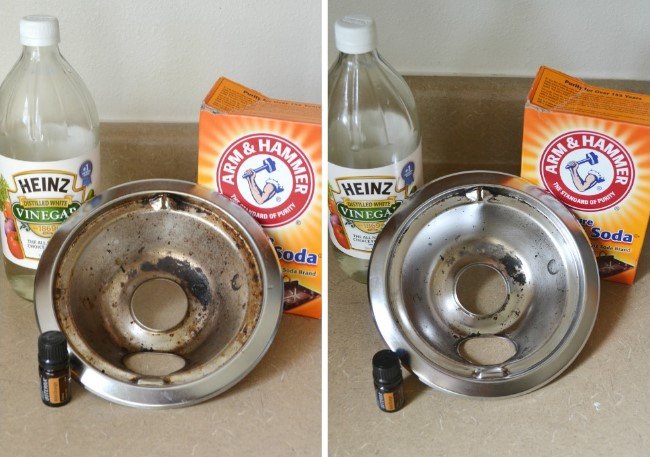
    In any of the kitchen, the toughest and the hardest cleaning job are cleaning the stove top burners. Over and over again food, filth, and grime get burned on the stove top burners. Sometimes it’s really hard to scrub on such kind of materials and material also resist against scrubbing. Your cooking is surely affected by the build up grease and food particles on the stove top burners. Stove’s efficiency will get increase and heat equally distributes if your burner is clean. So., the question is how to clean stove top burners?

    How to Clean Stove Top Burners

    How to Clean Stove Top Burners

    How to Clean Stove Top Burners

    You can clean your stove top burner by using some specific methods and products. But it depends on how you clean stove top burners. Some of the materials can easily be removed, in case if you clean the stove top burners on a weekly or on the daily basis. But if it takes long to clean them, then, for deep cleaning proper procedure is required to remove the stubborn grease, grime, and food. Here are some very effective ways to clean stove top burners.

    How to Clean Stove Top Burners

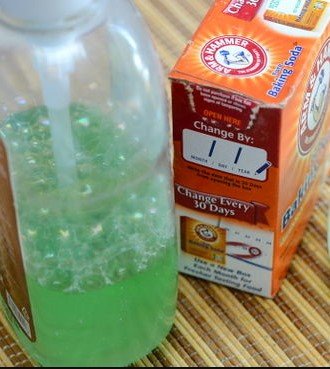
    How to Clean Stove Top Burners by using Dish Soap and Baking Soda

    How to Clean Stove Top Burners by using Dish Soap and Baking Soda

    Things Required

    • Dish soap
    • Baking soda
    • Water
    • Dishrag

    1.In the first step, the stove top burner should be totally cool. After that, remove burners from the top of the stove. Most of the stove burners slide out through a simple jerk and can easily be lifted from the joining point.

    2.Now, you need to use some amount of mild dish soap and a cloth plus water. Then, you have to rinse or wash any of the remaining from the coils of the burner. Make sure that any portion of the electrical connection does not get wet plus do not submerge or sink whichever portion of the burners.

    3.If any of the food remaining or grime are not coming out or loosen down by using a mixture of water and soap. Then, you can use another procedure by making a paste of water and baking soda. After that, put it on the tough and hard spot or stain. Then, allow it to sit for at least 20 minutes. After this, you have to scrub it and wash or rinse the burner.

    4.When you are trying to replace or change the burners, you will have to ensure that burners are totally dry.

    How to Clean Stove Top Burners with Vinegar

    How to Clean Stove Top Burners with Vinegar

    Things Required

    1. Vinegar
    2. Clean cloth

    You can easily remove the grease stains from the stove top burners by using vinegar and it’s for the daily care and maintenance.

    •Spray vinegar on the stove top burners. And then, let it stay for about 10 to 15 minutes.

    •Then use a clean cloth to wipe it down.

    Always remember this procedure is effective for continuing care and maintenance as it stops grease and grime to bake in.

    How to Clean Stove Top Burners by using Baking Soda and Salt

    How to Clean Stove Top Burners by using Baking Soda and Salt

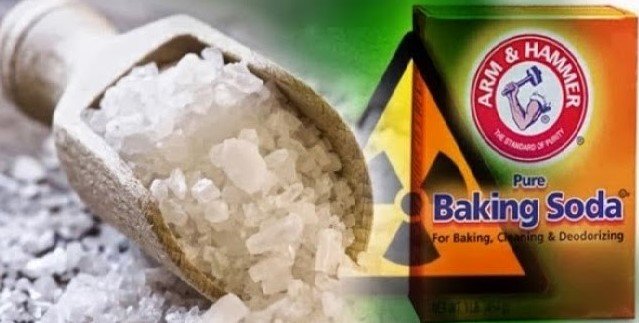
    In this procedure blend one tablespoon of salt along with one tablespoon of baking soda. Then, add some water to make a paste. Now, dip a cloth in the mixture of salt and baking soda and scrub away the gunk, grime, and grease.

    How to Clean Stove Top Burners using Olive Oil or Vegetable oil

    How to Clean Stove Top Burners using Olive Oil or Vegetable oil

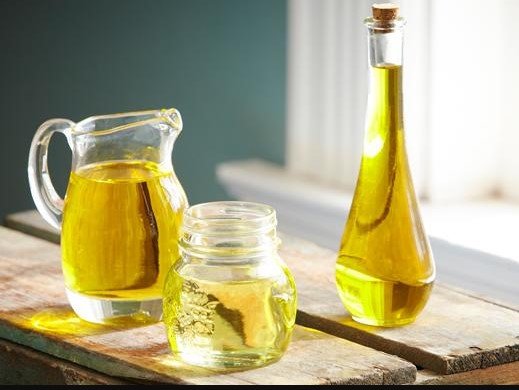
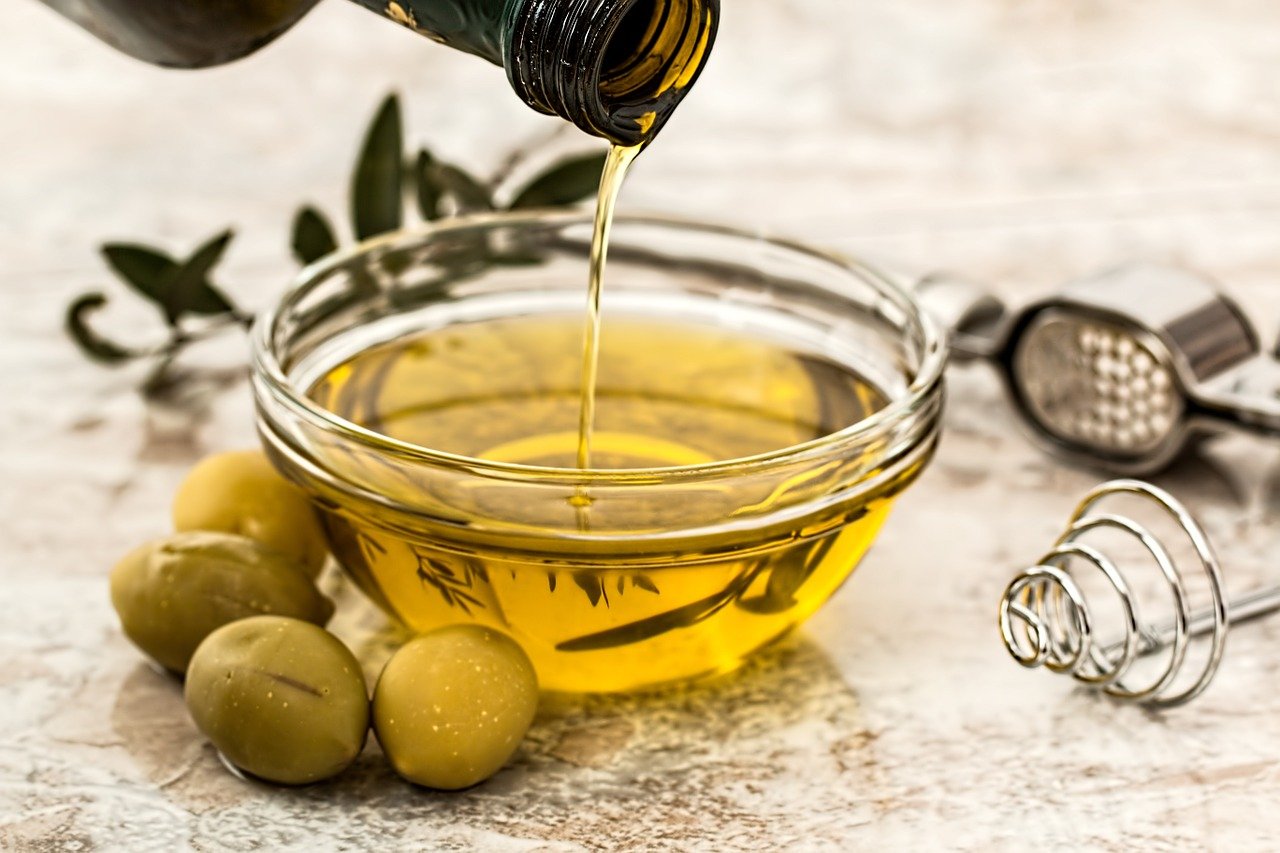
    In this procedure,  pour a little amount of olive oil or vegetable oil on the stove top burner. Then, use a clean cloth and scrub the oil on the grime and grease. At the end, you need to spray it down with the help of multipurpose cleaner.

    How to Clean Stove Top Burners using Baking Soda and Hydrogen Peroxide

    How to Clean Stove Top Burners using Baking Soda and Hydrogen Peroxide

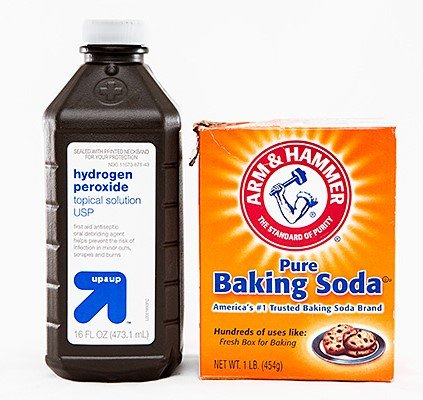
    This is really an effective and a power pack procedure. With this process, you can snub and discard any of the remaining’s on the stove top burner. You just need to sprinkle or scatter the baking soda on the complete surface. Then, you need to drizzle by using peroxide. It will break down all the grime and grease and give the stove top burner a great shine. Just wash it and when the grime and grease are removed, let it dry for a while.

    How to Clean Stove Top Burners using Lemon and Baking Soda

    How to Clean Stove Top Burners using Lemon and Baking Soda

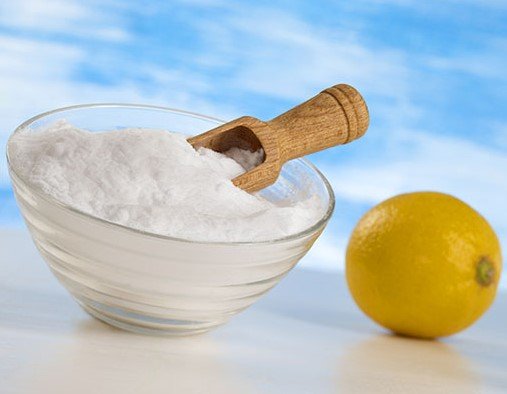
    Lemon consists of natural grease cutting features while the baking soda consists natural antibacterial and antiseptic characteristics. Baked on grease and stains can be removed with the help of baking soda as it is comprised of tremendously fine particles. You just need to scatter some amount of baking soda on the stove top burner. After that, take a lemon slice and rub the surface. Wipe away the area to eradicate any leftover particles of baking soda and pulp of lemon, using a wet cloth.

  • How to Remove Water Stains From Wood

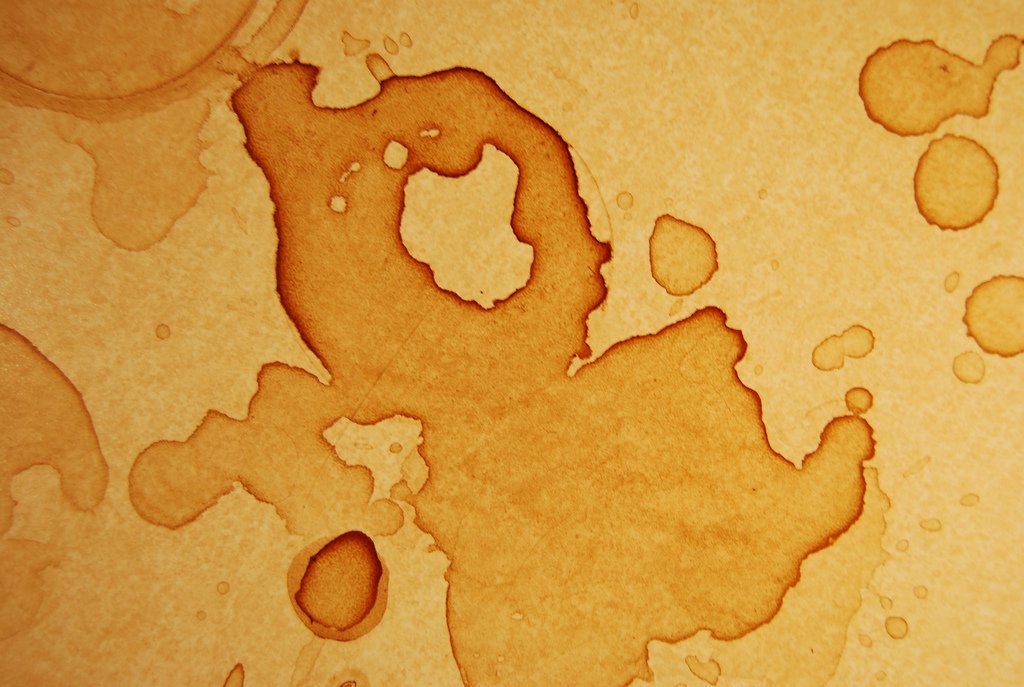
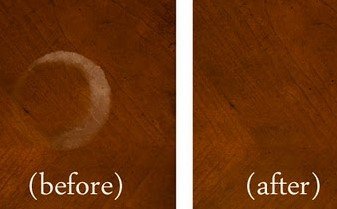
    Different stains remain on wood due to various reasons like steam or liquid. They generally appear in light colored or white. It proves that it is not able to penetrate more deeply and intensely rather than through the polished or waxed surfaces. When the stains become dark then, it basically indicates that liquid penetrates and enters into the finished wood and even it can penetrate through the wood itself. So the question is how to remove water stains from wood.

    how to remove water stains from wood

    How to Remove Water Stains From Wood

    How to Remove Water Stains From Wood

    The most common mixtures and cures that need less money and less time are followings.

    How to Remove Water Stains From Wood with Baking Soda

    How to Remove Water Stains From Wood with Baking Soda
    Most of the white marks on the coffee table and on additional wooden tables are caused by sweating glasses and hot cups. Such marks can be removed by taking one tablespoon of baking soda and one tablespoon of water. Make a paste of the two ingredients. Then you need to softly rub that specific affected area in a circular manner till it vanishes. Always remember there is no need to use much water.

    How to Remove Water Stains From Wood with Petroleum Jelly

    How to Remove Water Stains From Wood with Petroleum Jelly

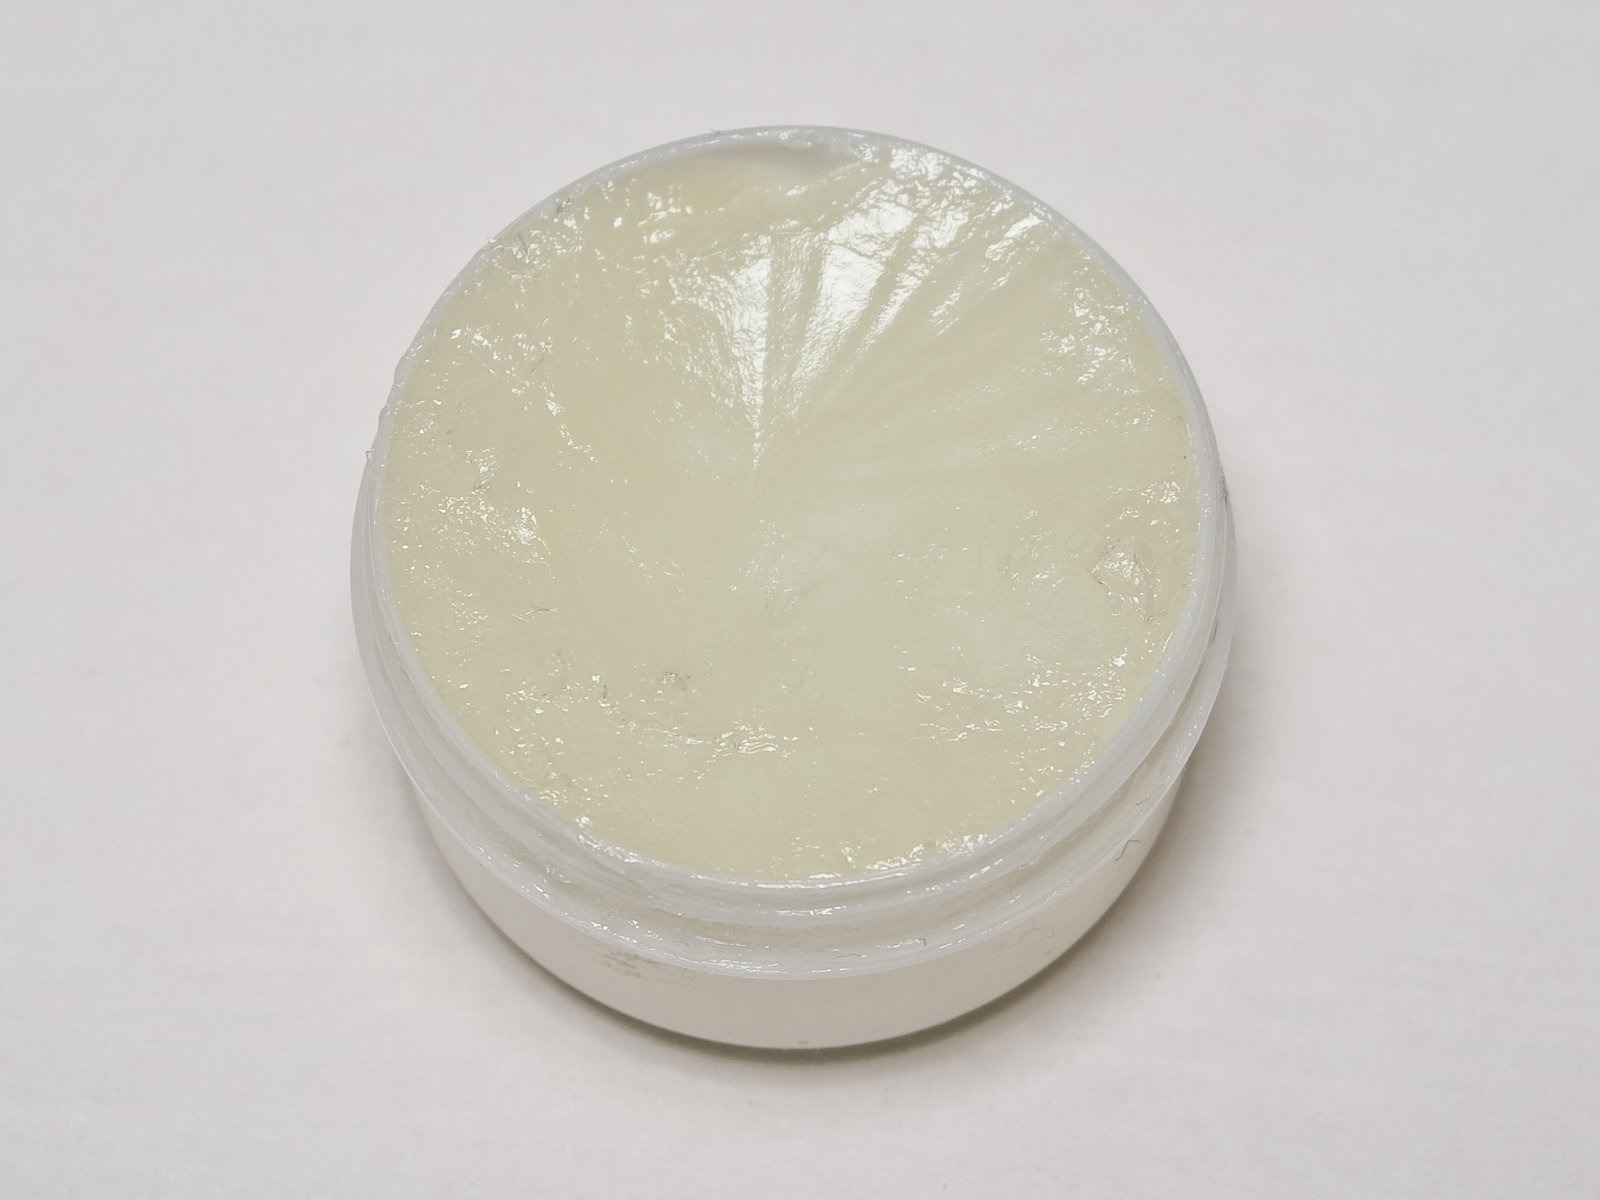
    Many of the watermark rings can be created on the wood furniture due to different reasons. In order to remove all the stains and rings, you need to put on the petroleum jelly and left it all the night. Then, in the next morning, you need to wipe out all the watermark stains with the jelly and with the help of a soft cloth.

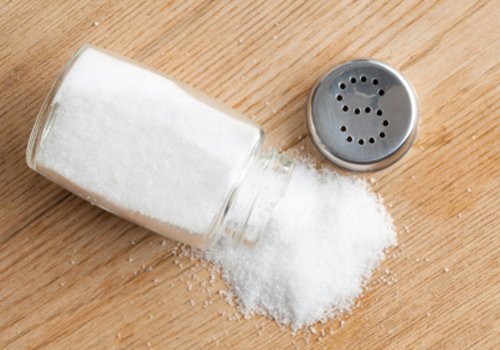
    How to Remove Water Stains From Wood with Salt

    How to Remove Water Stains From Wood with Salt

    Watermark stains that are created with the bottles and glasses can be removed by making a mixture or a paste of one tablespoon of salt and few drops of water. Take a soft cloth or a sponge and softly rub that paste on the watermark rings and rub till all the water stains disappear. It will also reinstate the glow and shine of the wood.

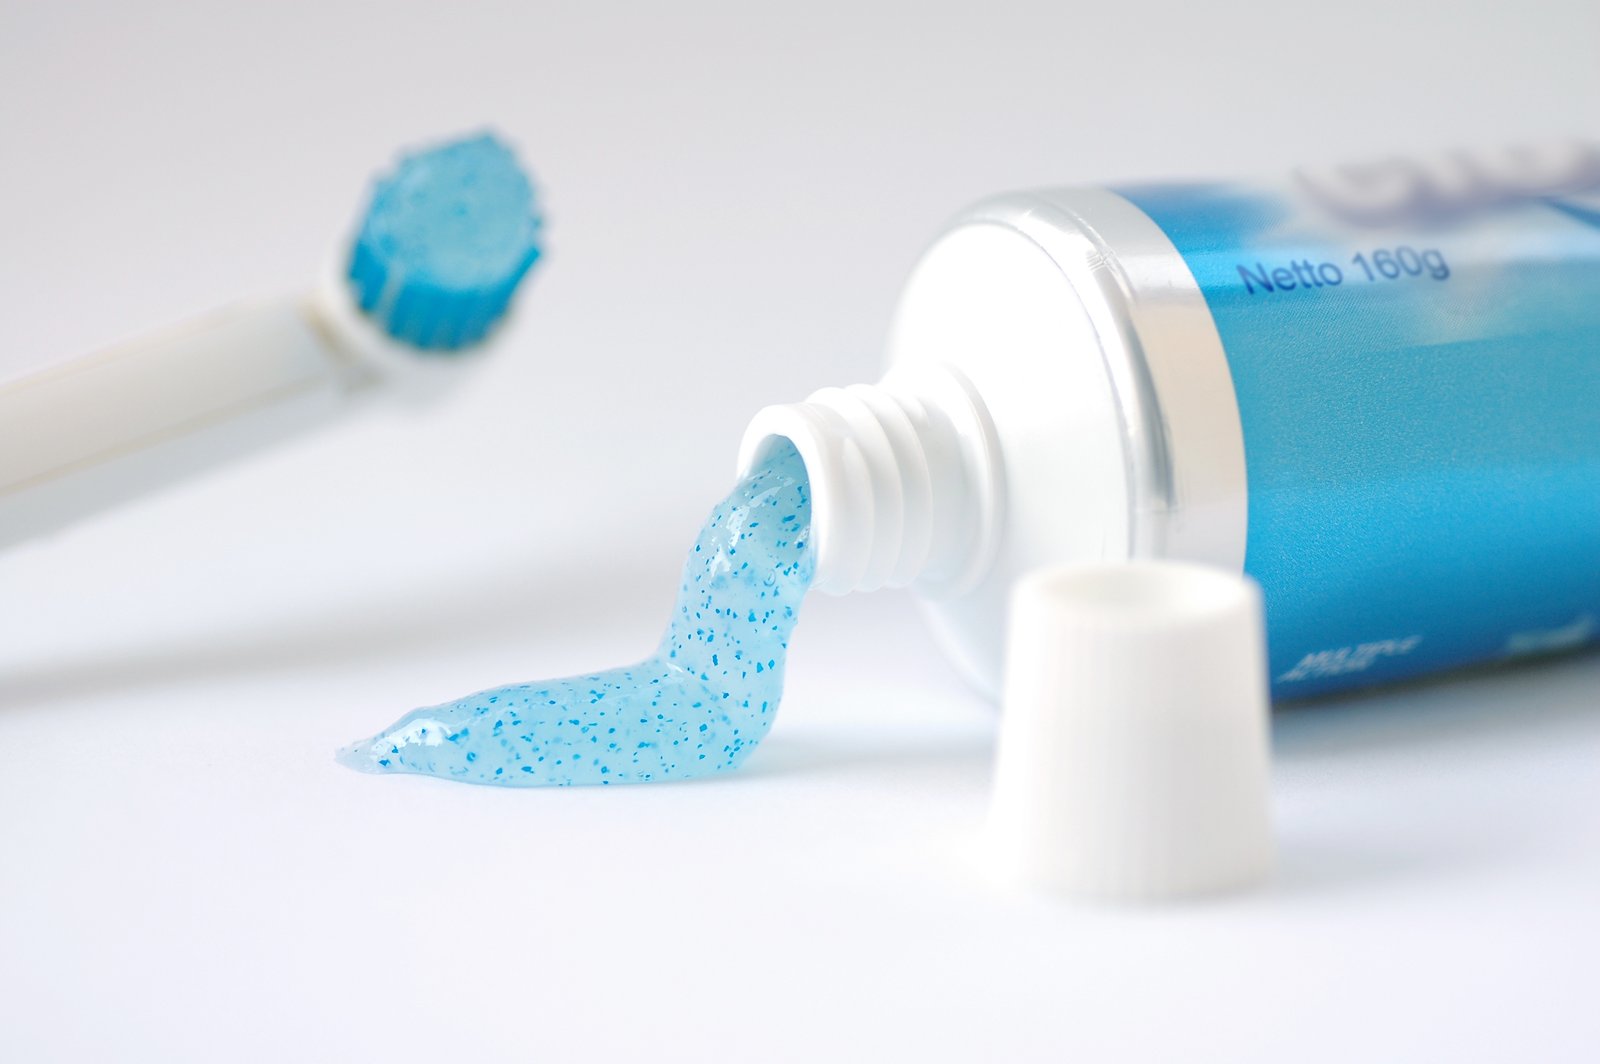
    How to Remove Water Stains From Wood with Toothpaste

    How to Remove Water Stains From Wood with Toothpaste

    To get rid of all the watermark stains and rings created by sweating drinks and beverages, you need to take a soft cloth and a non-gel toothpaste. Apply the non-gel paste on the soft cloth and gently rub that soft cloth on the affected area. After that, take a damp cloth and wipe it off and let it for some time to dry. For better and stronger results, you can mix baking soda with the white toothpaste in equal quantity. Now, you need to rub that mixture in the parallel direction of the wood. Wipe it off and after that polish it with the help of lemon oil.

    How to Remove Water Stains From Wood with Vinegar

    How to Remove Water Stains From Wood with Vinegar

    Wet glasses leave ugly white watermark rings on the wood. In order to remove them, you need to mix olive oil with the vinegar in equal quantity. Take a soft cloth and apply the mixture with that cloth, however, moving through the grains of wood. Take another soft cloth to add extra shine to the wood.

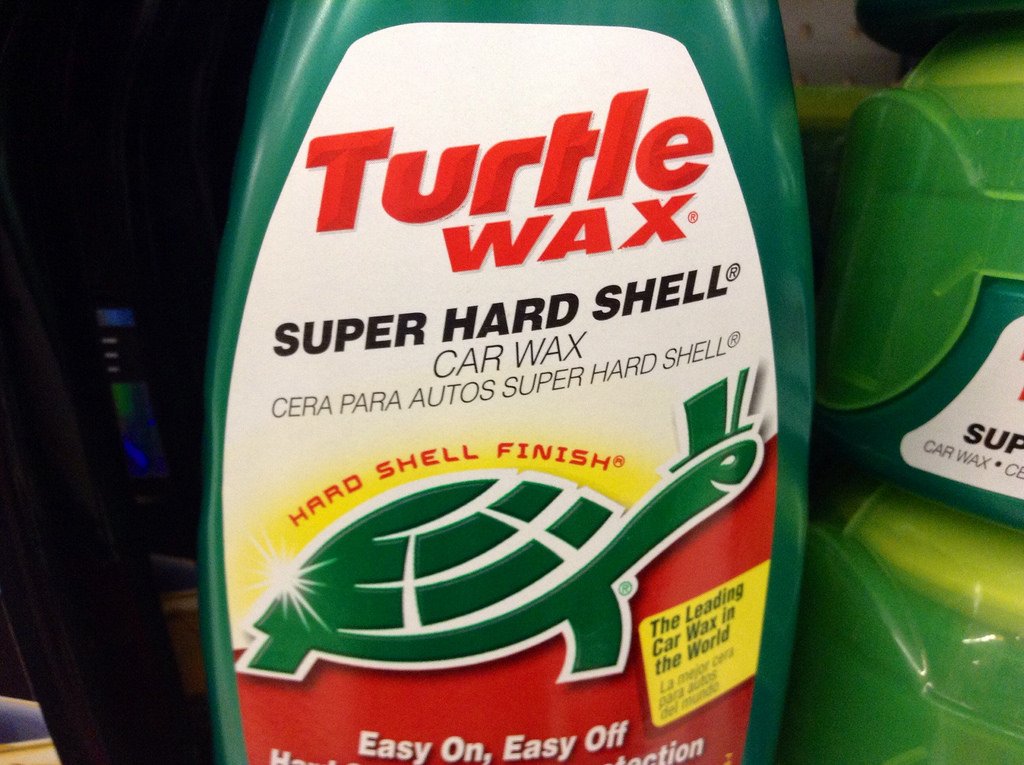
    How to Remove Water Stains From Wood with Car Wax

    How to Remove Water Stains From Wood with Vinegar

    Car wax can also be used to remove the nasty white watermark rings. Whenever regular and normal polish does not work well, then, you can use a dab of car wax. Use your finger to put on the wax in order to trace the ring. Then leave it to dry and after that, use a soft cloth in order to buff it.

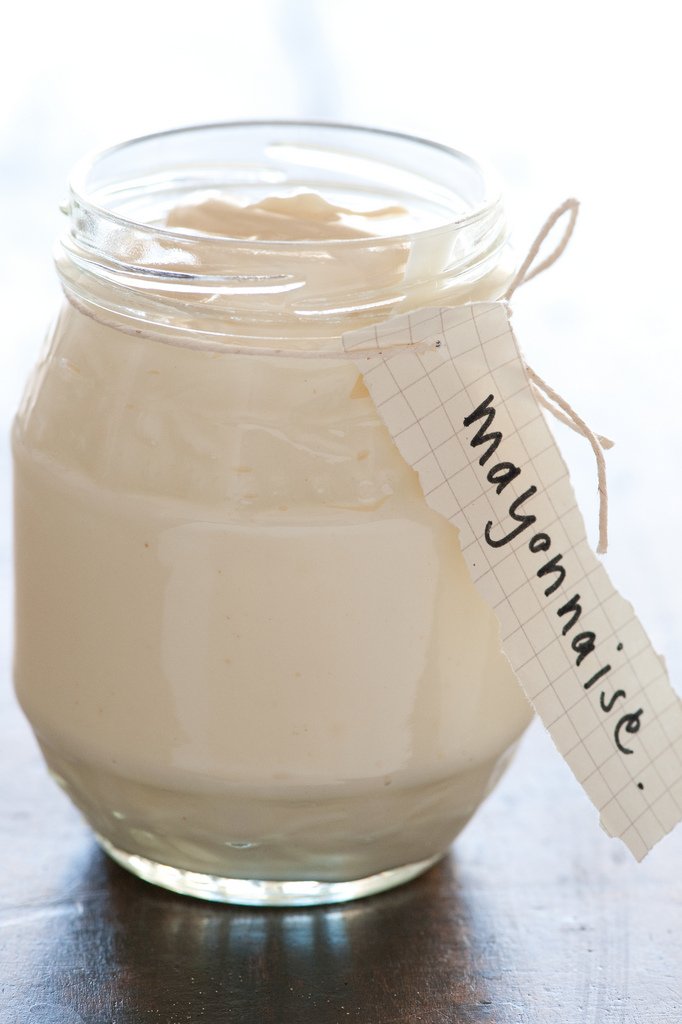
    How to Remove Water Stains From Wood with Mayonnaise

    How to Remove Water Stains From Wood with Mayonnaise

    Watermark stains can also be removed with the help of mayonnaise. You need to put on the mayonnaise onto the watermark stains. Let it sit for the whole night. Next morning, take a thick cotton cloth in order to wipe it away.

    How to Remove Water Stains From Wood with Ashes

    How to Remove Water Stains From Wood with Ashes

    Cigarette ash or cigar ash can be also used to remove the water stains from the wood. These ashes will buff in the watermark stains with the help of a soft cloth.

    How to Remove Water Stains From Wood with Ashes

  • How to Clean Wood Floors Naturally

    Everyone want their wood floors to look glossy, shiny and lovely. Plus, you also want to maintain it properly for a long time. Chemical cleaners are good in order to clean the wood floors. But the problem is that awful and horrible rash that gets when your children sit on the wood floor. Chemical cleaners for the wood floor clean the floor and performs a decent job. On the other hand, it creates a lot of hindrances and difficulties rather than the help. Why not try how to clean wood floors naturally?


    Natural methods can be used in order to clean the wood floor that saves a life. And the majority of the people uses the natural methods for a lot of good reasons. And the natural methods of cleaning the wood floors are the brilliant and perfect alternatives.

    For the cleaning needs and requirements, people are now using the natural techniques in order to clean the wood floors and this is not a surprise. The reason behind this is the dangerous chemicals in it.

    There are many benefits of naturally cleaning the hardwood floors.
    •It is safe and sound for all the people.
    •Also safe and harmless for the environment.
    •It is inexpensive.

    How to Clean Wood Floors Naturally- The Advantages

    Using the natural methods is extremely simple, safe and money saving. Young children and babies can play and sit on the wood floor and there will be no fear of getting sick of the children. Natural methods will not develop any kind of allergic reactions after contacting with it. The natural cleaners are also beneficial for the adults in the same way.

    How to Clean Wood Floors Naturally- The Advantages

    In order to benefit the atmosphere and the environment, cleaning the wood floors with the natural methods is the best way. As the chemical cleaners consist of toxic, contaminated and poisonous fumes that pollute the air in your home twice as compared to outside. After using the natural cleaners, you are not going to use these chemical cleaners and will not even breathe in it.

    How to Clean Wood Floors Naturally

    Natural cleaners are inexpensive and low prices as compared to chemical cleaners. You can make natural cleaners by using different fruits as well as different ingredients around the home. And these natural cleaners will give your wood floor a glossy and sleek shine that you actually love. The most common ingredients are baking soda, tea, olive oil and lemon juice.

    How to Clean Wood Floors Naturally with White Vinegar

    How to Clean Wood Floors Naturally with White Vinegar

    White vinegar is actually a versatile, multipurpose as well as a natural polish that is appropriate and fit for cleaning as well as shining the wood floors. You can dilute the white vinegar with the water and after that, it can be applied with the help of sponge or scrubber. You can also mix the white vinegar with the olive oil or vegetable. In any kind of way you can use it, and it will polish your wood floor as well as provides it with the natural gloss and shine.

    How to Clean Wood Floors Naturally with Lemon Juice

    How to Clean Wood Floors Naturally with Lemon Juice

    Another natural, adaptable cleaner, as well as the polish that can be used to clean the wood floors, is lemon juice. You need to mix it with the water, it will clean your wood floors comprehensively as well as give the floor with the natural and lemony aroma. You can mix it with the white vinegar as well and it will work as a natural and an effective polish.

    How to Clean Wood Floors Naturally with Olive Oil

    How to Clean Wood Floors Naturally with Olive Oil

    Mixing water with the olive oil will make a wonderful and an excellent natural cleaning agent. You can also add a little white vinegar and that will restore and turns the natural shine and gloss of your wood floor.

    How to Clean Wood Floors Naturally with Tea

    How to Clean Wood Floors Naturally with Tea

    Tea is the best, most functional and effective cleaning product. You can mix a few bags of tea along with the water and this natural cleaner will thoroughly clean the floor. And its acids will help to lift up the dirt and grime out of the grooves which are difficult to clean.

    If the scuff marks, as well as the scratches, are affecting the shine and gloss of your floor, you can be able to restore its gloss and shine by sprinkling a bit of the baking soda on the wood floor.

    Following are some of the mixtures that will go to work as a natural and effective polish.

    •Take 1/4 cup of lemon as well as one gallon of water.
    •1 cup of white vinegar as well as one cup of vegetable oil.
    •Take 2 cups of water and two cups of white vinegar.
    •Take 1 cup of lemon juice.

    Final Words

    Your room should be emptied and thoroughly swept, in order to begin the shine on our floor. The wood floors that cannot be able to sweep, never ever make an attempt to shine that wood floors. As this process procedure will leave the scuff and scratch marks.

    Put on the natural polish. You need to work backward from one of the corners of the room in the direction of the door. Thus, you will not step over whichever already refined and polished floor. You need to use the sponge in order to buff all the sections. In order to polish the wood floors naturally is beneficial, valuable and above all, easy. So, today, bring a positive and progressive change to natural polishing and cleaning.

  • How to Distress Furniture with Vinegar

    Distressing furniture or an object could be the great idea for your newly built home. As modern homes have vintage crafts and accent pieces located in different spaces. What does vintage yet industrial-looking furniture mean to? That word represents the creativity which you have shown by distressing different this age furniture pieces and turned them into an industrial yet old age. Here are some techniques for how to distress furniture with vinegar.

    How to Distress furniture with Vinegar

    Distressing is a way of peeling off painted and polished wood with different techniques and providing it retro French look. You can also distress your furniture with vinegar if you are a home creative person. There are more than one techniques for distressing furniture. However, we are here to learn to distress furniture at home with readily available ingredients and tools.

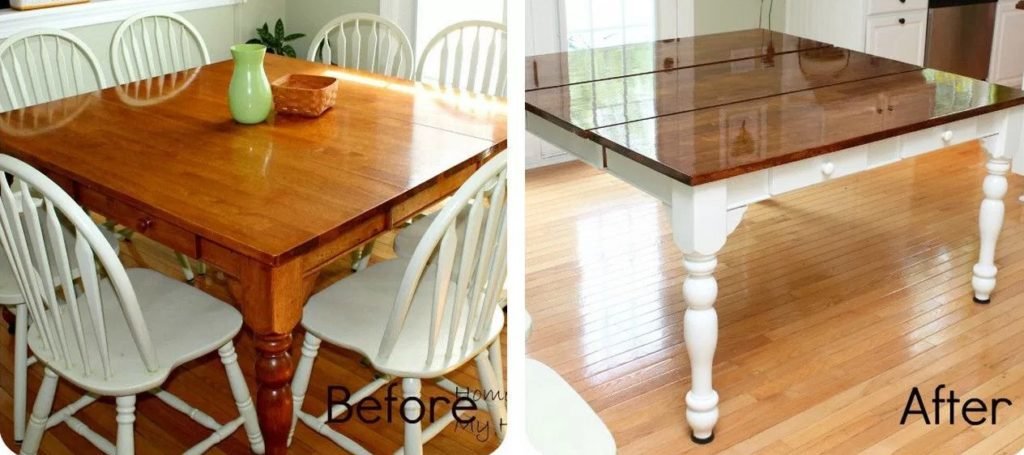
    The purpose behind distressing the furniture is to give weathered look to new modern pieces. This can be performed at home by using different worn looking techniques. This process is intentional and can present any wooden furniture into a worn and vintage looking texture with the help of sandpaper and paint sprinter.

    How to Distress Furniture with Vinegar

    How to Distress Furniture with Vinegar

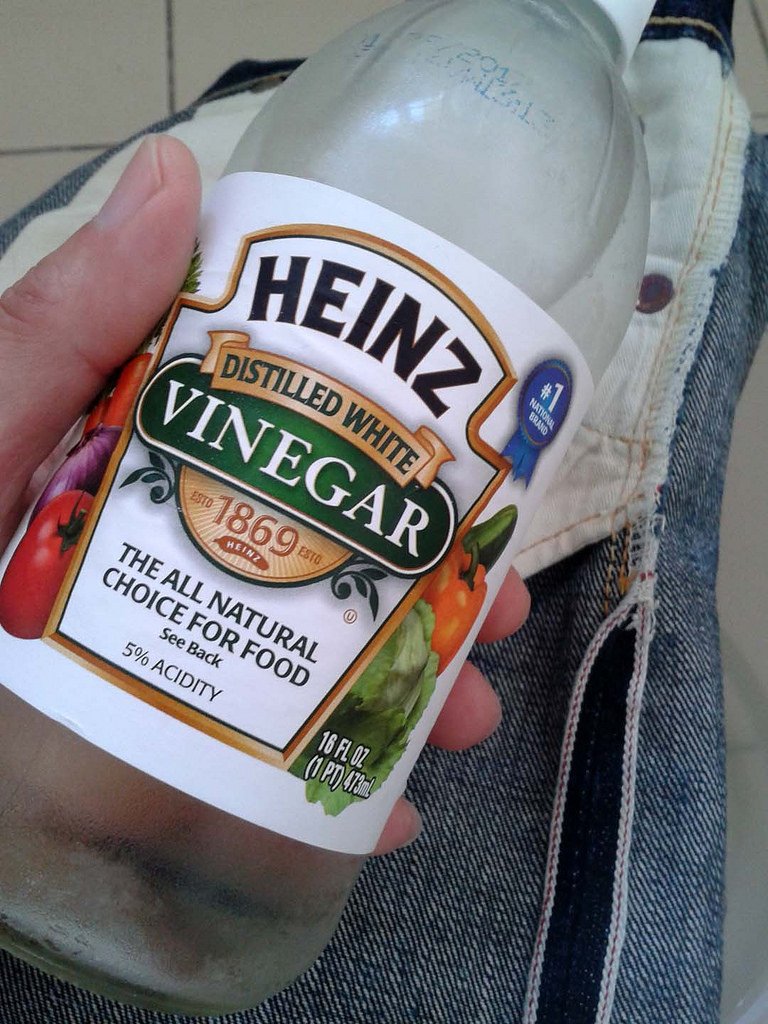
    This process is one of the common technique used to give imperfect look to your furniture. Just like denim, furniture needs some ripped color off for queuing up in the modern furniture.

    Clean it up

    Brush off the dirt on your furniture before starting operation. Wiping of dirt is important so that it won’t flow within the paint application and got black scars on the furniture. You can also use a blower if your furniture is old and or if new, you can simply dust it off with a rag cloth.

    Power Sander

    This step is important as it needs to refine the surface of your furniture and it fixes the initial layer of your item. It usually works to lose the effect of polyurethane finish on the uppermost layer of the wood and reach almost every corner of the furniture where a normal sander hardly can reach.

    Apply Paint

    It is important to know before you attempt to paint. If you never did this before, you must know the method to paint your wooden furniture. as we usually see varnish and polishes on the wood but hardly see paint on them.

    You can choose pastels and bright colors as per recent distressed furniture trends snapped in the magazines. We would like you to experiment this process on spare small wooden items in your home or you simply choose a wooden fruit basket before getting your hands on the big furniture item.

    Apply one coat of paint and let it dry for an hour or two depending on the weather conditions. If the weather is favorable cold or humid, it will take more than two hours to get absorbed. Remember, keep the brush direction straight and avoid round or random movements. Once the first coat gets dried, apply the second coat of your choice which you want to tear it off and show. If the color of the wood is dark and you are a using light color to distress, you might apply two or three coats of paint to bring the natural color effect.

    Add vinegar in dash of water

    Never go straight to vinegar, add a dash of water and make it a mixture. You can use any vinegar type (synthetic and apple cider) for this purpose. Take a ragged piece of cloth and dip into that mixture. Make sure the cloth don’t drip just to wet it is the main goal. Start rubbing gently in the straight movement right according to the direction of the paint. It will start fading and turning off the actual color of paint.

    Add vinegar in dash of water

    Apply this to the extent which you want to keep it. Don’t go so harsh so that it would look awful and distressed in a bad way.

    To Seal this look with Polyurethane

    If you want to seal this look and don’t want it distressed more with physical wear and tear, you can use Polyurethane to lock this look for a long haul. This might be the final step of distressing the furniture with the vinegar method. This application will provide a matte yet glossy finish to the surface of your furniture. Using a foam brush will beautify its entire appearance.

    Is using vinegar on wood safe?

    Using vinegar with water is safe to distress any wooden furniture. Vinegar can also be used to give imperfection to the wood color. Do not use vinegar on hardwood furniture and floor directly for cleaning purpose as it leave bleach spots. It can only be used to distress wooden furniture.

    Is using vinegar on wood safe?

    Regardless of whether flipping through stylistic theme mags or looking at prevalent sticks on Pinterest, you will discover distressed wood becoming the focal point all over print and electronic fashion even in DIY. One reason is that worn wood fit well with many styles of embellishing from Scandinavian and Bohemian style to Cottage and Vintage chic. The motivation is interminable as well.

    Distressing wooden furniture also refers to a french interior design concept. As in Paris, we have seen different restaurants cafes, hotels and even homes have a touch of distressed wooden pieces. Actually, the concept of this design has been introduced by the French interior designer. We also know that France is the central hub of origin f every new fashion and style. If you are ready to distress your furniture you must feel that Paris is nowhere but your home.This furniture type suits best with the rustic, industrial, retro, vintage and Scandinavian concept of the interior.

  • How to Clean Sticky Iron Plate

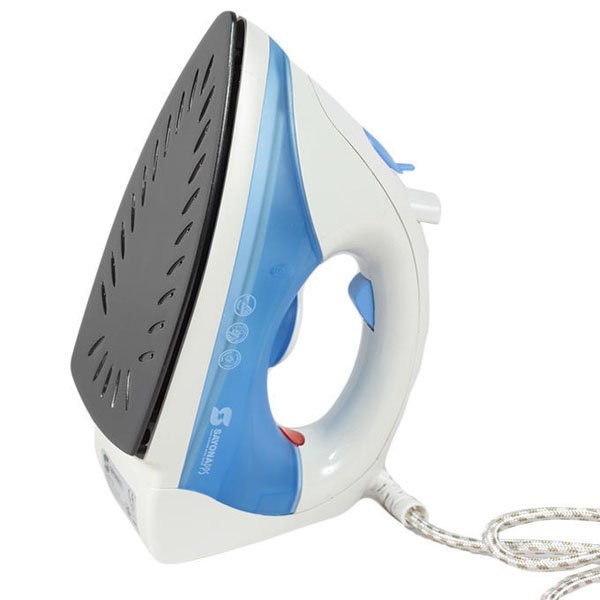
    The sticky iron plate is a serious trouble if you are an office going person. Because you need to press your clothes every morning and one simply can’t afford a sticky iron plate. Most of us, starch sprays on our clothes which often cause stains and sticky material on the plate of an iron. You can easily get rid of this problem if you clean your iron plate sole regularly. Without bothering this problem anymore, we have discussed below that how to clean sticky iron plate by using different cleaning techniques.There are different methods involved in wiping off sticky material from the iron plate. Find out home remedies for the best results.

    How to Clean Sticky Iron Plate

    How to Clean Sticky Iron Plate
    Precautionary Measures

    Before you start the cleaning process, make sure you have unplugged every connection of your iron and set it cool if used recently. Iron is hot while using so it is important you set it completely cool before you start this process. Water and electricity has a terrible relation and turns into horrible and deadly outcomes. Precautionary measures need to be applied strictly.

    Remove Sticky or Burned Material First

    Before you land for the cleaning process remove sticky material from the bottom of the iron with the help of tweezer. If you failed to remove every piece from the iron plate, it will not work properly as it should be. Take care to remove all the material and then clean the scorched iron with one of the following techniques.

    How to Clean Sticky Iron Plate With Hydrogen Peroxide

    How to Clean Sticky Iron Plate With Hydrogen Peroxide

    Usually, this strategy used best to clean the sticky iron plate. The process is simple and can be performed easily. You need to dump your rag cloth in hydrogen peroxide and spread it on the affected area of the iron. Let it stay for 15 to 20 minutes until stain marks remove completely.

    How to Clean Sticky Iron Plate With Vinegar mix

    Vinegar has always been a magical mix to clean almost every residue and grime from different items. This ingredient has a bleaching agent which is helpful to simply clean bowled the stains and different sorted marks. For cleaning sticky iron plate, you will need vinegar and water mix, the amount of vinegar must be quite more than a water so that it affect better.

    How to Clean Sticky Iron Plate With Vinegar mix

    Make a mix and damp a rag cloth in it and simply rub that cloth on the surface of the iron plate. You can apply force wherever necessary. If the stains and the sticky material is stubborn and hard to remove with rag cloth, steel wool works as a substitute and can remove all the unnecessary material from the iron.

    How to Clean Sticky Iron Plate With Glue Remover – Xylene Based

    To get rid of gluey material from your iron plate, it is best you go professional. Glue removers are accessible in different supermarkets and are the best remedy to overcome this problem. Use it as per product’s guide and follow the instructions accordingly. This is quite toxic and highly flammable so it is better you handle it carefully for the stubborn stains.

    How to Clean Sticky Iron Plate With Toothpaste

    How to Clean Sticky Iron Plate With Toothpaste

    Toothpaste is another great source of letting hard stains down and vanish forever. This product has also cleaning agents in it which removes bacteria and stains from the item just like it performs on teeth. Take a strong toothpaste and a brush, make sure the iron plate is cold enough and cause any harm. Apply toothpaste on the affected zone and brush it all over the plate and let it stay for 10- 15 minutes until the stains are removed and sticky material pulled off. Now wipe it off with a help of the newspaper and apply wherever is necessary.

    How to Clean Sticky Iron Plate With Clothing Detergent

    How to Clean Sticky Iron Plate With Clothing Detergent

    If your iron has a nonstick soleplate, then you have the choice of cleaning the imprints with somewhat liquid detergent. Just include a drop or two of cleaner in a little bowl with warm water. Next, plunge a colorless fabric into the arrangement and scour the sole plate. At long last, dry the base of the iron with a towel before using the iron.

    How to Clean Sticky Iron Plate With Dish Soap

    How to Clean Sticky Iron Plate With Dish Soap

    if you are using steam based iron, you may experience troublesome as stains and sticky material usually blocks the vents. To overcome this problem, mix water, and some mild dish cleanser, for example, Ivory, to make a foamy blend. Dunk cotton swabs into the cleaning mix and rub on the burned sole plate and in the filthy vents. Once the stains are gone, utilize a spotless fabric to dry the iron.

    Precaution is the Key

    Preceding trying different things with any of the previously mentioned cleaning procedures, it is a smart thought to peruse the iron’s manufacturer’s manual first. The maker may have extra tips on the best way to expel singe marks. Moreover, the guidelines may likewise highlight a list of the cleaning process and its tools that are not prescribed for use on your iron.

    Precaution is the Key

    One of the ideal approaches to dodge the cleaning process of your iron is to never turn it on and abandon it unattended. Not understanding how hot an iron is the point at which you press the garments, clothes or different materials is a certain heat temperature to inadvertently sing a sole plate. Additionally, to keep your iron fit as a fiddle, make certain to clean it all the time to keep materials from working up and stopping up vents. Try not to go for off the racks cleaner instead make home remedies possible first for natural results.

  • Carpet Cleaning Hacks

    Carpets are amongst the most used things in our homes. Their elegant appearance adds a lot to the beauty of the house. But they need to be properly cleaned for good appearance and performance. Here are best carpet cleaning hacks that will help you to keep your carpet clean and also improve their lifetime.

    Carpet Cleaning Hacks

    Carpet Cleaning Hacks

    1.Remove Furniture Indentations or Holes with an Ice Cube

    You have surely noticed while reorganizing your furniture that some of the indentations and holes are left behind in the rugs or carpets. You can bring carpet back to life and you can also get rid of such kind of holes and indentations. Just place a single piece of an ice cube in a hole or indentations and let it melt.

    Remove Furniture Indentations or Holes with an Ice Cube

    When the ice cube melts, use your fingers to brush the fibers of the carpet. Don’t use a scrub brush as it can be extremely harmful, damaging and abrasive for your carpet. When the carpet is totally dry, then vacuum and clean the dry area. So, no need to worry about changing the spot of the furniture. Make sure not to drag your furniture across the carpet as it may cause ripples.

    2.Roll up Your Rug to Prevent Color Change

    You should be aware of the fact that if you are using a hardwood flooring so it is constantly going through the color transformation. The natural wood floor’s color will continually be changed if it is constantly exposed to air pollutants, ultraviolet rays, traffic and direct sunlight. Wood floors with darker colors will not show the change of the color as compared to the lighter wood floors. But the change of colors will happen in both kinds of colored natural wood floors.

    Roll up Your Rug to Prevent Color Change

    The colors of the hardwood floor are prevented from sunlight, air and ultraviolet rays when rugs or carpets are used to cover the wood floor. After some time, the color of the wood around the rug will be changed and after removing the rug or carpet,  the wood’s color will be nearer to the original color of the wood.  Thus, when you are away from your home, you can remove the rugs from that area in order to minimize and decrease the effect, for instance when you are going on holidays.

    Curtains and blinders of your room will remain open and you need to roll up the carpet or rug and place it away. In this way, air and light will reach that particular area of the wood floor and by this, the change of the wood color will be decreased and reduced. This idea will help you to keep your hardwood floor area evenly colored whenever you need to remove the rug completely or you want to change it.

    3.Turn Your Carpet or Rug to Avoid Traffic Patterns

    We mostly use the similar pathways to walk in our houses. For instance, most direct and the shortest path will be chosen by us to go from one point to another point and we normally use the hallway’s center to walk down. Thus, it is an obvious thing that there are some specific areas on our carpets or rugs on which we regularly and frequently walk and after some time we can easily see the signs of our footsteps.

    Turn Your Carpet or Rug to Avoid Traffic Patterns

    So, to avoid or reduce this thing, we need to spin our carpet around 180 degrees in every six months. You can also do the similar thing with the mattress. Rotating the carpet will help you to reduce and decrease your traffic paths across the carpet or rug.

    4.Buy Extra Carpet for Your Stairs

    Stairs are the basic point in all the homes with the highest traffic at all the times. Thus, it is obvious that the carpets on the stairs will age quickly than other area carpets and even you need to replace them. On the other hand, no one can guarantee that the new rug or carpet will last for at least five to ten years to match and resemble the remaining areas.

    Turn Your Carpet or Rug to Avoid Traffic Patterns

    Buy at least two rugs or carpets for your staircase and roll up. Reserve the second piece of rug or carpet in a dry and dark area. Buying another carpet for the stairs will not cost more as stairs cover less space and need a small length carpet. So, it will be easy to replace only the stair carpet if it became worn and damaged rather than replacing all the carpets in the home.

    5. Sprinkle Baking Soda to Remove Odors

    This tip is not new and many people be aware of it, but it needs to be mentioned as it is extremely effective. As it’s a common knowledge and we all know that odors or smells can be absorbed by baking soda.

    So, whenever you want to remove the smells or odors (from cooking, pets, and smoke etc.) from your carpet, just sprinkle or scatter a specific amount of the baking soda on the whole carpet. Then leave the carpet or rug for few hours. To remove the baking soda and odors you need to just vacuum the carpet or rug thoroughly.

  • HOW TO CLEAN OVEN WITH LEMON

    Is your oven smelling like shit while you are preparing your meal? Well, this is a sign of danger. You should become cautious now. Strong burning smell is caused by the accumulation of dirt and grease in the oven. You should clean your oven before the situation becomes complicated. Stay with us to learn how to clean oven with lemon.

    How to Clean oven with lemon

    IMPORTANCE OF CLEANING THE OVEN

    It is of great importance to clean the oven otherwise it will have an effect on the flavor of food especially baked items. Carbon based fumes will be produced by burning of dirt and grime every time and as a result of the taste of cakes, bread will change.

    IMPORTANCE OF CLEANING THE OVEN

    Further, the heating of grime will also produce an unpleasant smell in the kitchen and this is a sign that oven needs a good clean.

    Below are the completely secure, natural and effective ways to clean oven. There is no need for any injurious chemicals and no high-heat auto-cleaning with a smoke sensor. It takes a little time and required some lemons, but the payoff is well worth it. Addition, you probably likely have everything you need to take on this project.

    IMPORTANCE OF CLEANING THE OVEN

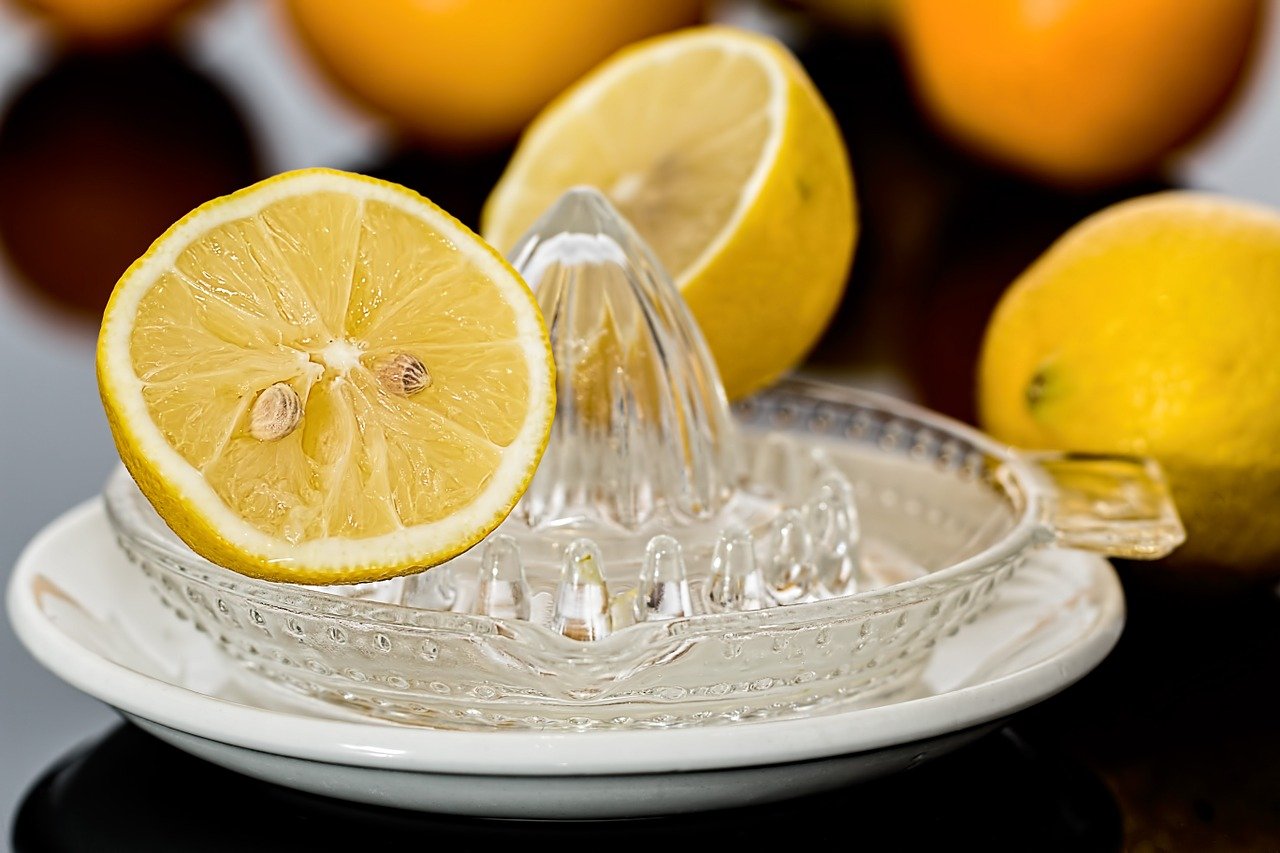
    It is a simple idea, just squeeze some lemons juice into water, drop the rinds into the water, and microwave. As the liquid spots, it shortens on the sides of the microwave, undoing mess and dissolving food splatters. The lemon juice is a natural cleaning agent, and so all you have to do is use a clean towel to wipe everything clean.

    How to Clean Oven with Lemon

    Follow the below method step by step and make your oven clean.

    How to Clean oven with lemon

    Yes, Of course, cleaning the oven is a messy task but using lemon will make your cleaning process a bit easier. Lemon is a great natural degreaser. Lemons are the natural disinfectants that are the kitchen helpers. Lemon has a low PH and has antibacterial properties and therefore is the best cleaner. A little effort is required for this process. It’s an environment-friendly process and will not cause damage to your oven like the dangerous chemicals as they might release dangerous fumes during the self-cleaning cycle.

    MATERIAL REQUIRED

    Following things you will need:

    •2 Lemons
    •Small microwave safe bowl

    MATERIAL REQUIRED

    PROCESS

    Step 1

    WATER IN THE BOWL

    First and foremost pour a half cup of water in the bowl.

    Step 2

    SQUEEZE LEMON

    Next, take 2 lemons and cut the lemons in half and squeeze the juice into the bowl. Also, drop the lemons halves in the bowl.

    Step 3

    PLACE THE BOWL IN OVEN

    Place the bowl in the oven and bake it at 250 degrees for about 30 minutes. You can leave it for a longer time if the buildup is really bad.
    Step 4

    DON’T OPEN THE DOOR

    Don’t open the microwave door. The water and lemon juice will heat up and the vapors will help to loose food gunk.

    Step 5

    FINAL CLEANING

    Next, open the door and carefully remove the bowl along with the lemons and let the oven cool. When the oven has cooled off then remove any residue using a scouring pad. For inside cleaning of a stove and stubborn spots, use lemon water as a rinse aid. Then use the towel to dry it off.

    AN EFFICIENT AND EFFECTIVE METHOD

    AN EFFICIENT AND EFFECTIVE METHOD

    This method is efficient and effective as compared to the method which involves chemical cleaners. Chemical cleaners are dangerous if breathed in or touched and will cause indoor pollution. Using of lemon is a safer and easier process. It will not only remove dirt and grease from your microwave oven but will also produce a lovely lemony scent throughout the kitchen.

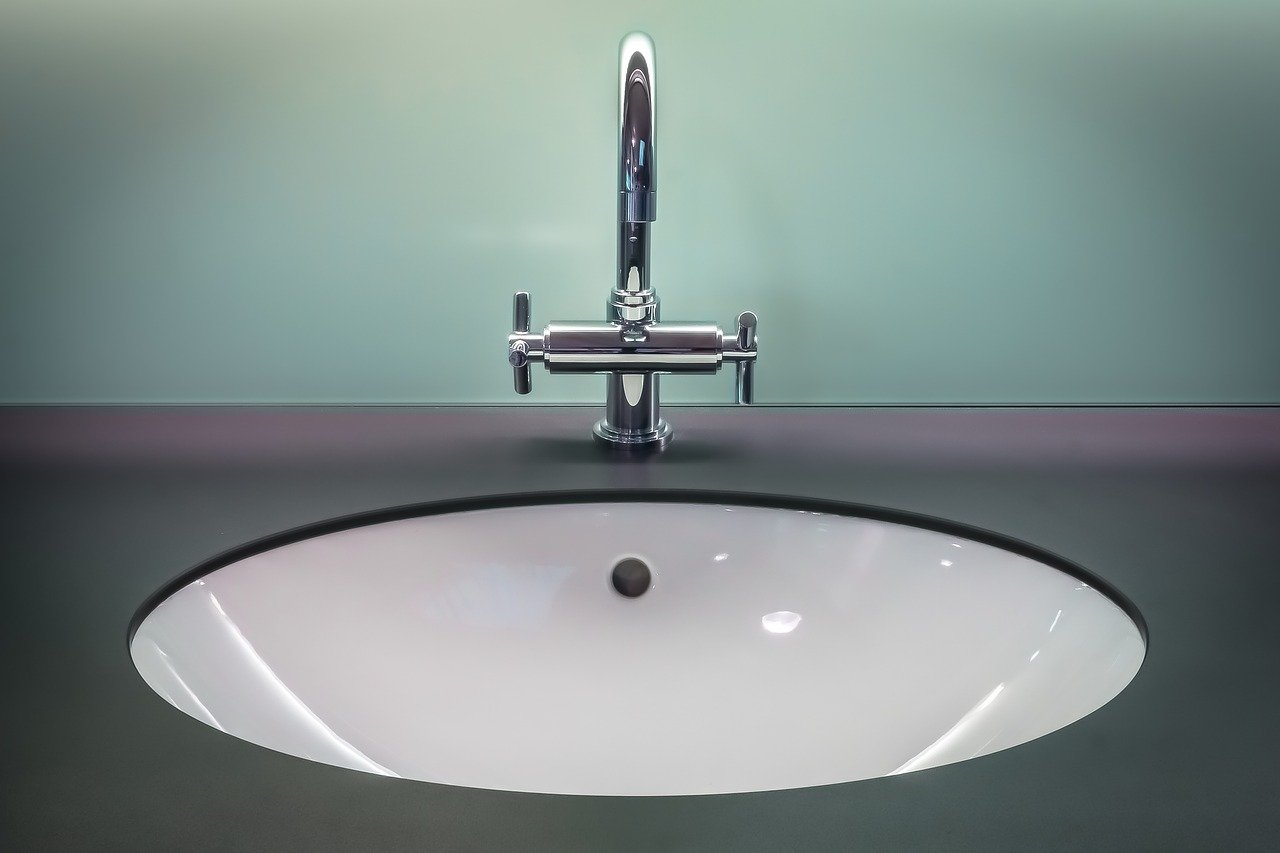
  • HOW TO CLEAN BATHROOM SINK DRAIN

    Slow or clogged drains are common and ordinary problems with bathroom sinks. Fortunately, there are many methods to fix it typically with simple, easy and time saver methods almost within few minutes or span of time. The cause of this problem can be hairs, gummy soap which stuck that causes the stopper or pivot rod and clogs the drains. Let us share some of the most effective and useful remedies on how to clean bathroom sink drain.

    how to clean bathroom sink drain

    In those few handy methods, I am telling you some of easiest methods to make it easy for you to perform it while cleaning the bathroom sink drain.

    how to clean bathroom sink drain

    How to Clean Bathroom Sink Drain WithWire/Coat Hanger

    You will need some tools to clean bathroom sink drain with this method. Grab some necessary tools for this DIY task that will save your time and frustration. Use (1) Slip joint pliers (2) Stiff wire or wire coat hanger.

    How to Clean Bathroom Sink Drain WithWire/Coat Hanger


    How to Clean Bathroom Sink Drain WithWire/Coat Hanger

    • Use (1) Slip joint pliers (2) Stiff wire or wire coat hanger.
    • Pull out the stopper; notice if it’s coming out, then pull it out.
    • Sometimes it will come out immediately, but if not it’s held with pivot rod.
    • If that is so, release the stopper by removing the pivot rod nut & pulling out the pivot rod.
    • If you can’t loosen it up, use the pliers.
    • With the pivot rod pulled out you will be able to lift out the stopper.
    • Then to have the clog out, bend the wire in a tight hook (with a light-duty clothes hanger or short length of electrical wire will work out)
      Take out the hairs.
    • If you didn’t have to remove the pivot rod to remove the stopper, you can just drop the stopper back down into the drain.
    • If you have removed the pivot rod, firstly drop the stopper into the drain.
    • Next, line up the pivot rod with the slot in the stopper and reinsert it. Finally, hand-tighten the pivot rod nut.
    • Run hot water down the drain to help clear out any remaining soap scum and to check that the clog is gone.
    • Check around the pivot rod nut to make sure it’s not leaking.
    • If you see drips, tighten the pivot rod nut slightly with a plier.

    How to Clean Bathroom Sink Drain with Lemon, Baking Soda, Vinegar and Boiling Water

    How to Clean Bathroom Sink Drain with Lemon, Baking Soda, Vinegar and Boiling Water

    It uses natural solvents. Instead of relying on drain cleaner products, which are often corrosive and can cause allergic reactions and respiratory problems, you can use household items that you can find easily at your home like rags, baking soda, vinegar, lemon and boiling water.


    • Gather your materials.
    • Measure out the ingredients.
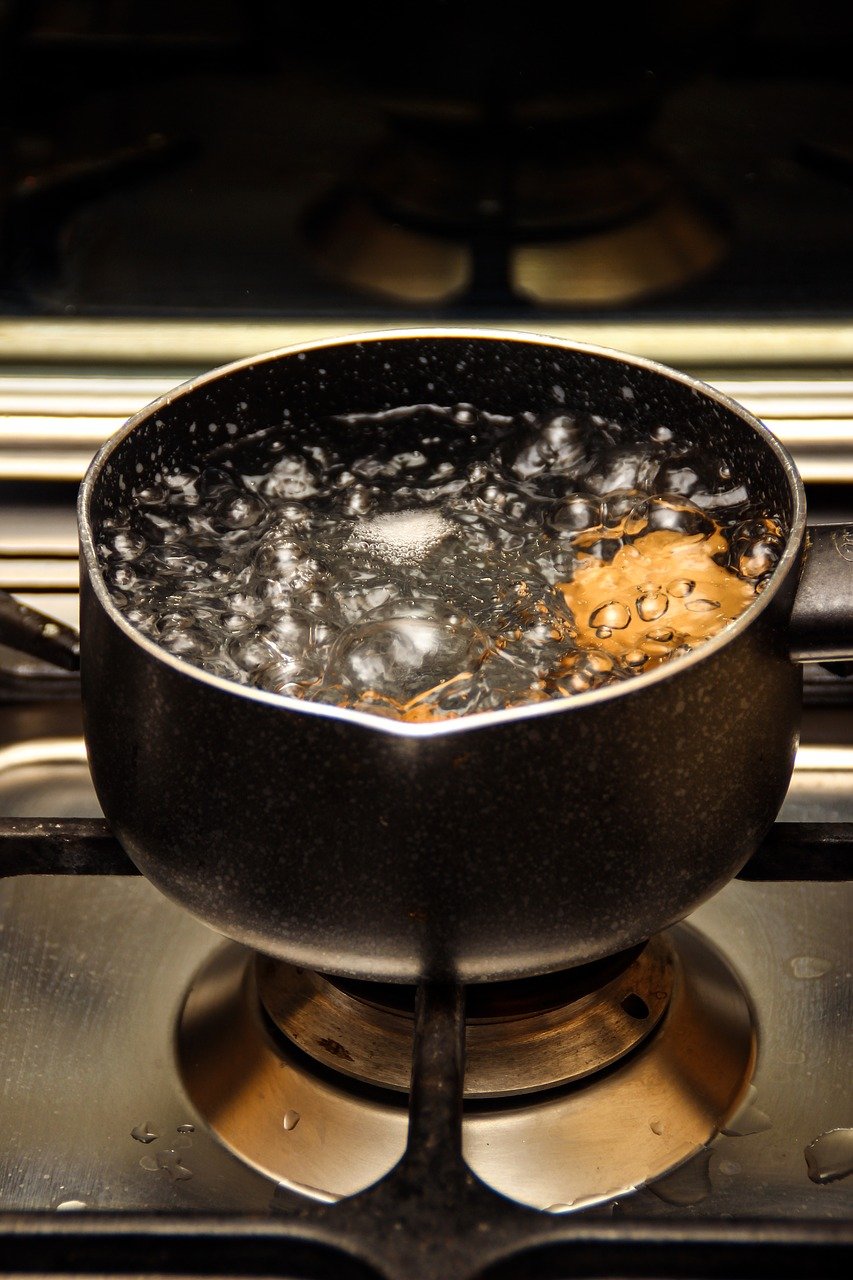
    • Take ¼ cup of baking soda, 1 cup of white vinegar and 1 large pot of water to boil.
    • Have a rag or sink stopper handy.
    • Pour the baking soda into the drain.
    • Make sure that most of the baking soda falls directly into the drain rather than around it in the sink.
    • Pour in the cup of vinegar.
    • A fizzing noise and bubbles may come up due to the chemical reaction.
    • This is completely normal and should mean that the chemicals are eating the blockage in your sink.
    • Plug your drain with a rag or sink stopper.
    • The above step will stop the bubbles from rising up and will keep the chemical reaction concentrated on the clog.
    • Wait for fifteen minutes.
    • Allow the baking soda and vinegar reaction to fully work their magic here! While waiting, you should heat up the pot of water to boiling point.
    • Pour in the pot boiling water.

    How to Clean Bathroom Sink Drain with Lemon, Baking Soda, Vinegar and Boiling Water
    The above step will push down the baking soda, vinegar, and blockage.
    As you pour the water watches if the sink is draining any faster.
    If it is still not going in normal speed, there can still be a bit of the blockage.
    Try to repeat the process again if this happens.
    Before pouring in the boiling water, you may squeeze in the lemon juice, specifically if you notice an unlikeable smell coming from the sink.

    How to Clean Bathroom Sink Drain with Lemon, Baking Soda, Vinegar and Boiling Water
    Bathroom sinks usually become clogged by bits of hair which in the long run rot and smell bad.
    This additional step will defuse the odor and will also further assist break down that blockage.

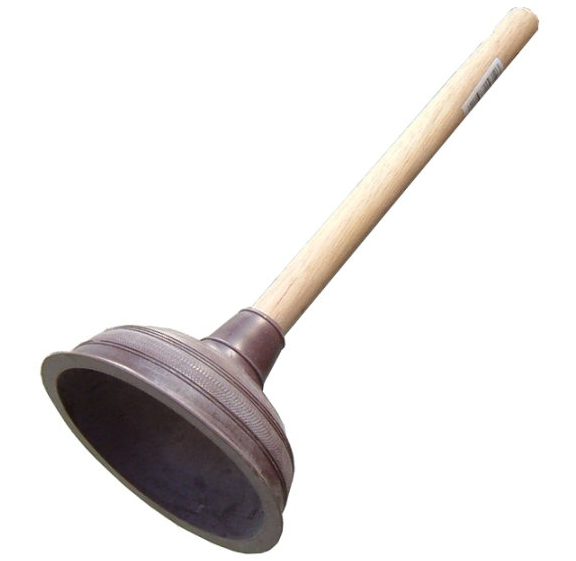
    How to Clean Bathroom Sink Drain With Plunger

    How to Clean Bathroom Sink Drain With Plunger

    This method is of traditional way, using the plunger. Gather your tools.

    For this method, the only need is a flashlight and a plunger.
    You can purchase a smaller one specifically made for sinks at any hardware store but a deeply cleaned toilet plunger works very well.
    Remove stopper of the sink.
    This step is central otherwise you will just be plunging the stopper up and down rather than forcing up the clog.
    Using your hands pull the sink stopper up as far as it goes out of the drain. Then you need to turn it to the left and continue to unscrew until it comes out.
    Turn on the sink.
    Fill some water but just enough to cover the drain. An inch or so of water should be just fine.
    Generate a suction seal.

    How to Clean Bathroom Sink Drain With Plunger
    You need to place the plunger directly over the drain and press down once until you feel rubber bottom tighten into a seal.
    You may have to stand on a chair to make sure you are directly towards the sink.
    Plunge it.
    Using the handle of the plunger, plunge vigorously up and down about 10-20 times.
    Make sure that the plunger is tightly sealed around the drain, creating suction so that the plunger is actually forcing the blockage through.
    Remove the plunger for checking of blockage.
    Then shine the flashlight into the drain to check for the blockage.
    If you can see the blockage and can reach with your fingers and pull it out, do so. If not, repeat the steps until the clog comes out.

  • How to Clean a Microwave- Cleaning Hacks

    When it comes to microwave cleaning hacks, certain tips and tricks come in mind. But which one is possible, you can never know without experiment. Most cleaning detergents work quite effectively while washing dirty mess or other household items. Cleaning out dishwashers, refrigerators or any cupboard could be a hectic task without any quick remedies. Kitchen appliances are the most tricky to be cleaned and washed. Some fortunate ways are at our hand to remove any excessive smells and dirt from the appliances. Without any doubt, a microwave oven is amongst the most used kitchen appliances. But with consistent and careless usage, it gets dirty and demands proper cleaning. So here is a comprehensive guide on how to clean a microwave perfectly.

    How to Clean a Microwave Perfectly

    Baking Soda- The Cleaning Master

    Baking soda has been found to be a common ingredient readily available in our kitchens. It is one of the most basic cleaners. It’s quite inexpensive and multipurpose too! Everyone needs a multipurpose solution for every cleaning activity. It acts both as a detergent and a deodorant to eliminate bad smells or foul odors in any utensil or appliances. To remove stubborn stains from most surfaces this ingredient can create magical results. One can easily wipe off the dirt with this simple remedy. As compared to other cleaning solutions it’s not expensive either and easy to be applied.

    Baking Soda- The Cleaning Master

    Sometimes baking can be a tough task when you face a greasy stain full inside of microwave oven afterward. It becomes a difficult task to wash out spots and grease on the revolving glass plate inside. Baking soda can work as a miracle for your kitchen when cleaning a microwave.

    How to Clean a Microwave with Baking Soda

    You can make a paste of baking soda with water and use a sponge to wipe out any stains and grease from the oven. Similarly you can dissolve spoon full of baking soda in water in a bowl, then boil in microwave. This will give a stain free look afterwards with refreshing smell. You can remove greasy stains by adding baking soda on the microwave plate making a paste and then clean with a sponge. You can use baking soda instead of detergent; apply paste with a waste toothbrush to remove stains from affected area. Baking soda simply absorbs odors; it neutralizes the acidic smells and eliminates them. Baking soda is the most convenient solution for kitchen cleaning. It can simply transform your kitchen into an all clean look.

    If your microwave smells like rotten eggs or some baked pizza or other meals, you can remove that by cleaning and deodorizing with a solution of baking soda mixed with water. You can then wipe down the inner sides of a microwave. You don’t need to worry when using baking soda as a cleaning agent; it gives effective and long lasting results.

    With some explosions and splattering of food particles inside the microwave, it gives a disgusting look. You don’t need any commercial detergents for this; just use a baking soda solution for that. Excessive chemicals can cause a harsh effect on the microwave surface, avoid doing that and make your job easier by scrubbing less and quick cleaning. It’s a natural, environment friendly item in your kitchen for your help. Scrubbing with baking soda can make it lot easier to handle any grim or tough spots on the microwave.

    How to Get Rid of Annoying Microwave Smell?

    Foul smells can also spread out when there is some leftover food in the microwave. Once you open up the microwave you get a bad experience. Using it again you need to wash and deodorize it thoroughly.

    When there is some scorching food stuck inside the oven, you can use a damp cloth to wash it and remove any spots or splatters inside. Sprinkle some baking soda on the surface of microwave and wipe off all interior with cloth or sponge. It is gentle enough to be used for a microwave. Use a cloth to remove any residue material left behind. If you don’t have much time for cleaning baking soda is an instant cleaning hack. Every kind of contamination can easily be removed from the microwave by using this clean solution without the use of harsh chemicals.

    Simple Steps to Use Baking Soda

    Vinegar and lemon can serve the purpose also but they are expensive as compared to baking soda. So use a natural solution and get your desired results.

    Place a bowl inside microwave with two tablespoons of baking soda and water in it. Set the microwave timer for 3 minutes. The baking soda will absorb all odor and dirt will be removed from inside walls with steam. Take out the bowl and remove tough stains from the microwave walls. Wipe off with a cloth or towel.

    Simple Steps to Use Baking Soda

    Another way is to use a sponge and dip in baking soda with water solution and scrub the microwave interior. This could be the smartest way to clean out the nasty looking microwave. You can freshen up your oven with a just simple trick, even if no one is willing to do so. After removing the particles and cleaning inside, you will get a wonderful smell with quick freshness. Baking soda can be used as a freshener for your microwave as it works in your fridge. Place a baking soda box inside the microwave when you are done with baking and get smell free and clean look all the time.

    Although cleaning microwave looks tedious but you can maintain it regularly to ensure a great smell of food inside the oven. Get awesome results without any risk or damage to your microwave.

    Some safety measures, please be sure the power cord is not attached while cleaning task. Examine the inside carefully and then spot the dirtiest parts inside to be washed. This will be helpful in your cleaning process. Make sure to have some cleaning paper towels with you also to wipe out any dirt and interior cleaning. Now then you can make a baking soda paste or solution to remove any mess inside.

    How to Clean a Microwave with Vinegar and Baking Soda

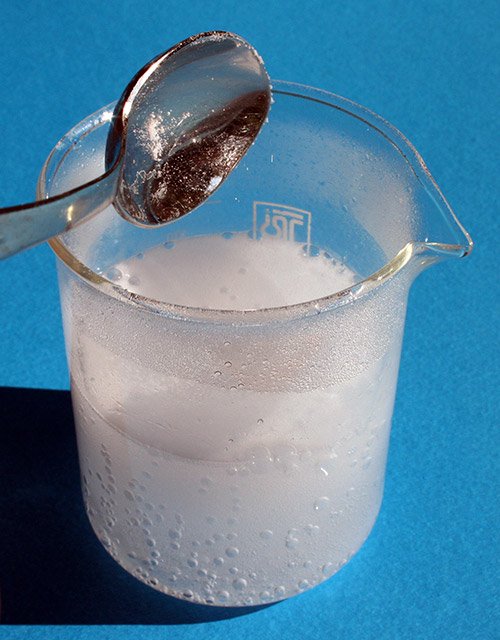
    Vinegar and Baking Soda can be combined to use for cleaning also. This method will be repeated to get best results until no baking soda remains inside.

    How to Clean a Microwave with Vinegar and Baking Soda


    You can use many methods for cleaning according to your availability but this one proves to be inexpensive of all. It will allow you to get rid of bad odors; it’s easily used the ingredient and natural household item too. Get a cleaner microwave and enjoy your food!