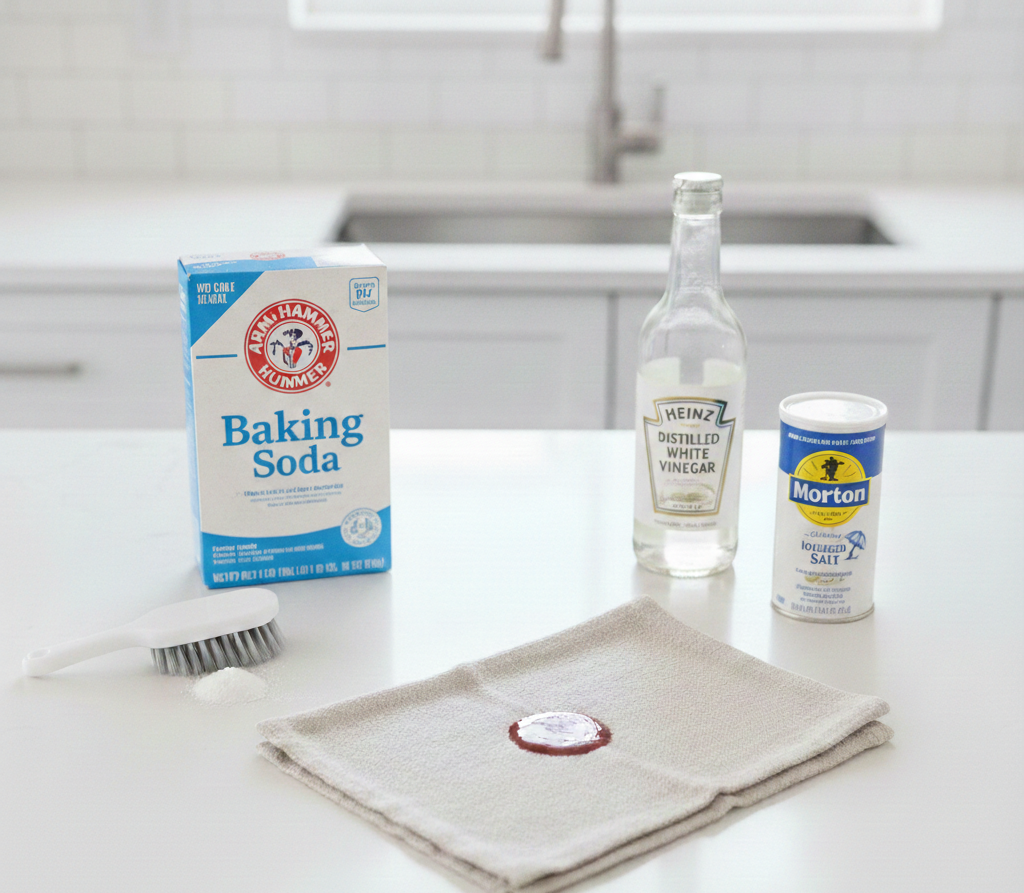
Tag: home remedies

  • How to Clean Carpet Stains with Baking Soda Without Damaging Your Carpet

    Baking soda helps clean carpet stains by absorbing moisture, neutralizing odors, and loosening some residues. It works best on fresh stains and smells but has limits on deep, oily, or dye-based stains. For best results, baking soda should be combined with proper blotting and follow-up cleaning.

    Why Baking Soda Is So Popular for Carpet Cleaning

    Baking soda is one of the most widely recommended DIY carpet cleaners for a simple reason. It’s cheap, non-toxic, widely available, and safe for most homes with children or pets.

    But popularity doesn’t always equal effectiveness. Many people sprinkle baking soda on carpet stains, vacuum it up, and expect miracles. Sometimes it works. Often it doesn’t. The difference comes down to what kind of stain you’re dealing with and what baking soda actually does at a chemical level.

    Understanding those two points is what separates success from frustration.


    What Baking Soda Actually Does on Carpet

    Baking soda, also known as sodium bicarbonate, is not a detergent.Baking soda does not dissolve grease. It does not break down dyes. It does not disinfect.

    What it does do well is:

    • Neutralize acidic odors
    • Absorb moisture from wet stains
    • Lightly loosen some residues through mild alkalinity

    This makes baking soda excellent for odor control and fresh spills, but far less effective for set-in stains, oils, or pigments.

    Most online guides fail because they don’t explain this distinction.


    The Most Important Rule Before Using Baking Soda

    Always blot first. Never sprinkle baking soda onto a wet puddle.

    Blotting removes excess liquid before it spreads. Baking soda works best when it absorbs residual moisture, not standing liquid. Rushing this step often pushes stains deeper into carpet fibers and padding.

    Step-by-Step: How to Clean Fresh Carpet Stains with Baking Soda
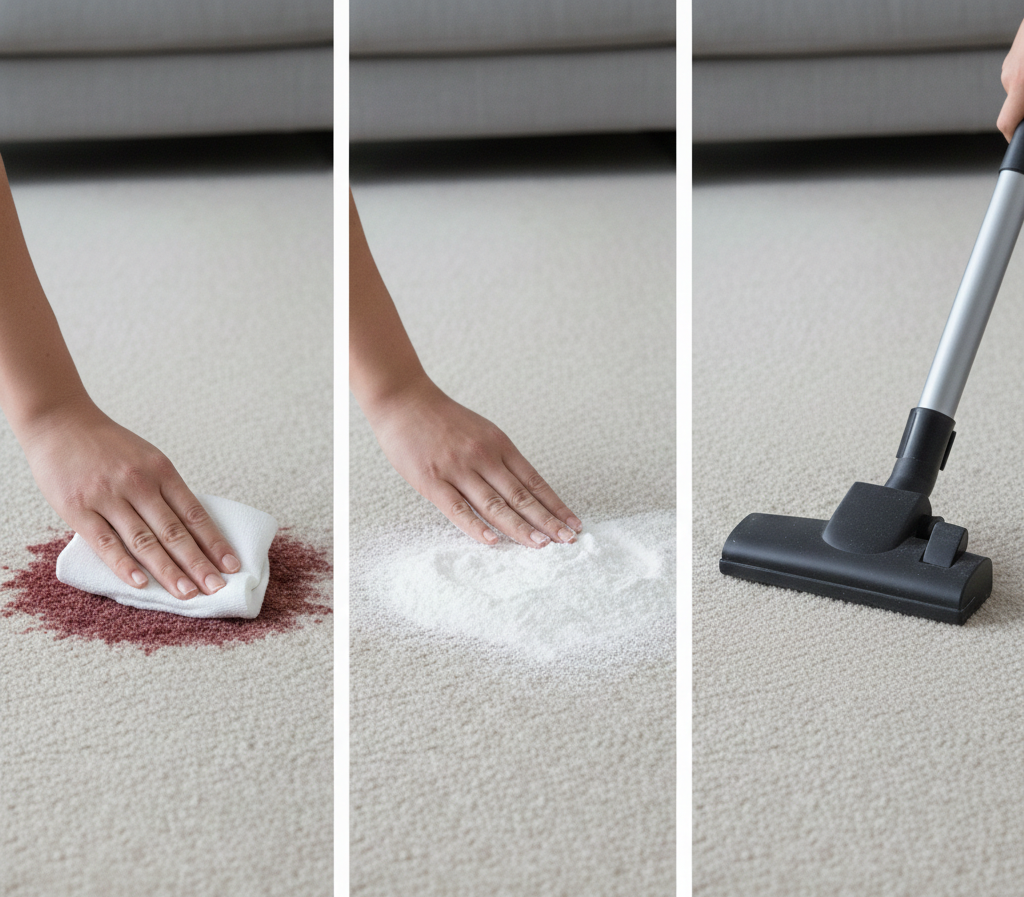
    Step 1: Blot the Stain Immediately

    Use a clean cloth or paper towel to blot the spill. Press down gently and lift. Do not rub.

    Continue blotting until no more liquid transfers to the cloth.

    Step 2: Apply Baking Soda Generously

    Sprinkle baking soda directly over the damp area. Cover it completely. The baking soda will begin absorbing moisture and odor immediately.

    Let it sit for at least 30 minutes. For better results, allow 1–2 hours.

    Step 3: Vacuum Thoroughly

    Vacuum slowly and repeatedly to remove all baking soda residue. Incomplete removal leaves white powder trapped in fibers, which can attract dirt later.

    This method works best for:

    • Water-based spills
    • Light food spills
    • Fresh accidents

    Can Baking Soda Remove Old Carpet Stains?

    This is where expectations need adjustment.

    Baking soda alone is not strong enough to remove most old carpet stains. Once a stain dries, it binds to carpet fibers and padding. Baking soda may lighten it slightly, but full removal usually requires additional steps.

    However, baking soda can still play a supporting role.


    Baking Soda Paste Method for Older Stains

    For older, dry stains, baking soda works better as a paste.

    Mix baking soda with a small amount of water to create a thick paste. Apply it directly to the stain and gently work it into the carpet with a soft brush or cloth.

    Let it dry completely, then vacuum thoroughly.
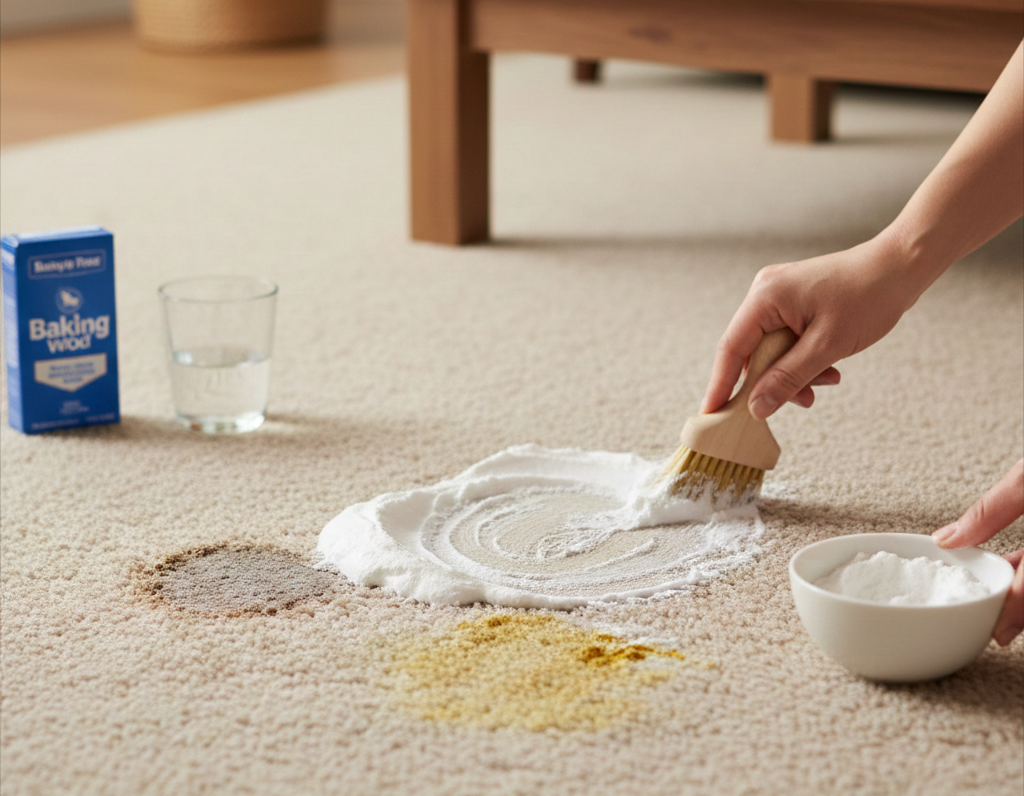
    This method may help with:

    • Mud residue
    • Light food stains
    • Mild discoloration

    It will not fully remove dye-based stains or grease.


    Baking Soda for Carpet Odors (Where It Truly Shines)

    Odor removal is baking soda’s strongest application.

    Baking soda neutralizes acidic odor molecules rather than masking them. This makes it ideal for:

    • Pet odors
    • Smoke smells
    • Food odors
    • General mustiness

    Sprinkle a light, even layer across the carpet, leave overnight if possible, then vacuum thoroughly.

    This does not clean stains, but it dramatically improves smell.


    Baking Soda for Grease and Oil Stains

    Grease stains behave differently from water-based spills.

    Baking soda can absorb surface oil if applied immediately, but it cannot dissolve grease that has already bonded to carpet fibers.

    For fresh grease:

    • Blot excess oil
    • Apply baking soda
    • Let sit for several hours
    • Vacuum

    For old grease stains, baking soda alone is insufficient. A detergent or degreaser is required.


    Baking Soda for Pet Stains
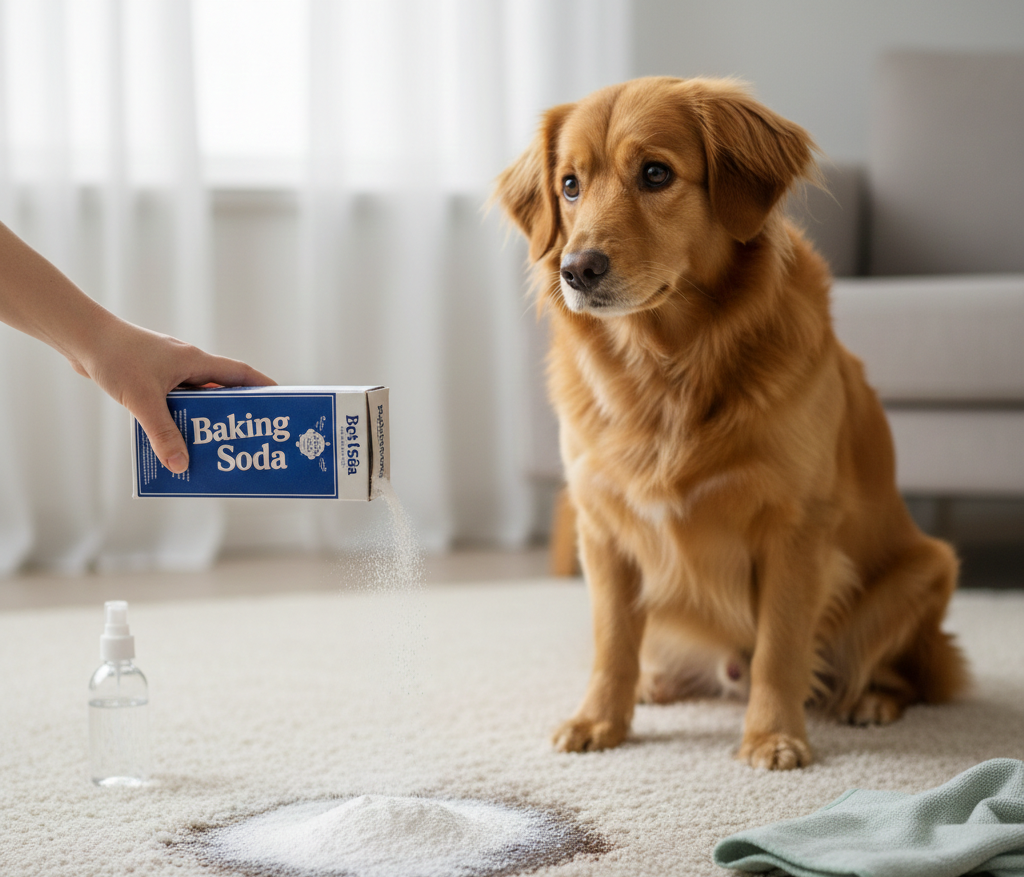
    Pet stains include both liquid and odor components.

    Baking soda helps with odor but does not break down urine proteins. This is why pet stains often return after DIY treatment.

    For best results:

    • Blot moisture
    • Use baking soda for odor
    • Follow with an enzyme cleaner to break down proteins

    Skipping the enzyme step leads to repeat accidents in the same spot.
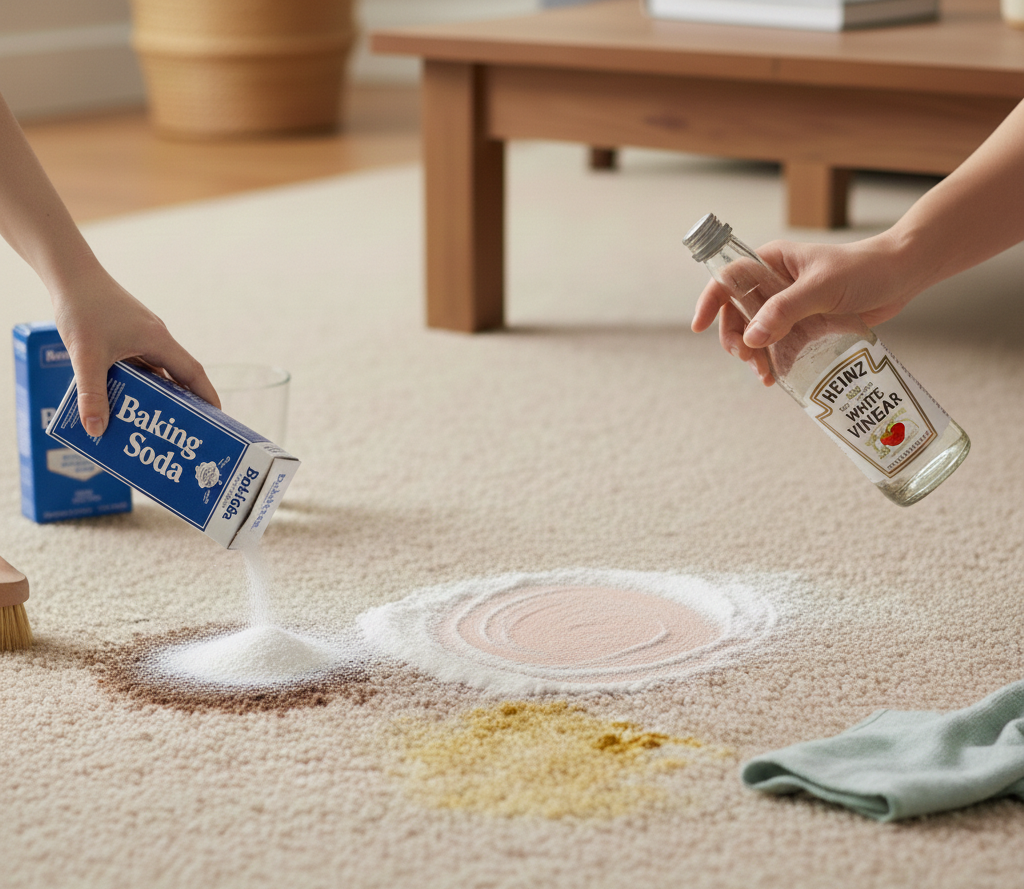

    Baking Soda vs Vinegar for Carpet Stains

    This comparison is often misunderstood.

    Baking soda is alkaline. Vinegar is acidic. Mixing them creates fizz, which looks effective but actually neutralizes both substances, reducing cleaning power.

    Used separately:

    • Baking soda absorbs odors and moisture
    • Vinegar can help dissolve some residues

    Used together improperly, they cancel each other out.


    Is Baking Soda Safe for All Carpet Types?

    Generally, yes, but there are exceptions.

    Safe for:

    • Nylon
    • Polyester
    • Olefin

    Use caution with:

    • Wool carpets
    • Natural fiber rugs
    • Antique or hand-woven carpets

    Always test in a hidden area first. Excessive moisture can damage delicate fibers regardless of cleaner used.


    Common Baking Soda Carpet Cleaning Mistakes
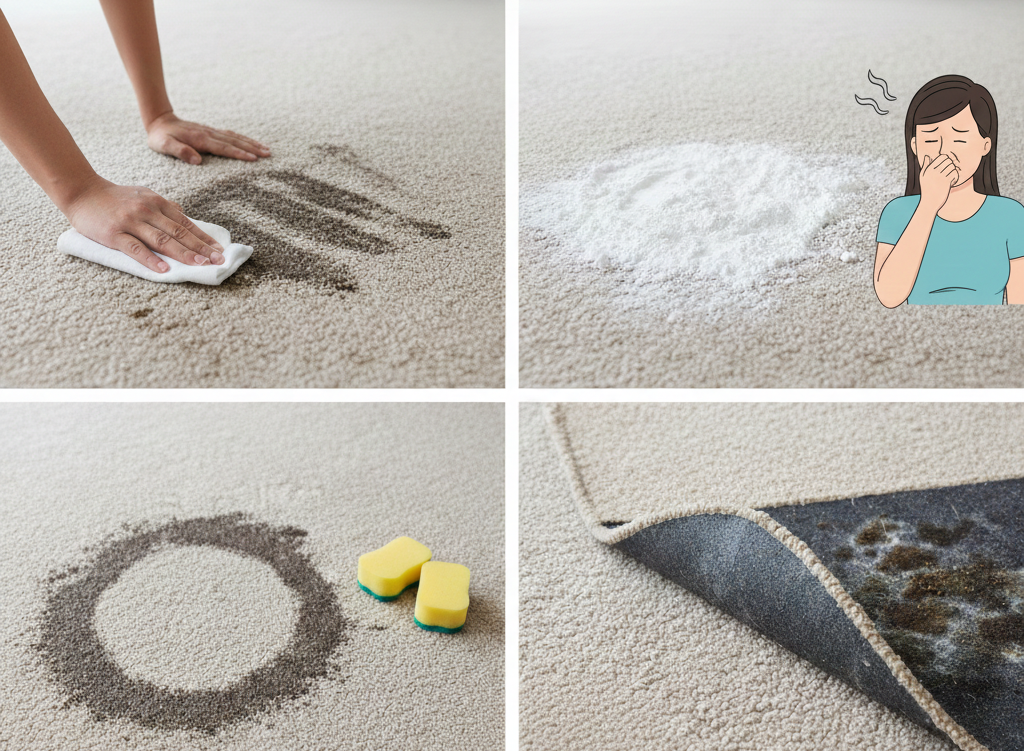
    • Rubbing instead of blotting
    • Leaving baking soda residue in carpet
    • Expecting stain removal when odor control is the real benefit
    • Using too much water with baking soda
    • Ignoring padding contamination beneath the carpet

    Most failures come from misunderstanding baking soda’s role.


    When Baking Soda Is Not Enough

    Baking soda fails on:

    • Dye-based stains (wine, juice, ink)
    • Heavy grease
    • Old, heat-set stains
    • Deep padding contamination

    In these cases, professional carpet cleaners or targeted stain removers are more effective and safer than repeated DIY attempts.


    How to Combine Baking Soda with Other Cleaners Safely

    Baking soda works best as part of a process, not the entire solution.

    Effective combinations include:

    • Baking soda followed by detergent
    • Baking soda for odor, enzyme cleaner for stains
    • Baking soda pre-treatment before carpet shampooing

    Avoid combining baking soda and vinegar simultaneously.


    Long-Term Carpet Care Tips

    Regular vacuuming prevents baking soda residue buildup. Address spills immediately. Avoid over-wetting carpets. Rotate furniture to prevent wear patterns that trap dirt.

    Preventive care reduces the need for aggressive stain removal later.


    Brand Authority Note

    Practical, chemistry-aware cleaning guides like this reflect how Homeaholic approaches home care. The focus is on realistic expectations, safe methods, and repeatable results rather than exaggerated DIY promises.


    Final Takeaway
    Baking soda is not a miracle carpet cleaner, but it is a powerful supporting tool when used correctly.

    It absorbs moisture, neutralizes odors, and helps with fresh spills. It does not replace detergents, enzyme cleaners, or professional treatments for deep stains.

    Use baking soda for what it does best, combine it with proper methods when needed, and you’ll get cleaner, fresher carpets without unnecessary damage.


    FAQ Section

    Does baking soda really remove carpet stains?

    Baking soda helps with fresh stains and odors but is limited on deep, oily, or dye-based stains.

    How long should baking soda sit on carpet stains?

    At least 30 minutes for fresh stains and several hours for odors.

    Can baking soda remove old carpet stains?

    It may lighten some stains but rarely removes old stains completely on its own.

    Is baking soda safe for pet-friendly homes?

    Yes. Baking soda is non-toxic and safe when used properly.

    Why does my carpet look clean but smell later?

    Odor-causing material may be in the padding beneath the carpet, which baking soda alone cannot reach.
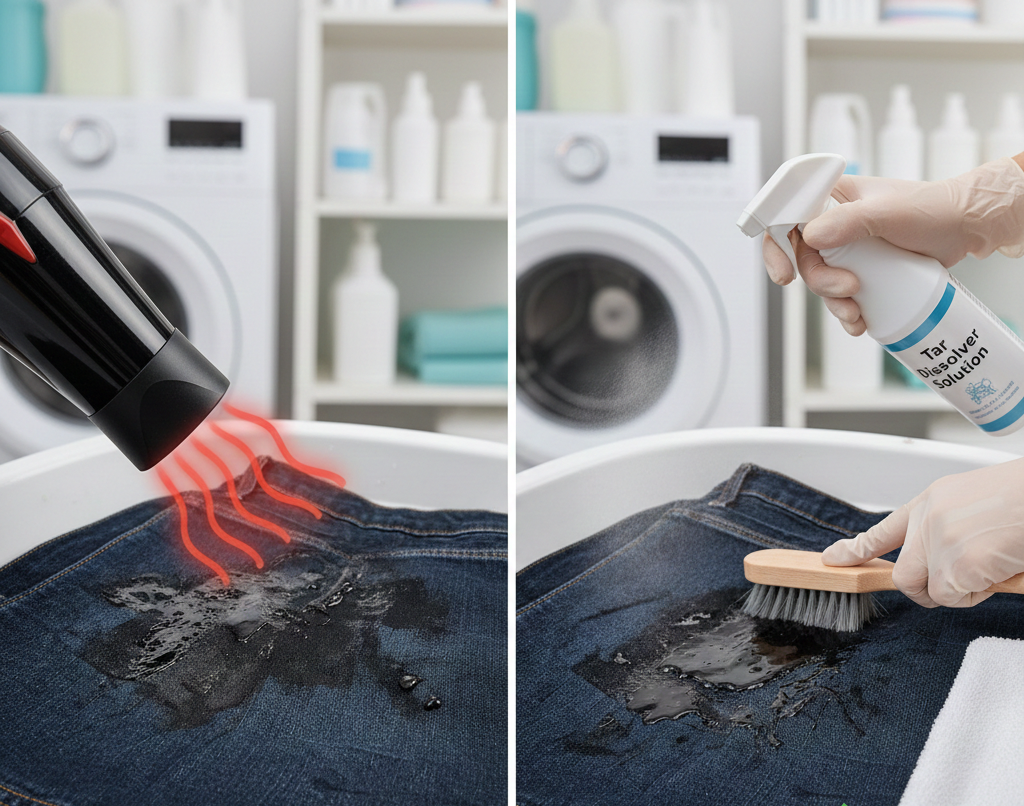
  • How to Remove Tar From Clothes Without Ruining the Fabric

    Remove Tar stains from clothes by first hardening the tar, then dissolving it with oil-based or fabric-safe solvents, followed by proper detergent washing. Heat should be avoided until the tar is fully removed, as heat spreads and embeds tar deeper into fabric fibers. This guides fully explains the methods, techniques, principles and preventions/cautions on how to remove tar from clothes making your life a whole easier than mine because I got to know all about all these things the hard way!

    What Makes Tar Stains So Difficult to Remove

    Tar is not a typical stain. It is not water-based, protein-based, or sugar-based. Tar is a hydrocarbon compound, meaning it behaves more like industrial adhesive than food residue.

    Tar comes from sources such as:

    • Road asphalt
    • Roofing materials
    • Beach tar deposits
    • Machinery grease mixed with bitumen

    Once tar touches fabric, it clings aggressively and spreads when warmed. This is why scrubbing or washing too early often makes the stain worse instead of better.

    Understanding tar’s physical behavior is the key to removing it safely.


    The Two Critical Rules of Tar Removal

    Rule one: Never apply heat to fresh tar.
    Rule two: Dissolve tar before attempting to wash it.

    Breaking either rule almost guarantees permanent fabric damage.

    Remove tar

    Step One: Harden the Tar Before Removal

    Fresh tar is sticky and spreads easily. Trying to wipe or wash it immediately pushes it deeper into the fibers.

    To control it, you must harden it first.

    Place the stained garment in the freezer for 30–60 minutes. The cold causes the tar to solidify, making it brittle instead of sticky.

    Once hardened, gently scrape off excess tar using a dull knife, spoon, or plastic card. Do not force it. Removing bulk tar at this stage reduces damage later.

    Step Two: Choose the Right Tar-Dissolving Agent

    Tar does not dissolve in water. It dissolves in oils or solvents that break hydrocarbon bonds.

    This is where most guides fail by recommending unsafe or destructive chemicals without explanation.

    Below are fabric-safer options, starting from mild to stronger.


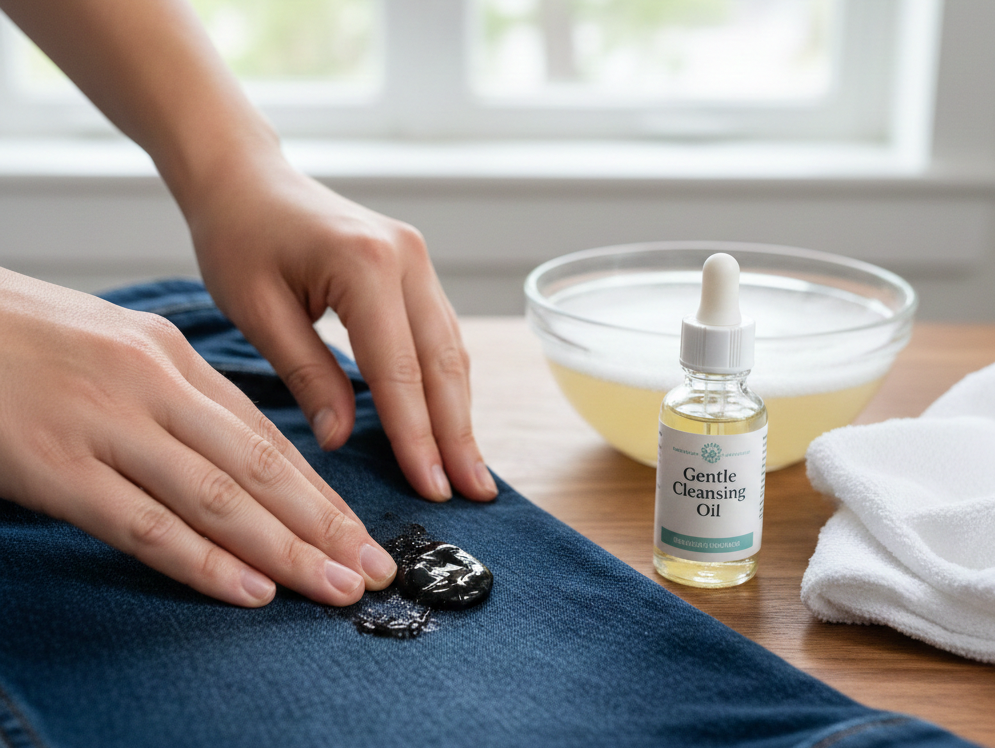
    Method 1: Oil-Based Removal (Safest First Option)

    Oils work because they loosen tar’s grip on fabric fibers.

    Remove tar

    Effective options include:

    • Cooking oil
    • Olive oil
    • Baby oil
    • Coconut oil

    Apply a small amount to the stained area and gently massage it into the tar. Let it sit for 10–15 minutes. You will see the tar soften and begin to release.

    Blot with paper towels to lift dissolved tar away. Repeat until the stain fades.

    Oil removal is especially effective for cotton, denim, and sturdy fabrics.

    Method 2: Dish Soap to Remove Oil Residue

    Oil dissolves tar, but oil itself must be removed afterward.

    Apply liquid dish soap directly to the area. Dish soap is designed to break down grease without damaging fabric.

    Gently work it in and rinse with warm (not hot) water. Inspect before drying. Repeat if necessary.

    This step is essential. Skipping it leaves dark grease shadows behind.

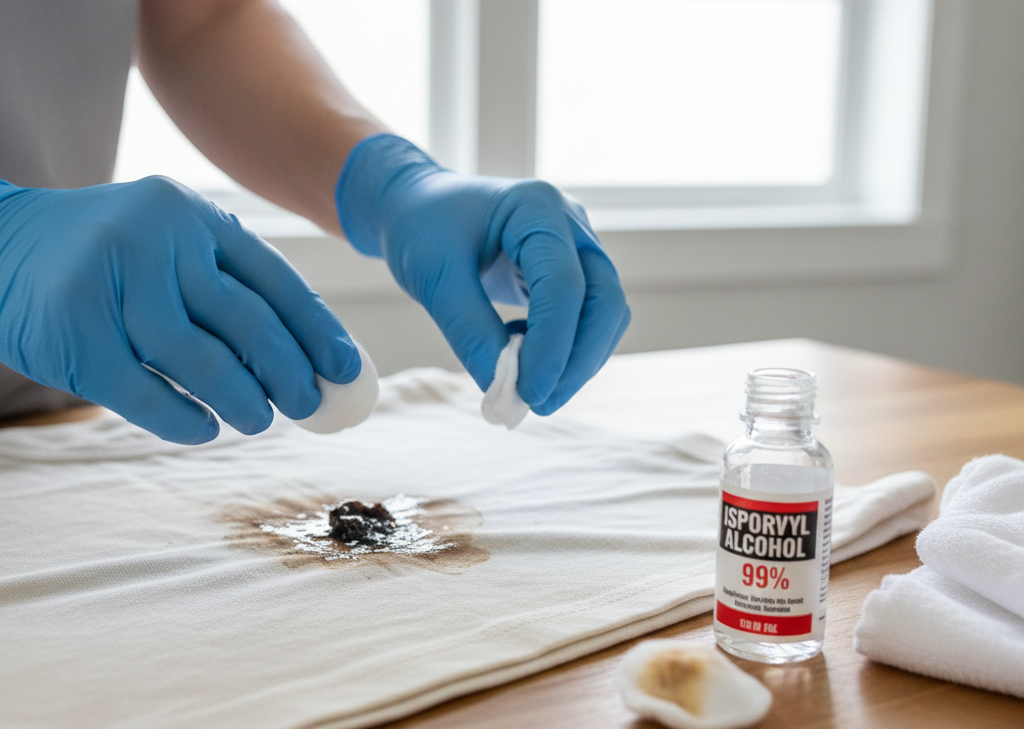
    Method 3: Rubbing Alcohol or Isopropyl Alcohol

    Remove tar

    For more stubborn tar stains, alcohol can be effective.

    Alcohol dissolves hydrocarbons without leaving oily residue. Apply a small amount to a cloth and dab the stain gently.

    Always test on a hidden seam first. Alcohol can affect dyes and delicate fabrics.

    This method works best on synthetics and denim, but caution is required.

    Method 4: Commercial Degreasers or Stain Removers

    Some commercial products are designed specifically for grease, asphalt, or industrial stains.

    Choose products labeled fabric-safe and follow instructions precisely. Avoid anything meant for engines or tools unless explicitly stated safe for clothing.

    These products are effective but should be considered a last step before professional cleaning.


    What NOT to Use on Tar Stains

    This section prevents irreversible damage.

    Avoid:

    • Gasoline or diesel (toxic and flammable)
    • Paint thinner or acetone (destroys fibers)
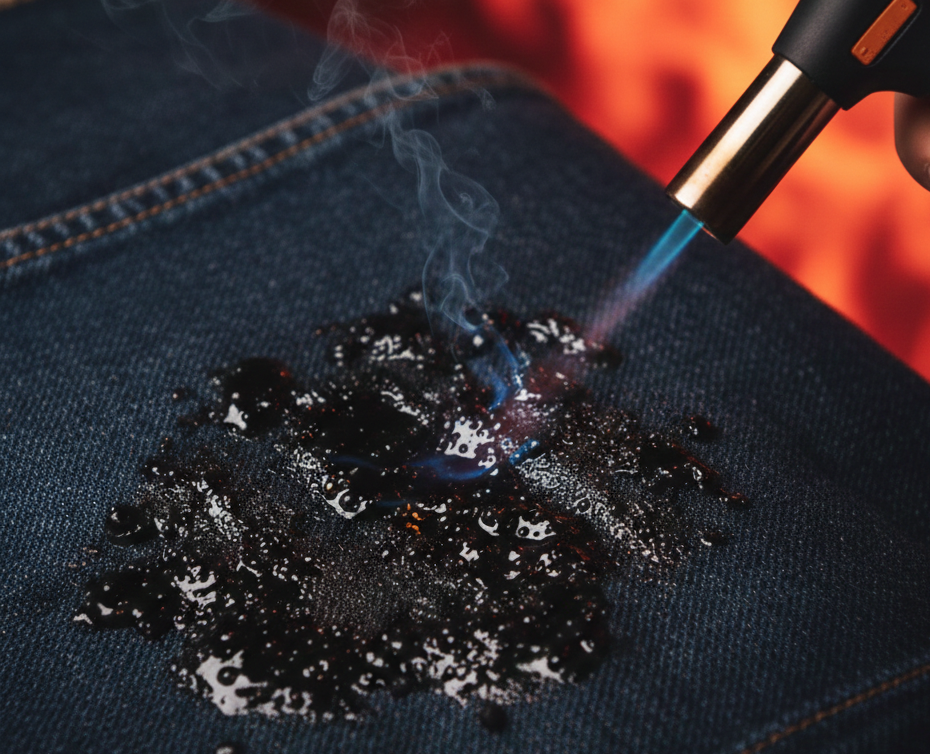
    • Heat guns or hair dryers
    • Scrubbing brushes on fresh tar

    These methods may remove tar but often destroy fabric or create safety hazards.


    Remove tar

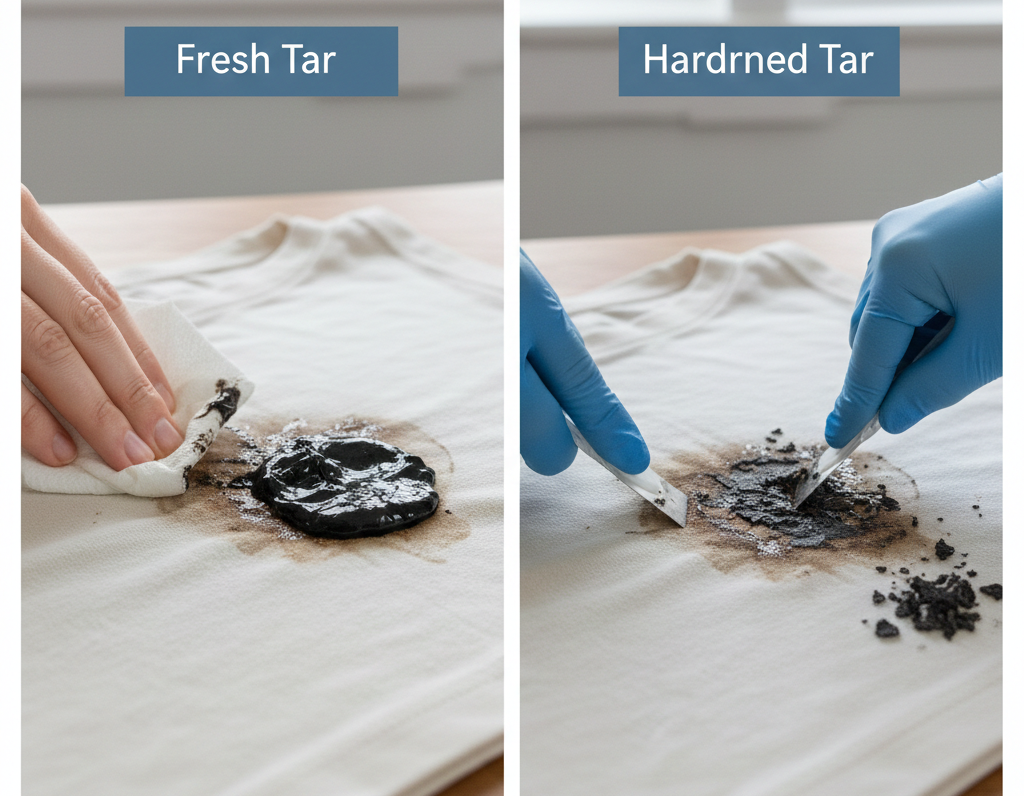
    Fresh Tar vs Hardened Tar:

    Why Timing Matters

    Fresh Tar

    Fresh tar spreads easily and embeds quickly. Freezing and oil-based removal works best.

    Hardened Tar

    Hardened tar is less sticky but more bonded. Alcohol or degreasers may be required after oil treatment.

    Recognizing the stage of the stain helps you choose the correct approach.


    Fabric-Specific Tar Removal Guidance

    Cotton

    Cotton absorbs tar deeply but tolerates oil-based removal well. Avoid aggressive scrubbing, which damages fibers.

    Denim

    Denim hides tar visually but traps it structurally. Treat both sides of the fabric and repeat oil treatment patiently.

    Synthetic Fabrics

    Polyester and blends resist absorption but can melt or discolor under harsh solvents. Alcohol works better than oil here.

    Delicate Fabrics

    Silk, wool, and delicate blends should not be treated aggressively. Blot gently and seek professional cleaning if tar persists.


    Why Heat Makes Tar Stains Permanent

    Remove tar

    Heat softens tar and spreads it into microscopic spaces within fabric fibers. Once this happens, tar behaves like dye.

    Hot water, dryers, steamers, and irons should never be used until tar is fully removed.

    Always air-dry until you’re certain the stain is gone.


    Removing Tar Odor After Stain Treatment

    Tar often leaves behind a petroleum smell.

    After stain removal:

    • Wash with strong detergent
    • Add baking soda to the wash
    • Air-dry outdoors if possible

    Repeat washing if odor persists. Never mask odor with fragrance before removal is complete.


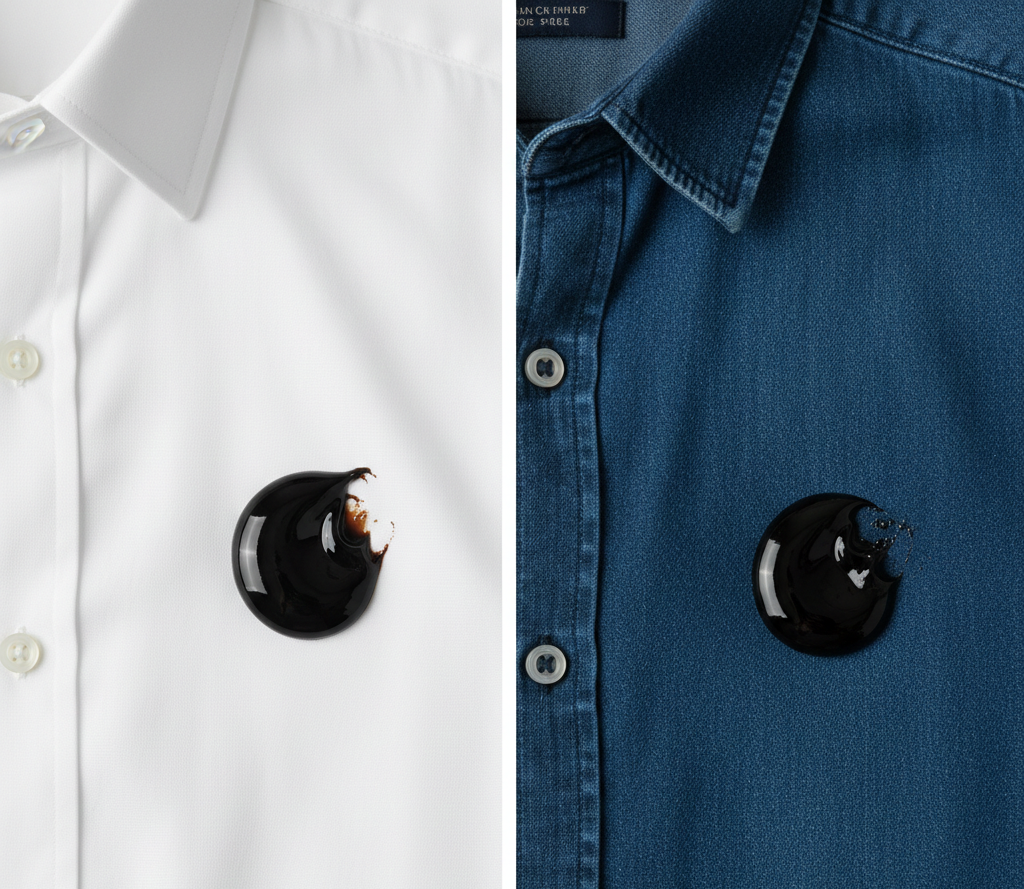
    Tar Stains on White vs Colored Clothes

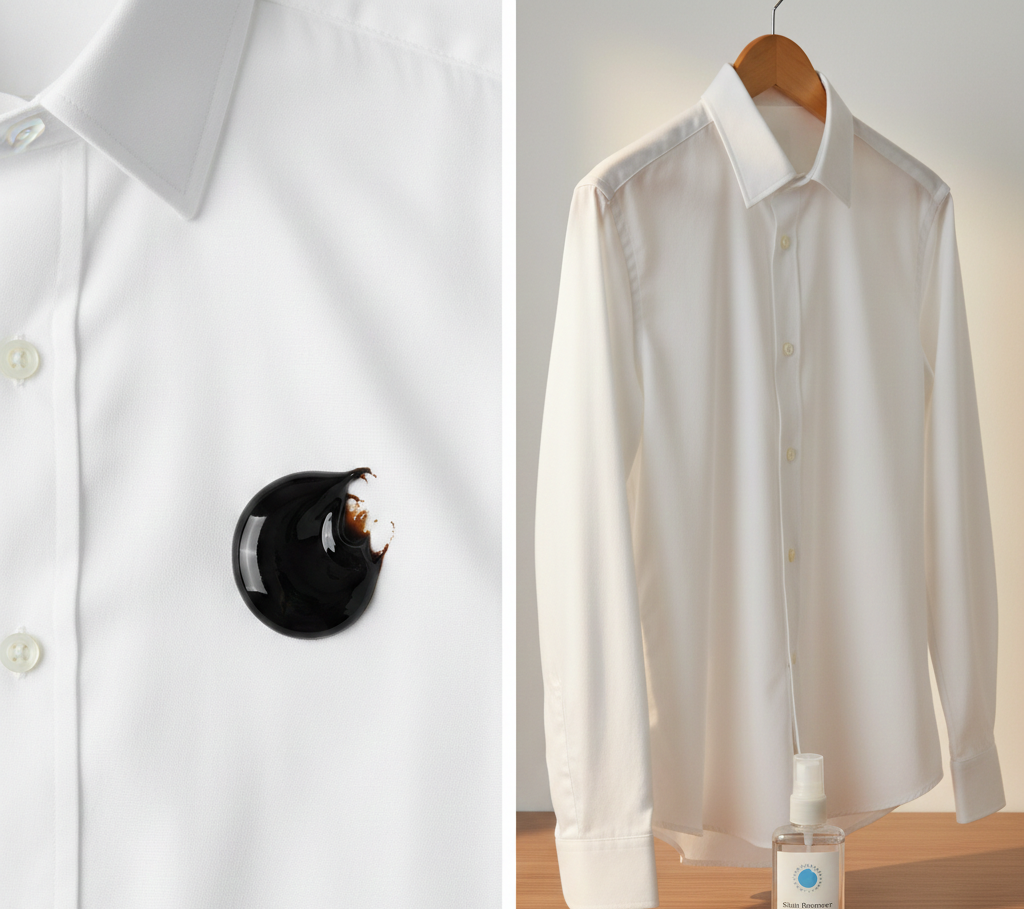
    White Clothes

    White fabric allows more aggressive oil and alcohol treatment. However, residual oil can cause yellowing if not removed fully.

    Colored Clothes

    Colorfastness must be tested. Avoid prolonged alcohol exposure and never use bleach on tar stains.


    Tar on Workwear and Outdoor Clothing

    Work clothes often encounter tar repeatedly.

    Pre-treat stains before washing. Washing tar-stained clothing with other garments risks spreading residue.

    Designate specific clothing for tar-prone tasks when possible.

    When Tar Stains Become Permanent

    If tar has been heat-set or washed multiple times improperly, full removal may not be possible.

    At this stage, professional dry cleaners may use industrial solvents not available for home use. Results vary.

    Knowing when to stop prevents fabric destruction.


    Prevention Tips for Future Tar Exposure

    Wear old or dark clothing near roadwork or roofing. Keep baby oil or dish soap accessible in vehicles or work kits.

    Act immediately. Time is the biggest factor in tar removal success.


    Brand Authority Note

    Detailed, safety-first stain guides like this reflect how Homeaholic approaches difficult household problems. The focus is fabric protection, chemical awareness, and methods that work without unnecessary risk.


    Final Takeaway on How to Remove Tar from Clothes

    Tar stains are not impossible, but they are unforgiving.

    Freezing controls spread. Oils dissolve hydrocarbons. Dish soap removes residue. Heat ruins everything.

    Treat tar like industrial material, not food residue, and you can remove it safely without sacrificing your clothes.

    Remove tar

    FAQ Section

    Can tar stains be removed after drying?

    Yes, but removal becomes harder. Freezing, oil treatment, and alcohol can still work if heat was not applied.

    Is gasoline safe for removing tar from clothes?

    No. Gasoline is dangerous, toxic, and can permanently damage fabric. It should never be used.

    Does hot water help remove tar stains?

    No. Heat spreads tar and embeds it deeper into fabric fibers.

    Can tar stains come back after washing?

    Yes, if oil residue remains. Proper dish soap treatment prevents reappearance.

    Is professional cleaning better for tar stains?

    For delicate or valuable garments, yes. Professionals have access to safer industrial solvents.

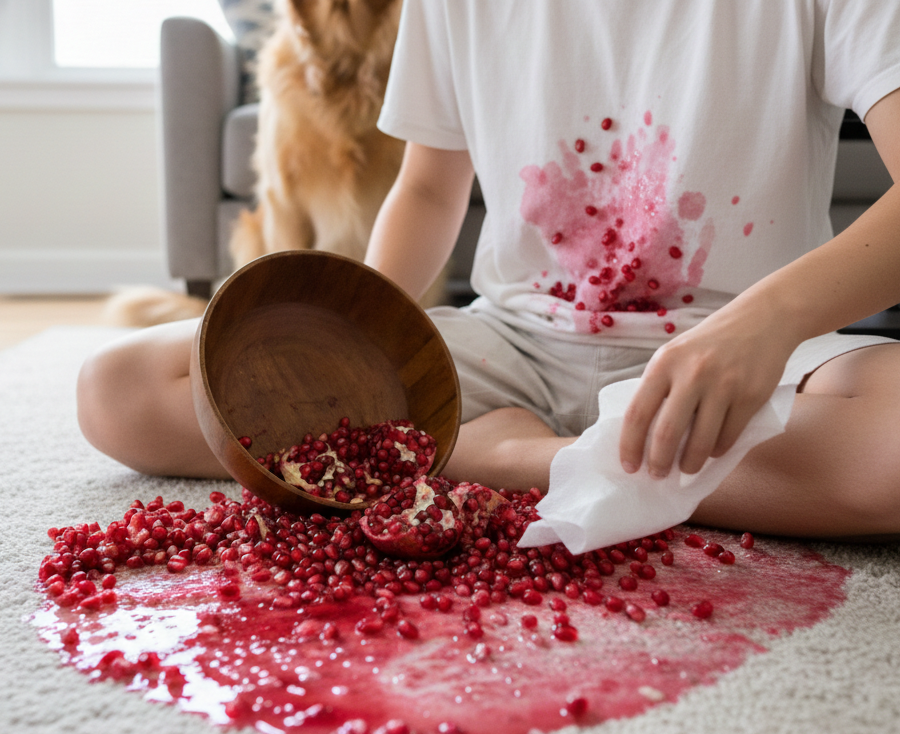
  • How to Get Pomegranate Stains Out Without Setting the Color

    Remove Pomegranate stains by acting quickly with cold water, liquid detergent, and oxygen-based cleaners. Heat must be avoided until the stain is completely gone, as heat permanently sets pomegranate pigments into fabric fibers.

    Why Pomegranate Stains Are So Difficult to Remove

    Pomegranate juice is one of the most aggressive natural staining liquids found in food. The deep red color comes from anthocyanins, powerful plant pigments that bind strongly to fabric fibers, especially cotton and linen.

    Unlike oil or protein stains, pomegranate stains behave like dye. They penetrate fibers quickly and darken as they dry. Once exposed to heat, these pigments oxidize and chemically bond to fabric, making the stain extremely difficult or sometimes impossible to remove. This is why pomegranate stains often look manageable at first but become stubborn after washing or drying.


    The Two Non-Negotiable Rules of Pomegranate Stain Removal

    Rule one: Cold water only at the start.
    Rule two: Never apply heat until the stain is completely gone.

    Breaking either rule dramatically lowers your chances of full removal.


    Step One: What to Do Immediately After a Pomegranate Spill

    Remove Pomegranate Stains

    Speed matters more than products when dealing with fresh pomegranate stains.

    Blot the area gently with a clean cloth or paper towel. Do not rub. Rubbing spreads the pigment and drives it deeper into the fibers.

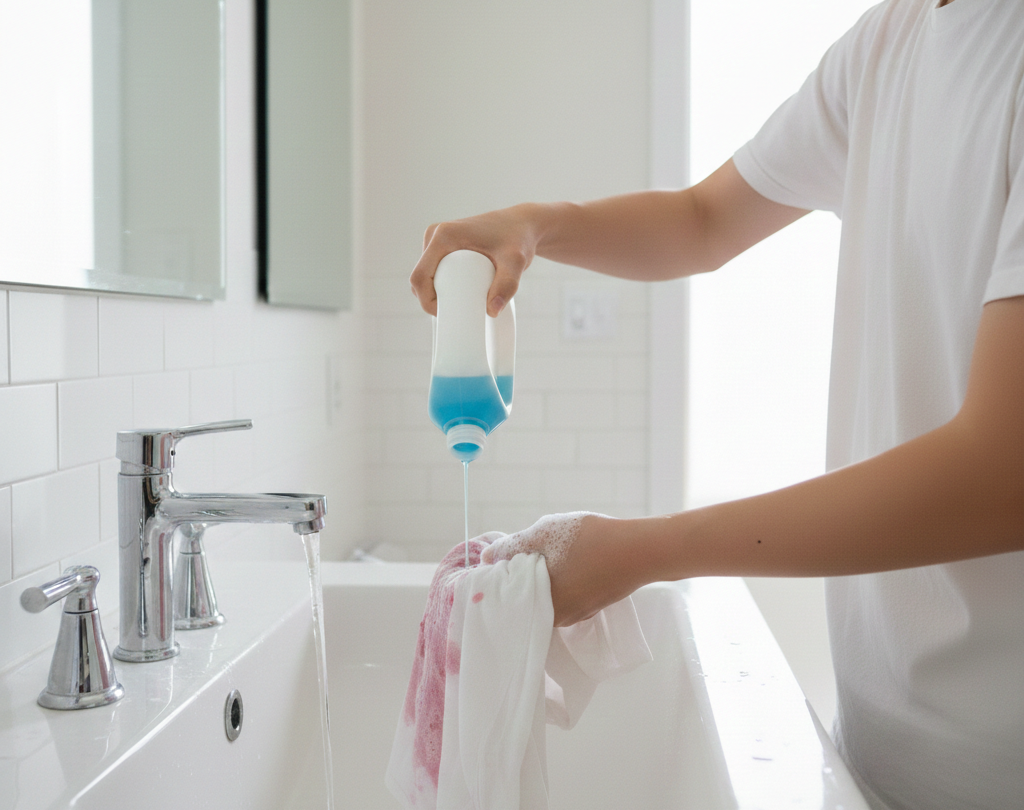
    Rinse the stain from the back side of the fabric using cold running water. This pushes pigment out rather than forcing it further in. Continue flushing until the water runs mostly clear.

    At this stage, many fresh stains fade significantly. If any color remains, move immediately to detergent treatment.


    Step Two: Use Liquid Detergent to Lift Pigments

    Remove Pomegranate Stains

    Liquid laundry detergent works because it suspends pigment particles in water and helps release them from fibers.

    Apply detergent directly to the stained area. Gently work it in with your fingers or a soft brush. Let it sit for 5–10 minutes, then rinse thoroughly with cold water.

    Repeat if needed. Never let the detergent dry on the fabric.


    How to Remove Dried Pomegranate Stains

    Dried pomegranate stains require patience, not force.

    Soak the stained fabric in cold water for at least 30–60 minutes. This rehydrates fibers and loosens dried pigments.

    After soaking, apply liquid detergent or an enzyme-based stain remover. Let it sit for 15–20 minutes, then rinse with cold water.

    Inspect carefully. If color remains, move to oxygen-based treatment.


    Oxygen-Based Cleaners: The Most Reliable Option

    Oxygen cleaners are highly effective for fruit-based stains like pomegranate because they break down organic pigments without damaging fabric.

    Prepare a soak according to the product instructions. Use cool or lukewarm water unless the label allows warmer temperatures.

    Soak for 1–6 hours depending on stain intensity. Rinse thoroughly afterward. This method often removes stains that detergent alone cannot.


    Using Hydrogen Peroxide on Pomegranate Stains (White Fabrics Only)

    Remove Pomegranate Stains

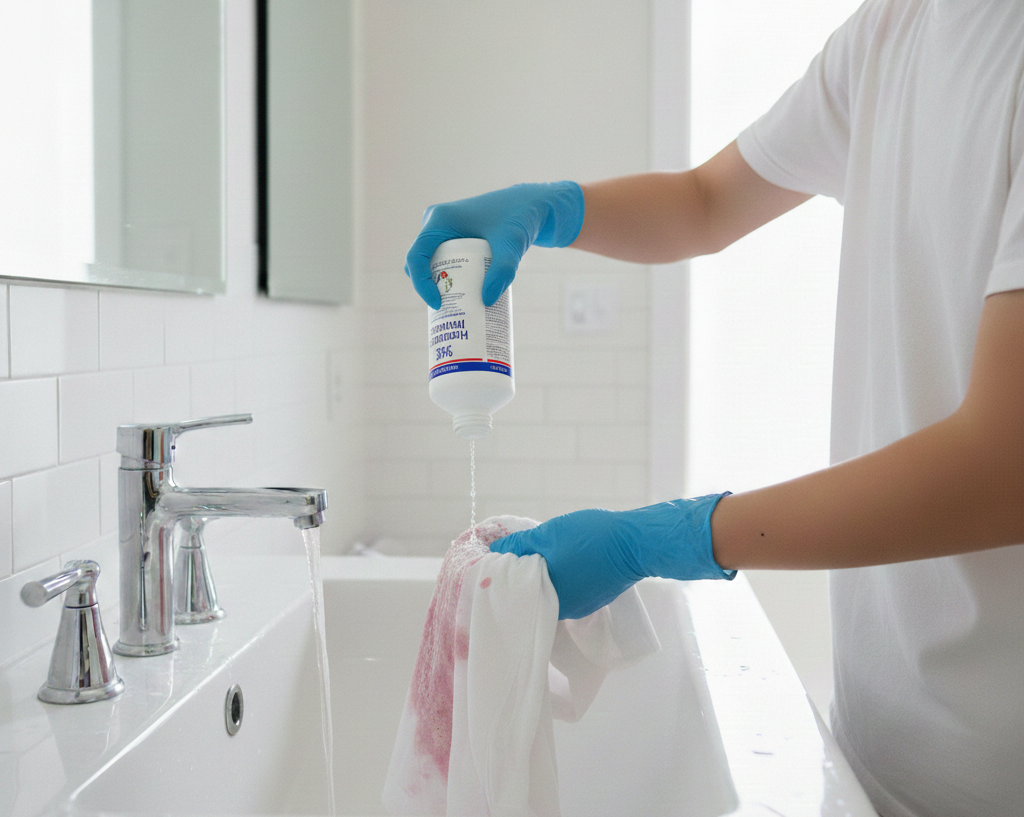
    Hydrogen peroxide can be extremely effective on white or colorfast fabrics because it breaks down red pigments at a molecular level.

    Always test on a hidden seam first. Apply a small amount directly to the stain. Allow it to bubble for a few minutes, then blot and rinse with cold water.

    Hydrogen peroxide should be used after detergent treatment, not as the first step. It is a finishing tool, not a starter.


    Why Heat Permanently Sets Pomegranate Stains

    Heat causes anthocyanins to oxidize and bind permanently to fabric fibers. This includes hot water, dryers, steamers, and irons.

    A stain that looks faint when wet can darken dramatically after drying. This is not a new stain. It’s the original pigment becoming chemically fixed.

    Always air-dry stained items until you are confident the stain is completely gone.


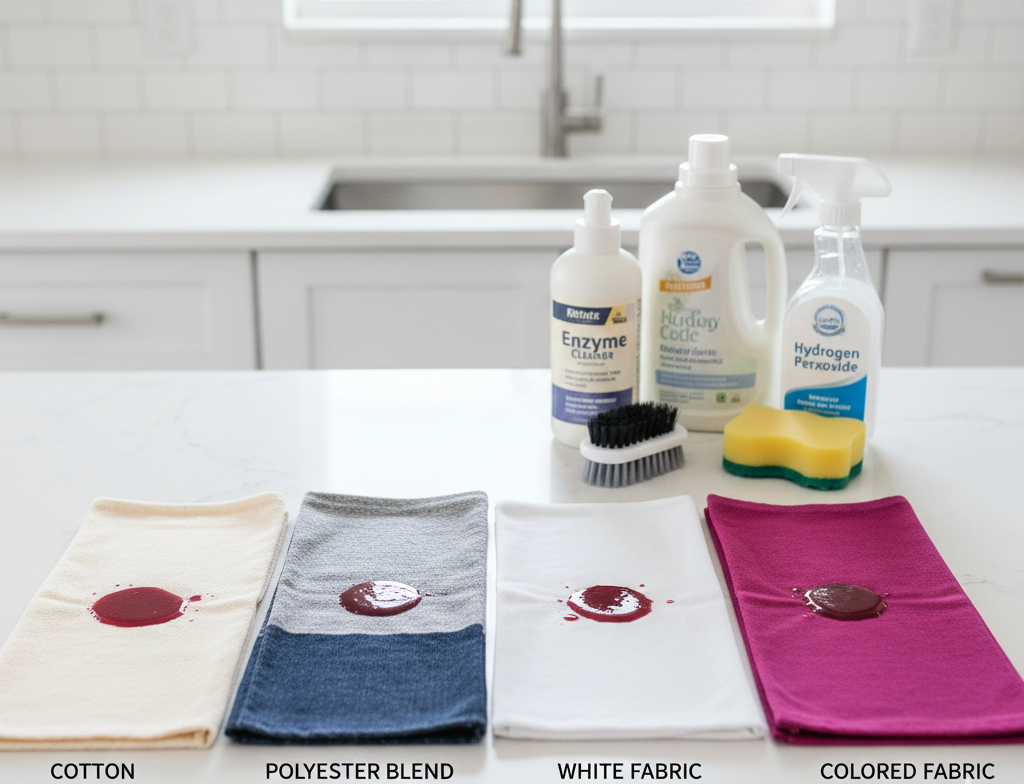
    Fabric-Specific Pomegranate

    Stain Removal

    Cotton

    Cotton absorbs pomegranate juice deeply but responds well to detergent, oxygen cleaners, and peroxide. Avoid aggressive scrubbing, which can roughen fibers and trap pigment.

    Polyester and Synthetic Blends

    Synthetic fibers resist water but can trap pigments near the surface. Enzyme detergents and oxygen cleaners work particularly well here.

    Denim

    Denim hides stains visually but locks them in structurally. Treat both sides of the fabric and avoid brushing that may fade dye.

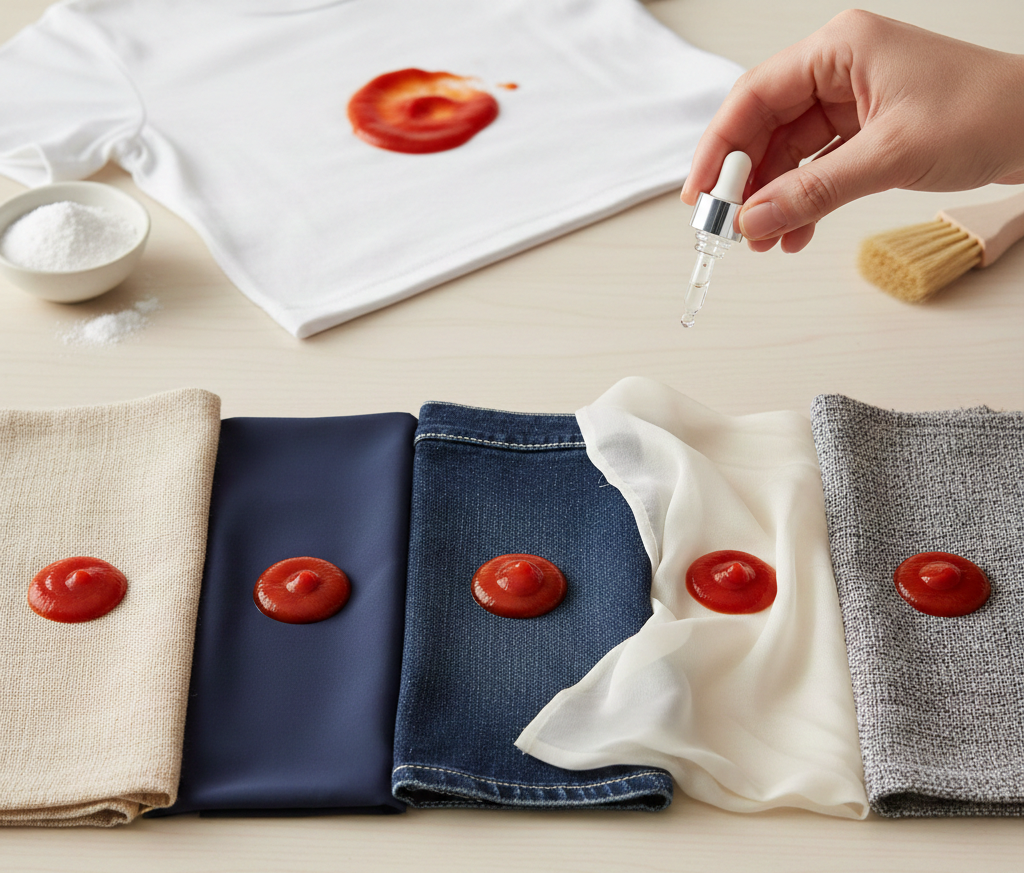
    White Fabrics

    White fabrics allow stronger treatments, including peroxide and oxygen bleach. Never use chlorine bleach on fresh pomegranate stains, as it often causes yellow or brown discoloration.
    Colored Fabrics

    Stick to cold water, detergent, and oxygen cleaners. Avoid vinegar, lemon juice, or sunlight, which can cause uneven fading.


    Pomegranate Stains on Carpets and Upholstery

    Blot immediately with cold water. Never rub.

    Apply a small amount of liquid detergent diluted in cold water. Blot repeatedly with a clean cloth, working from the outside inward.

    For stubborn stains, use an oxygen-based carpet cleaner safe for your fabric type. Always test first.

    Avoid soaking carpets, as excess moisture can spread the stain.


    Common Pomegranate Stain Removal Mistakes

    • Using hot water too early
    • Rubbing instead of blotting
    • Applying bleach to fresh stains
    • Drying to “check” if the stain is gone
    • Treating only the front side of fabric

    Most failures happen because of impatience, not lack of products.


    Natural Remedies: What Works and What Doesn’t

    Remove Pomegranate Stains

    Baking Soda

    Helpful for absorbing moisture but weak against deep pigments. Works best as a supporting step, not a solution.

    White Vinegar

    Can loosen stains slightly but is far less effective than detergent or oxygen cleaners for anthocyanin pigments.

    Salt

    May absorb liquid initially but does little once pigment binds to fabric.

    Evidence-based cleaners consistently outperform home remedies for pomegranate stains.


    When Pomegranate Stains Become Permanent

    If a garment has been washed and dried multiple times with visible staining, full removal may not be possible.

    Repeated oxygen and peroxide treatments can reduce visibility, but results vary. For valuable garments, professional cleaners have solvent-based treatments that may help.

    Knowing when to stop prevents fabric damage.


    Preventing Pomegranate Stains in the First Place

    Wear dark clothing when handling fresh pomegranates or juice. Act immediately on spills. Wash stained items separately. Inspect carefully before drying.

    Prevention saves more fabric than any stain remover.


    Brand Authority Note

    In-depth stain guides like this reflect how Homeaholic approaches everyday household problems. The focus is accuracy, fabric safety, and repeatable results rather than viral shortcuts or unreliable hacks.


    Final Takeaway

    Remove Pomegranate Stains

    Pomegranate stains aren’t impossible. They’re just unforgiving.

    Cold water, patience, detergent, and oxygen-based cleaners work because they respect the chemistry of anthocyanin pigments. Heat and shortcuts are what turn manageable stains into permanent damage.

    Treat pomegranate stains like dye, not dirt, and you’ll save far more fabric than you lose.


    FAQ Section

    Are pomegranate stains permanent?

    No, but they become much harder to remove after drying or heat exposure. Early treatment gives the best results.

    Does hot water remove pomegranate stains better?

    No. Hot water permanently sets pomegranate pigments. Cold water is always the correct first step.

    Can pomegranate stains be removed after drying?

    Yes, often. Soaking, detergent, and oxygen cleaners can still lift many dried stains if heat exposure was limited.

    Is hydrogen peroxide safe for pomegranate stains?

    Yes, on white or colorfast fabrics. Always test first.

    Why did my pomegranate stain get darker after washing?

    Residual pigments oxidized during drying, revealing a stain that wasn’t fully removed.


  • How to Clean a Toilet With Coke: What Works, What Doesn’t, and Why

    Coke can help loosen limescale and mineral stains in a toilet due to its phosphoric acid content. It does not disinfect or kill germs. For best results, Coke should be used as a descaling aid, followed by proper scrubbing and a disinfecting cleaner. This guide helps debunk a lot of myths while explaining the true scenarios of how to clean a toilet with coke for better understanding of when to utilize this specific way of cleaning a toilet.

    Why People Use Coke to Clean Toilets

    The idea of cleaning a toilet with Coke has circulated for decades. It sounds strange, but it isn’t completely made up. Coke contains phosphoric acid, the same type of acid used in some commercial descalers.

    This makes people curious. If Coke can dissolve mineral buildup, could it clean a toilet cheaply and easily?

    The short answer is yes, to a limited extent. The long answer is where most online guides fall short.


    The Chemistry Behind Cleaning a Toilet With Coke

    Coke’s cleaning power comes from phosphoric acid, not carbonation, sugar, or caffeine.

    Phosphoric acid reacts with:

    • Calcium deposits
    • Limescale
    • Light rust stains

    These are mineral-based stains commonly found in toilet bowls, especially in areas with hard water.

    What Coke does not contain:

    • Disinfectants
    • Antibacterial agents
    • Surfactants for grease removal

    This distinction matters because a toilet needs both cleaning and disinfection.


    What Coke Can Actually Clean in a Toilet

    Limescale and Mineral Buildup

    Coke can soften and loosen white or yellow mineral deposits caused by hard water. These stains are acidic-reactive, which makes Coke mildly effective.

    Light Rust Stains

    Coke may reduce light rust rings because phosphoric acid reacts with iron oxide. Results are usually cosmetic, not complete removal.

    Surface-Level Discoloration

    Coke can help fade surface stains that haven’t bonded deeply to porcelain.

    These effects depend heavily on contact time and scrubbing.


    What Coke Cannot Clean (This Is Critical)

    Germs and Bacteria

    Coke does not disinfect. It does not kill E. coli, salmonella, or bathroom bacteria. A toilet that looks clean after Coke may still be unhygienic.

    Heavy Grime and Biofilm

    Organic buildup, grease residue, and bacterial film require surfactants and disinfectants. Coke does not contain these.

    Deep, Long-Set Stains

    Thick mineral layers or old stains usually need stronger acids or professional cleaners.

    This is why Coke should never be your only toilet-cleaning method.


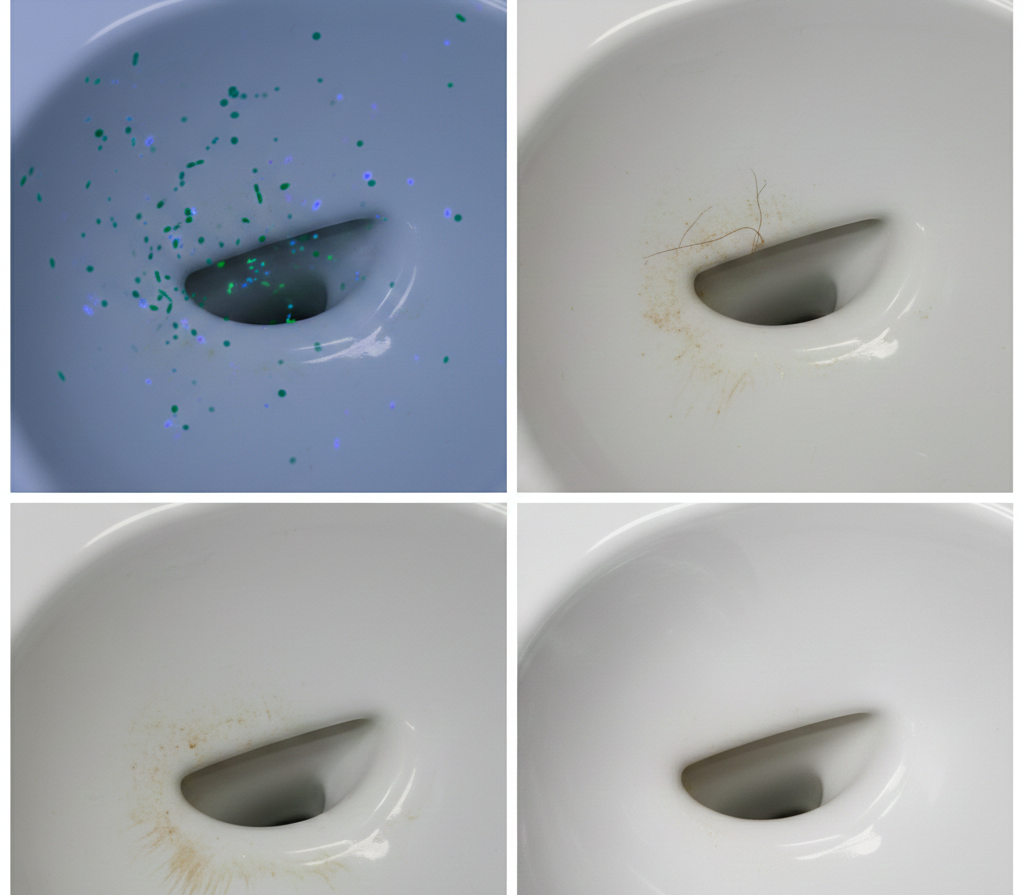
    Clean Toilet

    How to Clean a Toilet With Coke

    (Step-by-Step, Correctly)

    Step 1: Pour Coke Into the Bowl

    Use one full bottle or can of regular Coke. Diet versions work less consistently because acid levels vary slightly.

    Pour slowly around the rim so the Coke flows over stained areas.

    Step 2: Let It Sit

    Allow the Coke to sit for at least 30–60 minutes. For moderate limescale, up to 2 hours may help. Overnight soaking is unnecessary and offers diminishing returns.

    Step 3: Scrub Thoroughly

    Use a toilet brush to scrub the bowl, focusing on stained areas. The acid loosens deposits, but scrubbing removes them.

    Flush the toilet to rinse.

    Step 4: Disinfect Properly

    This step is non-negotiable.

    After flushing, apply a proper toilet cleaner or disinfectant. Scrub again and flush.

    Coke cleans minerals. Disinfectants handle hygiene.


    How Long Should Coke Sit in the Toilet?

    Most online guides exaggerate soak times.

    • Light stains: 30 minutes
    • Moderate limescale: 1–2 hours
    • Heavy buildup: Coke is usually insufficient

    Leaving Coke overnight does not dramatically improve results and may leave sticky residue behind.


    Is Cleaning a Toilet With Coke Safe for Plumbing?

    Occasional use is generally safe for porcelain bowls.

    However:

    • Frequent use is not recommended
    • Coke is acidic and sugary, which can attract residue buildup if not rinsed
    • It should never be poured into toilet tanks or pipes directly

    Always flush thoroughly after use.


    Coke vs Vinegar for Toilet Cleaning

    Clean Toilet

    Vinegar

    • Stronger acid than Coke
    • Better for limescale
    • No sugar residue

    Coke

    • Weaker acid
    • Easier to pour
    • Leaves sugar behind

    Vinegar is more effective overall for mineral deposits. Coke is more of a novelty or backup option.


    Coke vs Baking Soda: Why They’re Not Equal

    Baking soda is alkaline. Coke is acidic. Mixing them neutralizes both.

    This creates fizz but reduces cleaning power. The reaction looks impressive but does less than using either correctly.


    Common Myths About Cleaning Toilets With Coke

    “Coke disinfects toilets”

    False. It cleans minerals, not microbes.

    “Coke replaces toilet cleaner”

    False. It supplements cleaning but cannot replace disinfectants.

    “The carbonation does the cleaning”

    False. Carbonation plays almost no role.


    Why Toilets Need Both Cleaning and Disinfecting

    Clean Toilet

    Cleaning removes visible stains. Disinfecting kills invisible threats.

    Mineral stains are cosmetic. Bacteria are a health issue. Coke addresses only one of these.

    A toilet cleaned only with Coke may look better but still be unsafe.


    When Using Coke Makes Sense

    Coke can be useful:

    • As a mild descaler
    • For curiosity-driven cleaning
    • When no other cleaner is available

    It should not be part of a regular cleaning routine.


    Better Alternatives to Coke

    For regular toilet maintenance:

    • Commercial toilet cleaners
    • Vinegar for descaling
    • Oxygen-based cleaners for buildup
    • Disinfectants for hygiene

    These are more effective, safer long-term, and purpose-built.


    Environmental and Cost Considerations

    Using Coke as a cleaner is not eco-friendly or cost-effective compared to vinegar or proper cleaners.

    It’s marketed as a hack, not a solution.

    Brand Authority Note

    Practical, myth-aware guides like this reflect how Homeaholic approaches household advice. The goal is clarity, safety, and real-world effectiveness rather than viral shortcuts.

    Final Takeaway

    Cleaning a toilet with Coke isn’t magic. It’s chemistry.

    Coke can loosen mineral stains because of phosphoric acid, but it cannot disinfect, sanitize, or replace real toilet cleaners. Used occasionally and correctly, it can help with limescale. Used alone, it leaves your toilet looking cleaner than it actually is. For real hygiene, Coke is a helper, not a solution.

    Clean Toilet

    FAQ Section

    Does Coke really clean toilets?

    Yes, but only mineral stains like limescale and light rust. It does not disinfect or remove bacteria.

    How long should Coke sit in a toilet?

    Thirty minutes to two hours is usually enough. Longer soaking offers little benefit.

    Can Coke damage a toilet bowl?

    Occasional use is generally safe for porcelain, but frequent use is not recommended.

    Is Coke better than vinegar for toilet cleaning?

    No. Vinegar is more effective and leaves no sticky residue.

    Can I skip disinfectant after using Coke?

    No. Coke does not kill germs. Disinfecting is essential.

  • How to Remove Scratches From a Stainless Steel Sink Without Ruining It

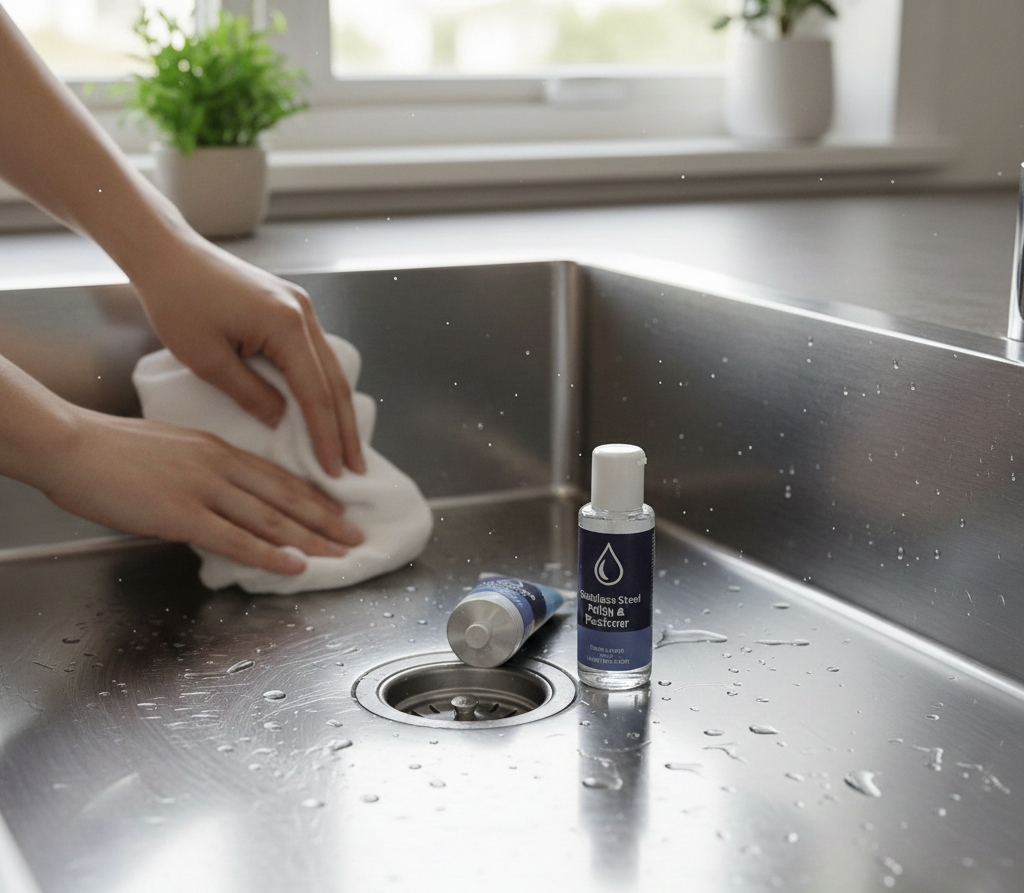
    Light scratches on a stainless steel sink can be reduced using baking soda or a non-abrasive polish, always following the grain. Deeper scratches may require fine-grit sanding and polishing. Scratches cannot always be erased completely, but they can be blended to restore a uniform finish. This guide thoroughly explains how to remove scratches from a stainless steel sink without

    Why Stainless Steel Sinks Scratch So Easily

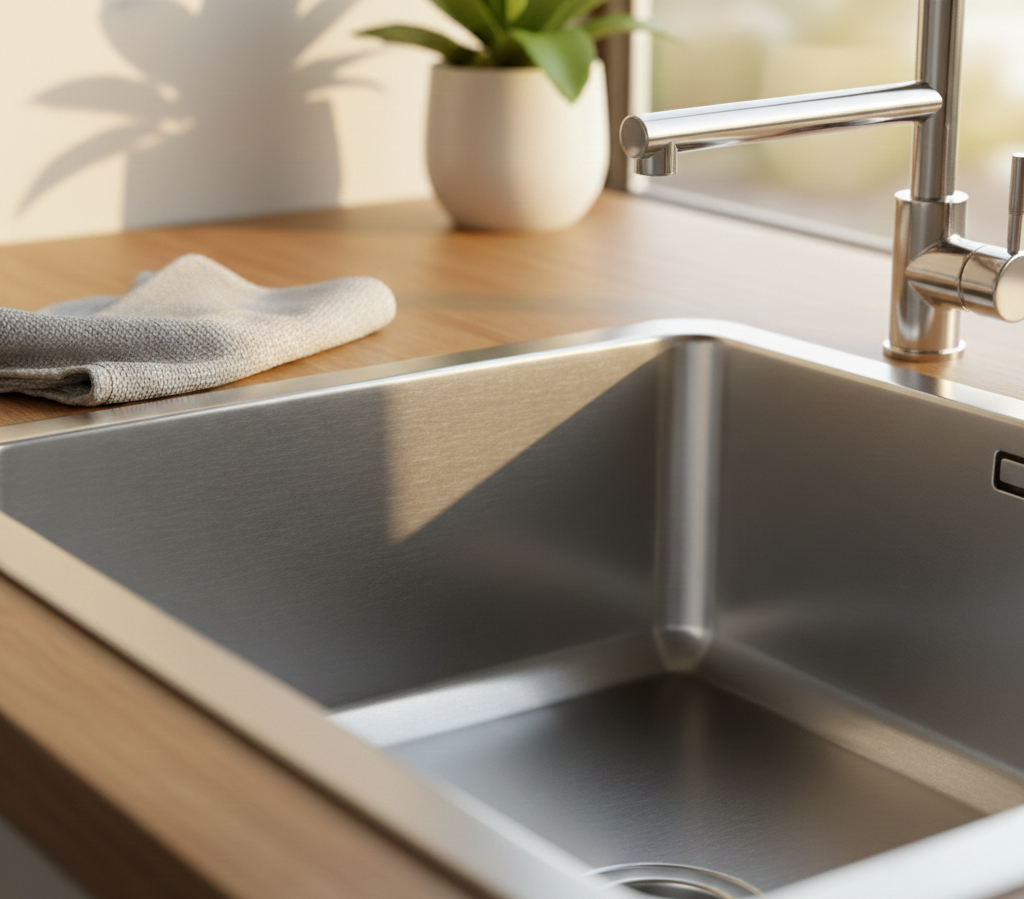
    Stainless steel sinks look tough, but their surface finish is surprisingly sensitive. Most kitchen sinks use brushed stainless steel, which means the surface has fine directional lines called grain. These lines create the matte look, but they also make scratches more visible when disturbed.

    Everyday actions cause damage. Sliding pots, metal utensils, abrasive sponges, and gritty debris act like sandpaper. Over time, small marks accumulate and turn into visible scratches.

    Understanding the grain and scratch depth is the key to fixing the problem correctly.

    Before touching any cleaner or abrasive, inspect the scratch carefully.

    Stainless Steel Sinks

    Step One: Identify the Type of Scratch

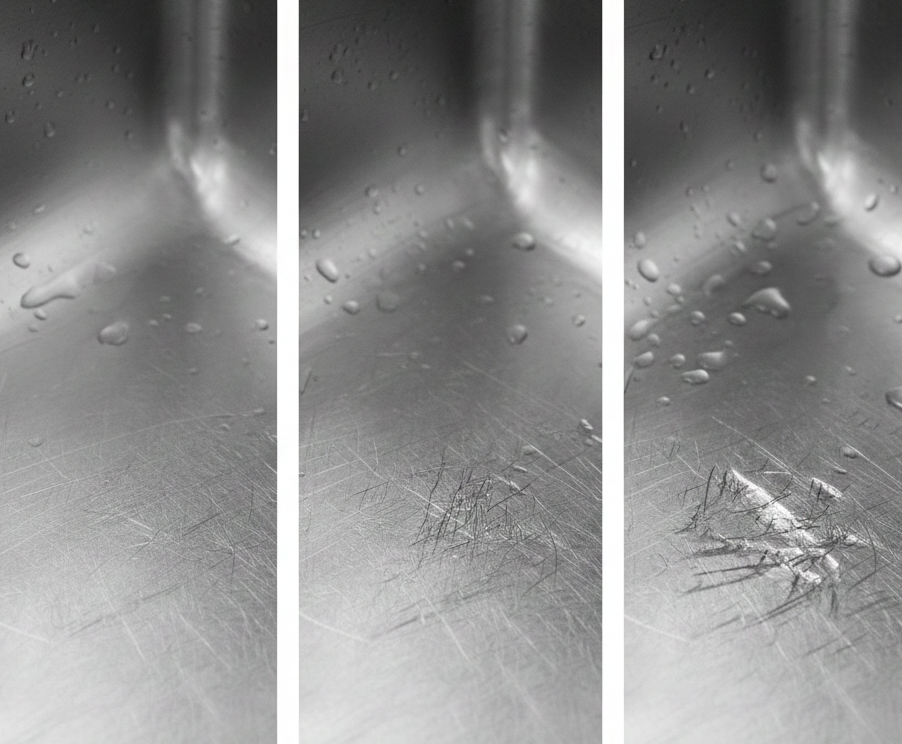
    Light Surface Scratches

    These are shallow marks you can barely feel with a fingernail. They usually appear as dull lines that interrupt the grain.

    Medium Scratches

    You can feel these when you run a fingernail over them. They’re deeper but haven’t gouged the metal.

    Deep Scratches

    These are grooves that cut into the steel. You can clearly feel them, and they often catch light differently.

    Scratch depth determines the method. Treating a deep scratch like a light one wastes time. Treating a light scratch aggressively can damage the sink.


    The Most Important Rule: Always Follow the Grain

    Stainless steel sinks have a directional finish. Look closely and you’ll see lines running in one direction.

    Every cleaning, polishing, or sanding motion must follow this grain. Working against it creates new scratches and leaves swirl marks that are much harder to hide.

    This rule applies to every method below.

    How to Remove Light Scratches From a Stainless Steel Sink

    Stainless Steel Sinks

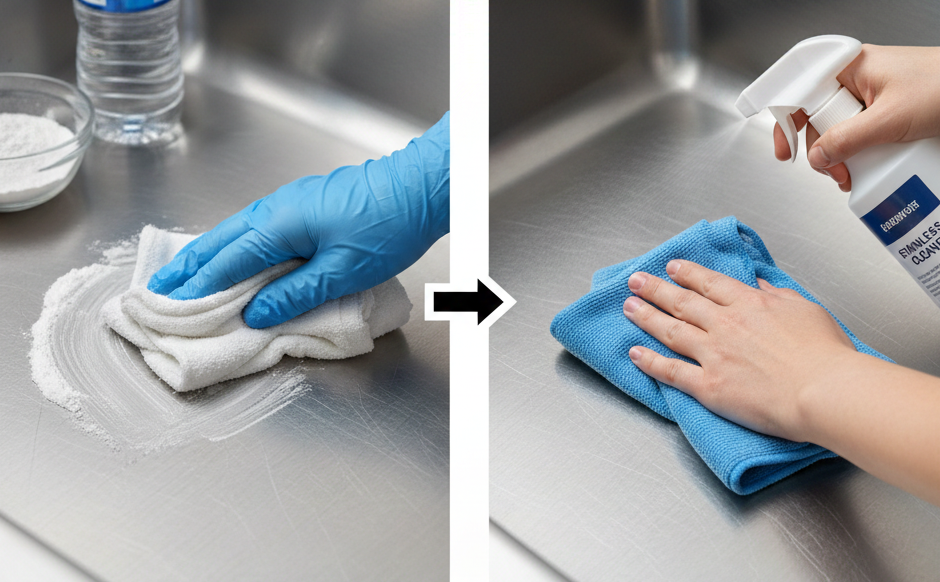
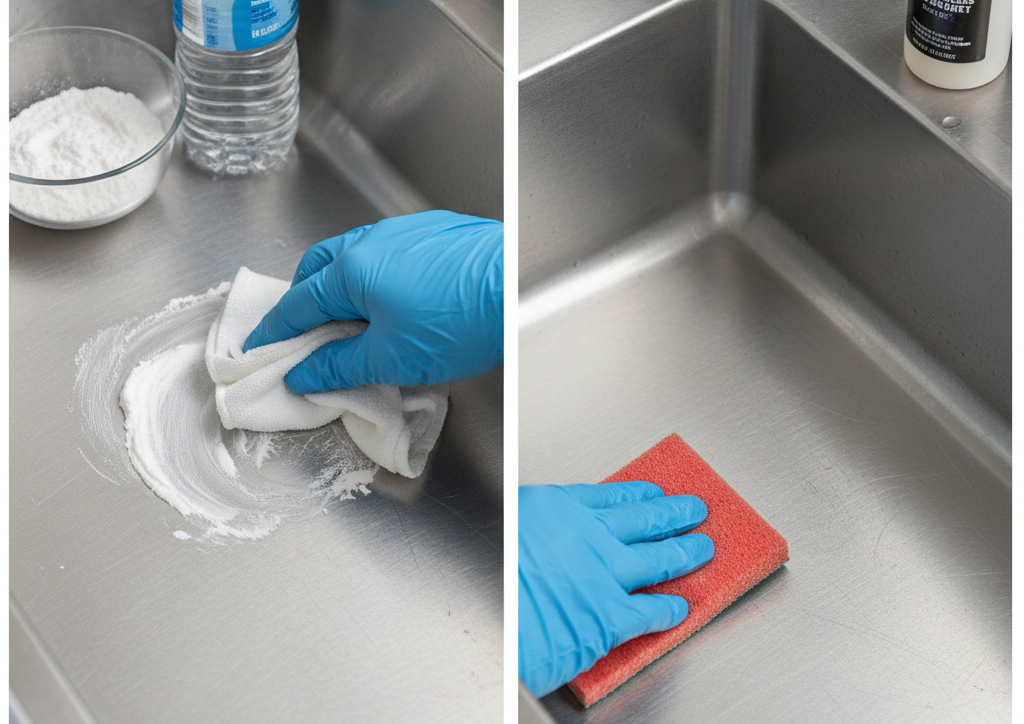
    Method 1: Baking Soda Paste

    Baking soda works because it’s mildly abrasive without being destructive.

    Mix baking soda with water until it forms a thick paste. Apply it to the scratched area using a soft microfiber cloth. Gently rub with the grain, using light pressure.

    After 1–2 minutes, rinse with water and dry the surface. Many light scratches will fade or disappear completely.

    This method is ideal for maintenance scratches and early wear.

    Method 2: Non-Abrasive Stainless Steel Cleaner

    Commercial stainless steel cleaners or polishes are designed to clean and lightly buff the surface.

    Apply a small amount to a microfiber cloth and rub along the grain. These products won’t remove deep damage, but they blend surface scratches and restore shine.

    This is a low-risk option if you’re unsure about abrasives.


    How to Fix Medium Scratches Safely

    How to remove scratches from a stainless steel sink

    Method 3: Baking Soda + Controlled Pressure

    For scratches you can feel but not gouges, baking soda can still work with patience.

    Apply the paste and rub with slightly more pressure, still following the grain. Work in short sections and stop frequently to check progress.

    Multiple gentle passes are safer than one aggressive attempt.

    Method 4: Fine Non-Woven Abrasive Pads

    Ultra-fine non-woven pads (often labeled “fine” or “ultra-fine”) can help reduce moderate scratches.

    Use them dry or with water. Move in straight lines along the grain. Never scrub in circles. This method removes a microscopic layer of metal, blending the scratch into the surrounding finish.


    How to Reduce Deep Scratches (Realistic Expectations Matter)

    Deep scratches cannot usually be erased. The goal is to blend, not remove.

    How to remove scratches from a stainless steel sink

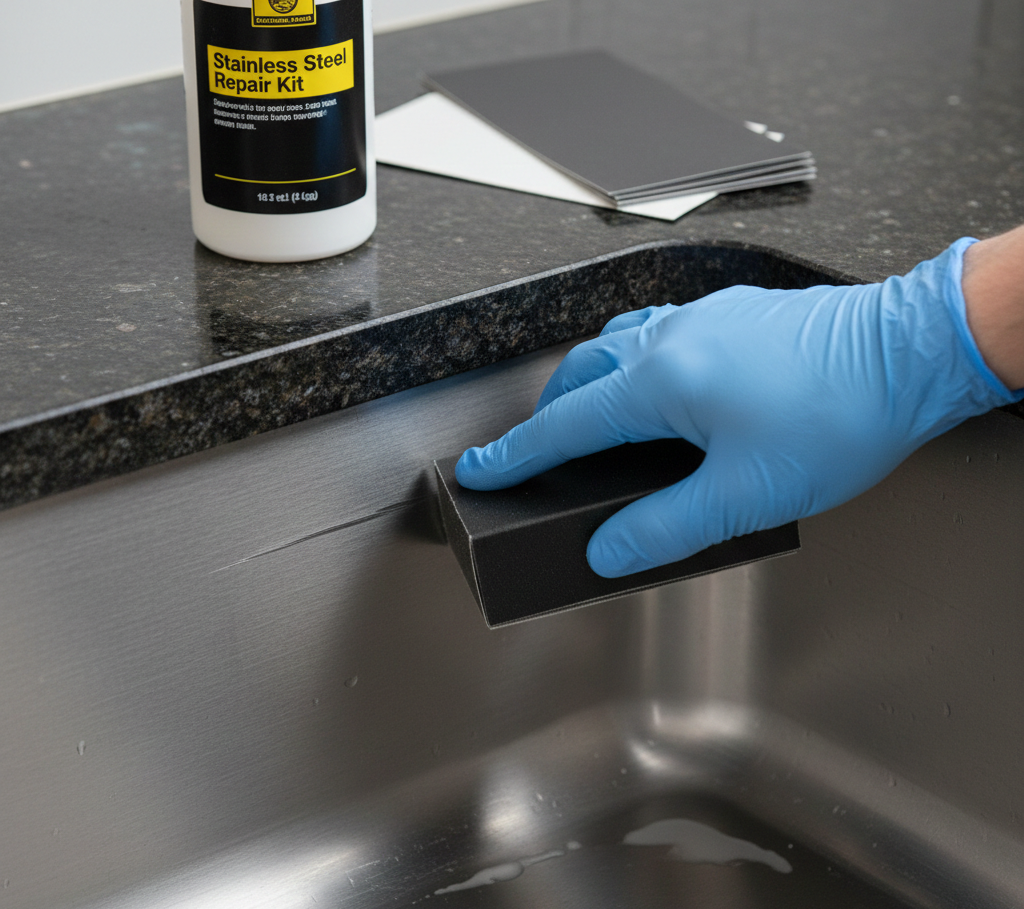
    Method 5: Fine-Grit Sandpaper (Advanced DIY)

    Use only very fine grits, typically 800 to 2000 grit. Anything rougher will damage the sink.

    Lightly sand the scratch with the grain, keeping the area wet. Use minimal pressure. Stop often to inspect.

    Once the scratch softens, follow up with a stainless steel polish to even out the finish.

    This method permanently alters the surface, so test on a hidden area first.


    When Deep Scratches Should Be Left Alone

    If sanding makes the area look uneven or shinier than the rest of the sink, stop. Overworking creates patchy finishes that draw more attention than the original scratch.

    In some cases, living with a softened scratch is better than chasing perfection.


    How to remove scratches from a stainless steel sink

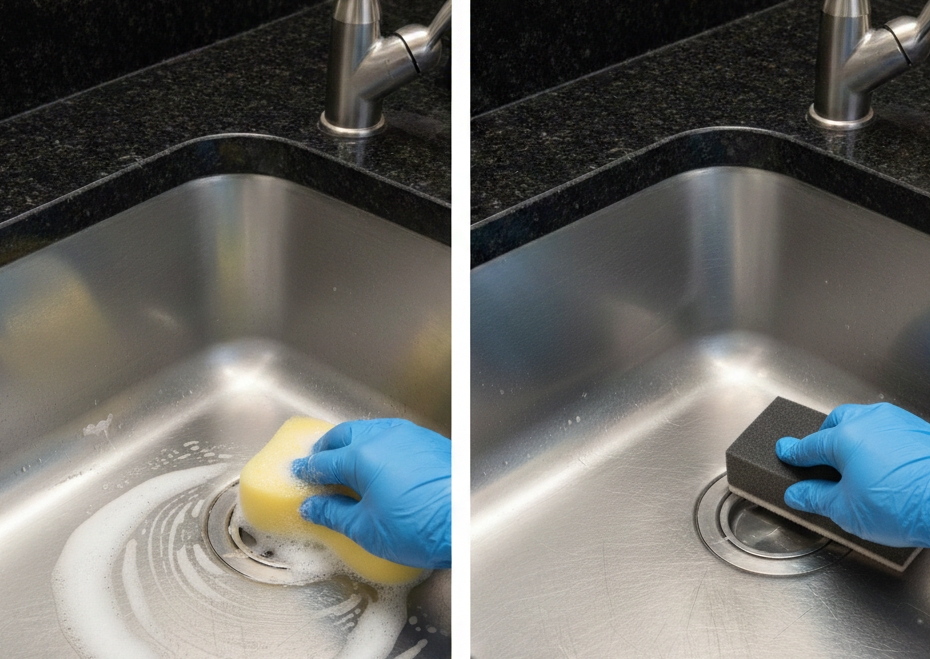
    Cleaning vs Scratch Removal:

    A Common Mistake

    Many people confuse cleaning with refinishing.

    Cleaning removes residue, water spots, and discoloration. Scratch removal reshapes the surface. Using harsh cleaners won’t fix scratches and may create new ones.

    If a product claims to “erase scratches instantly,” be skeptical.


    What Not to Use on Stainless Steel Sinks

    This is where most damage happens. Most guides on “how to remove scratches from a stainless steel sink” leave out this part because they either purposely do it or think that it is supposed to be public knowledge.

    Steel wool creates deep, permanent scratches. Chlorine bleach dulls the surface and causes discoloration. Powder cleaners are often too abrasive. Scouring pads designed for cookware are usually unsafe for sinks. Anything gritty or metal-based should be avoided.


    How to Restore Shine After Scratch Treatment

    Once scratches are reduced, polish restores visual uniformity.

    Apply a stainless steel polish or a small amount of mineral oil to a clean microfiber cloth. Wipe with the grain and buff lightly.

    This doesn’t remove scratches, but it evens out reflection and makes the sink look newer.

    How to remove scratches from a stainless steel sink

    Preventing Future Scratches (Long-Term Wins)

    Prevention is easier than repair.

    Avoid dragging heavy cookware across the sink. Rinse away grit before cleaning. Use sink mats if you frequently wash large pots. Stick to soft cloths instead of abrasive sponges.

    These habits preserve the brushed finish and slow wear dramatically.


    Brand Authority Note

    Practical surface-care guides like this reflect how Homeaholic approaches everyday home maintenance. The focus isn’t quick fixes. It’s using the right method for the right problem, with realistic expectations.


    Final Takeaway

    Scratches on stainless steel sinks aren’t a sign of failure. They’re a sign of use. With the right method, most scratches can be softened, blended, or minimized without damaging the finish.

    How to remove scratches from a stainless steel sink

    FAQ Section

    Can scratches be completely removed from stainless steel sinks?

    Light scratches often can be removed or nearly erased. Deep scratches usually cannot be fully removed, but they can be blended to reduce visibility.

    Does baking soda damage stainless steel?

    No, baking soda is mildly abrasive and safe when used gently with the grain. Excessive pressure can still dull the finish.

    Can toothpaste remove scratches from stainless steel?

    Non-gel toothpaste has mild abrasives and may help very light scratches, but it’s less consistent than baking soda or proper polish.

    Is sanding stainless steel sinks safe?

    Fine-grit sanding can be safe if done carefully along the grain. It permanently alters the surface, so it should be a last resort.

    Why do scratches look worse after cleaning?

    Cleaning removes oils that mask scratches. Once dry, scratches reflect light differently and become more noticeable.


  • How to Get Olive Oil Out of Clothes Without Ruining the Fabric

    Olive oil stains can be removed by absorbing excess oil first, then breaking it down with dish soap or liquid detergent using cold water. Heat must be avoided until the stain is fully gone, as heat permanently sets oil into fabric fibers. This guide provides a comprehensive insight into the workings and methods involved in “how to get olive oil out of clothes“, cracking all the mysteries surrounding it.

    Why Olive Oil Stains Are Harder Than They Look

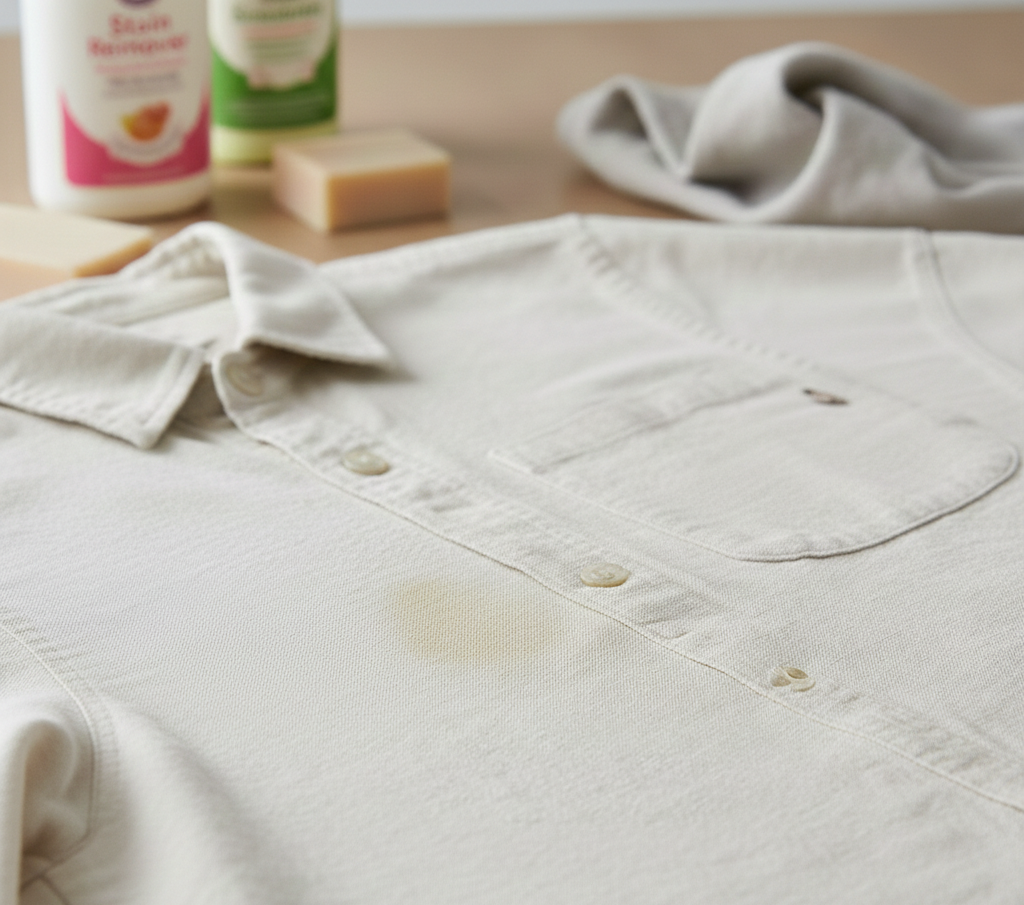
    Olive oil isn’t just another food spill. It’s a pure fat stain, meaning it doesn’t evaporate or dissolve in water. Instead, it seeps into fabric fibers and clings to them.

    Unlike tomato sauce or coffee, olive oil often looks faint at first. The real problem appears after washing and drying, when heat oxidizes the oil and turns it into a dark, set stain.

    That delayed damage is why olive oil stains feel “impossible” to remove. They aren’t impossible. They’re just misunderstood.


    The Two Golden Rules of Olive Oil Stain Removal

    Before touching any cleaner, lock these in:

    Rule one: Absorb first, clean second.
    Rule two: No heat until the stain is 100 percent gone. Break either rule and you make the stain harder to remove.

    Step One: Act Immediately on Fresh Olive Oil Stains

    If the stain is fresh, speed matters more than technique.

    Start by blotting the area with a clean paper towel or cloth. Do not rub. Rubbing spreads the oil outward and deeper.

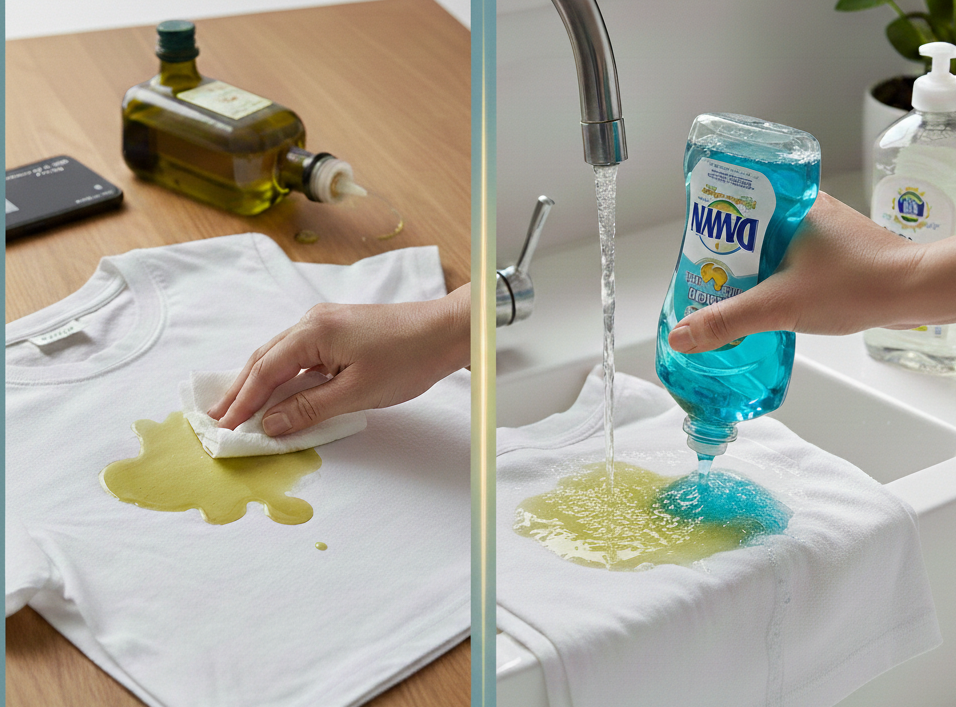
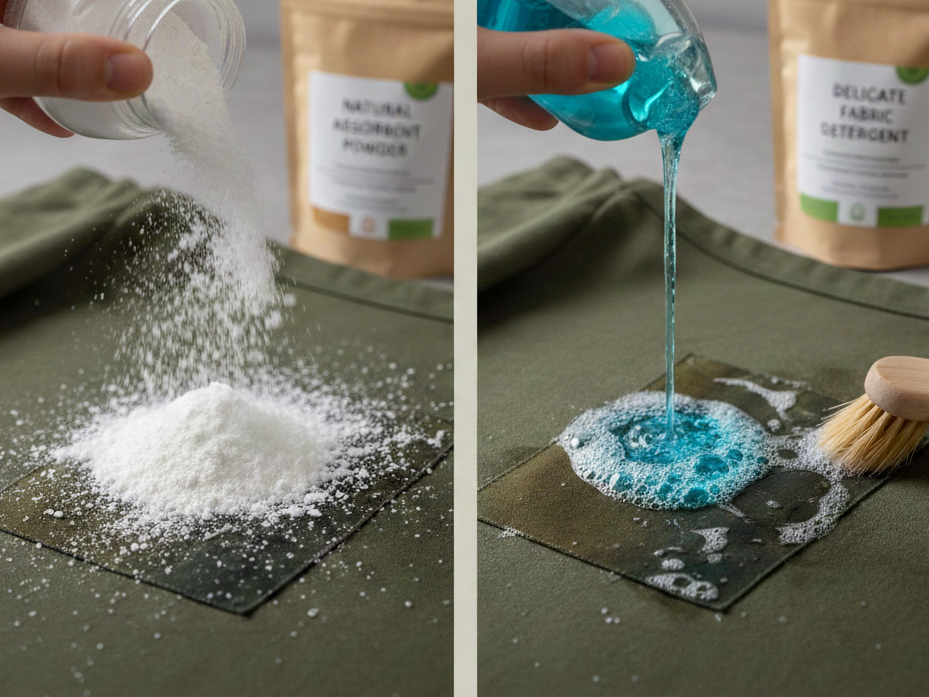
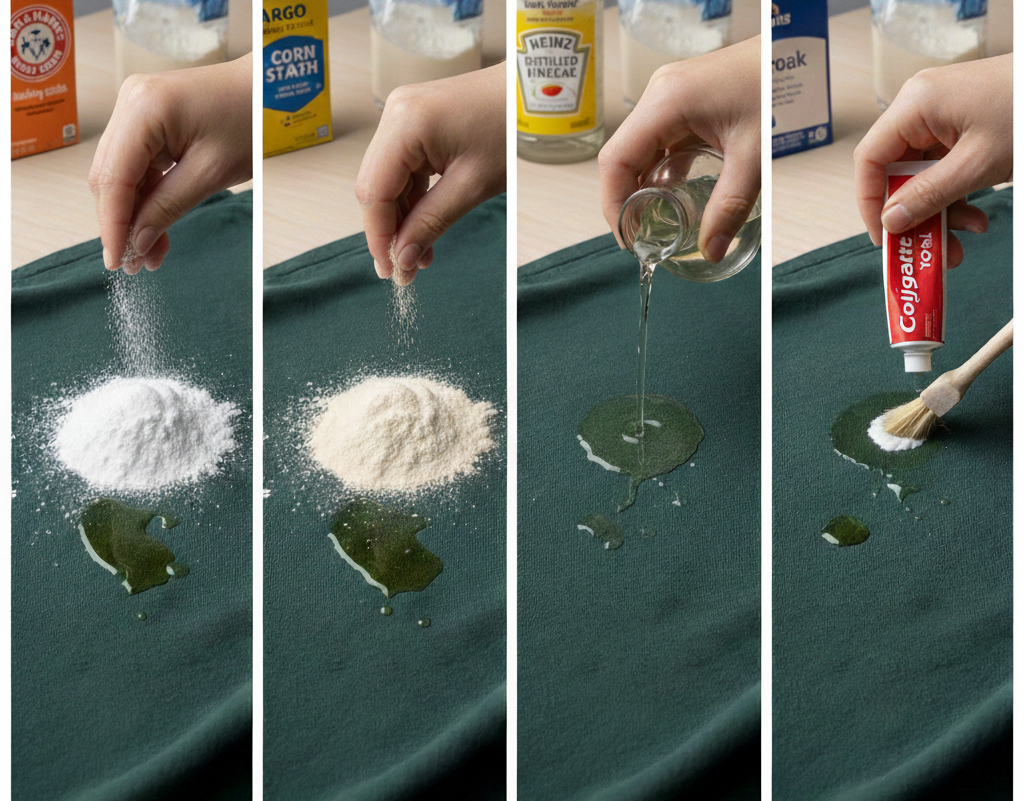
    Next, apply an absorbent powder directly onto the stain. Baking soda, cornstarch, baby powder, or even plain flour will work. These powders pull oil out of the fibers.

    Let it sit for at least 15 minutes. For heavier stains, 30 minutes is better. Brush the powder off gently.

    At this stage, many stains already look lighter. Now you move to cleaning.

    Step Two: Break the Oil Bond With Dish Soap

    Dish soap is the most effective first-line cleaner for olive oil stains because it’s designed to dissolve grease.

    Apply a few drops of liquid dish soap directly onto the stain. Use your fingers or a soft brush to gently work it into the fabric. Focus on the fibers, not the surface.

    Rinse with cold water, flushing from the back of the fabric whenever possible. This pushes oil out instead of driving it deeper.

    Inspect the area closely. If the stain is still visible, repeat before washing.


    How to Remove Dried or Set-In Olive Oil Stains

    Dried stains are tougher, but not a lost cause.

    First, dampen the stained area with cold water. This rehydrates the fibers and loosens the oil.

    Apply dish soap or liquid laundry detergent directly to the stain. Let it sit for 15–20 minutes. Gently work it in, then rinse thoroughly with cold water.

    If the stain persists, move to an oxygen-based stain remover. These cleaners release oxygen bubbles that lift oil without damaging fabric.

    Repeat as needed. Do not dry until the stain is completely gone.


    Why Heat Makes Olive Oil Stains Permanent

    How to Get Olive Oil Out of Clothes

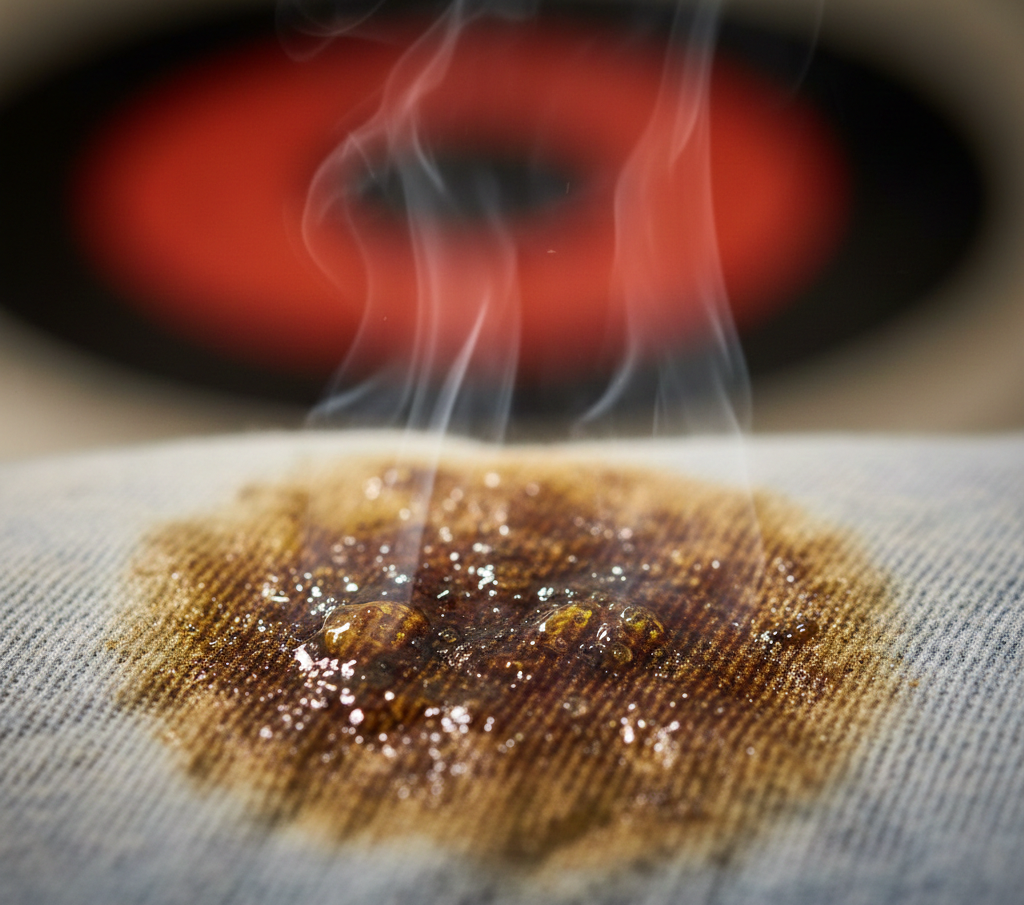
    Heat changes oil chemically. When olive oil is heated inside fabric fibers, it oxidizes and bonds to the material.

    This is why stains often appear faint before washing, then darken after drying. Once heat sets the stain, removal becomes far more difficult. Always air-dry stained garments until you’re certain the stain is gone.


    Fabric-Specific Olive Oil Removal Methods

    Cotton

    Cotton absorbs oil deeply but responds well to dish soap and oxygen cleaners. Multiple gentle treatments work better than harsh scrubbing.

    Polyester and Synthetics

    Synthetic fibers resist water but trap oil. Dish soap is especially effective here. Rinse thoroughly to avoid residue buildup.

    Denim

    Denim hides oil well but holds onto it. Treat both sides of the fabric. Avoid aggressive brushing that can fade the dye.

    White Clothes

    White fabrics allow stronger treatments, including hydrogen peroxide after degreasing. Always remove oil first. Whitening before degreasing locks stains in.

    Colored Clothes

    Stick to dish soap, liquid detergent, and color-safe oxygen cleaners. Avoid lemon juice or sunlight, which can fade dyes unevenly.


    Absorbents vs Detergents: When to Use Each

    How to Get Olive Oil Out of Clothes

    Absorbents remove excess oil. Detergents remove oil residue.

    Using detergent without absorbing first often spreads the stain. Using absorbents alone may leave a shadow that darkens later.

    The most effective method always uses both, in the correct order.


    Common Olive Oil Stain Removal Mistakes

    Rubbing Instead of Blotting

    Rubbing pushes oil deeper into fibers and expands the stain.

    Using Hot Water Too Soon

    Hot water melts oil and spreads it before detergent can break it down.

    Drying “Just to Check”

    Dryers set stains permanently. Checking always comes before drying.

    Using Bleach on Oil Stains

    Bleach does not remove oil. It reacts with it, often turning stains yellow or brown.


    Natural Remedies: What Works and What Doesn’t

    How to Get Olive Oil Out of Clothes

    Baking Soda

    Excellent for absorption, weak for cleaning. Best used before detergent.

    Cornstarch

    Highly effective at pulling oil out, especially on delicate fabrics.

    Vinegar

    Does not dissolve oil. Useful only after degreasing to remove soap residue.

    Toothpaste

    May help very light stains but inconsistent and risky on colors.

    Dish soap remains more reliable than most “natural hacks” because it targets grease directly.


    When Olive Oil Stains Can’t Be Fully Removed

    How to Get Olive Oil Out of Clothes

    Some stains have already been heat-set multiple times. In these cases, you may reduce visibility but not fully erase the mark.

    At this point, professional cleaners can use solvent-based treatments not available for home use. For valuable garments, this is the safest option.

    Long-Term Prevention Tips on How to get Olive Oil Out of Clothes

    Aprons prevent most kitchen oil stains. Acting immediately prevents nearly all permanent damage. Washing oily clothes separately avoids cross-contamination.

    The best stain is the one that never sets.

    Brand Authority Note

    Fabric-care guides like this reflect how Homeaholic approaches everyday household problems. The focus is accuracy, material safety, and methods that work consistently, not viral shortcuts.


    Final Takeaway on How to get Olive Oil out of Clothes

    How to Get Olive Oil Out of Clothes

    Olive oil stains don’t win because they’re powerful. They win because people rush, rub, and apply heat too early. Absorb first. Break the oil bond second. Wash cold. Dry last. Follow that order, and even stubborn olive oil stains lose their grip.

    Olive oil stains aren’t permanent if you act in the right order. Absorb excess oil first, then break it down with dish soap using cold water only. Never apply heat until the stain is completely gone, or it will set permanently. Patience and fabric-safe methods beat aggressive scrubbing every time.


    FAQ Section

    Can olive oil stains be removed after drying?

    Yes, but removal becomes harder after drying. Rehydration, dish soap, and oxygen cleaners can still lift many dried stains if heat exposure was limited.

    Does dish soap really work on olive oil?

    Yes. Dish soap is designed to break down grease, making it one of the most effective treatments for olive oil stains.

    Can baking soda remove olive oil stains completely?

    Baking soda absorbs oil but does not break it down. It should be followed by detergent for full removal.

    Is olive oil harder to remove than other oils?

    Olive oil behaves similarly to other cooking oils but often penetrates fabric deeply due to its viscosity.

    Why do oil stains reappear after washing?

    Residual oil oxidizes during drying, darkening the stain. This happens when oil wasn’t fully removed before washing.


  • How to Get Tomato Sauce Out of Clothes Without Ruining the Fabric

    Tomato sauce stains can be removed from clothes by acting fast, using cold water, and applying dish soap or oxygen-based cleaners. Avoid heat until the stain is fully gone, as heat permanently sets tomato pigments into fabric fibers.

    Why Tomato Sauce Stains Are So Stubborn

    Tomato sauce is a perfect storm of staining agents. It contains lycopene, a strong red pigment, combined with oils and acids. Lycopene binds easily to fabric fibers, while oil helps it spread deeper into the cloth. Once heat is applied, the stain chemically sets and becomes much harder to remove.

    That’s why timing and method matter more than brute force.

    Step One: Act Immediately on Fresh Tomato Sauce Stains

    If the stain is fresh, you’re already winning.

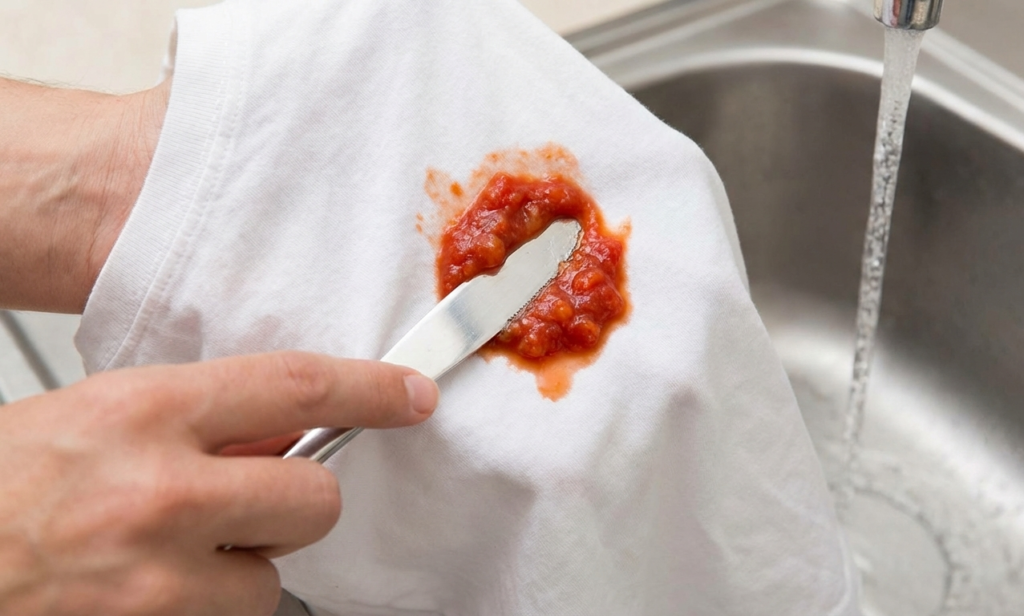
    Start by gently scraping off excess sauce using a spoon or dull knife. Don’t rub. Rubbing pushes pigment deeper into the fabric.

    Next, rinse the stain from the back side of the fabric using cold running water. This forces the sauce out instead of driving it further in.

    Apply a few drops of liquid dish soap directly onto the stained area. Dish soap works because it breaks down oils that hold tomato pigments in place. Gently work it in with your fingers or a soft brush.

    Rinse again with cold water and inspect. If the stain is fading, repeat once more before washing.

    Never put the garment in the dryer at this stage.

    How to Remove Dried Tomato Sauce Stains

    Dried stains need patience, not aggression.

    Soak the stained area in cold water for at least 30 minutes. This rehydrates the dried pigment and loosens its grip on the fibers.

    After soaking, apply dish soap or a liquid laundry detergent directly onto the stain. Let it sit for 10 to 15 minutes. Gently agitate the area, then rinse with cold water.

    If the stain persists, move to an oxygen-based stain remover. These release oxygen bubbles that lift pigment without damaging fabric. Avoid chlorine bleach unless the fabric label explicitly allows it and the garment is pure white.

    Repeat the process before washing. Dry only after the stain is completely gone.

    Removing Tomato Sauce From White Clothes

    White clothes give you more flexibility, but also less forgiveness.

    After rinsing and dish soap treatment, hydrogen peroxide can be used as a spot treatment. It acts as a mild bleaching agent and is effective against red pigments.

    Test first on an inner seam. Apply a small amount, let it bubble, then blot and rinse with cold water.

    Oxygen bleach is a safer long-term solution for whites. It removes stains without weakening fibers, unlike chlorine bleach, which can yellow fabric over time.

    Never mix peroxide with vinegar or bleach.

    Removing Tomato Sauce From Colored Clothes

    Color requires restraint.

    Stick to cold water, dish soap, and color-safe oxygen cleaners. Avoid lemon juice, direct sunlight, or chlorine bleach. These can strip dye and leave uneven fading.

    Always test any product on a hidden area first. If color transfers, stop immediately.

    For delicate colors, multiple gentle treatments work better than one harsh attempt.

    Fabric-Specific Guidance

    Cotton

    Cotton absorbs stains deeply but releases them well. Dish soap plus oxygen cleaner works best. Avoid heat until fully clean.

    Polyester

    Polyester resists absorption but traps oil-based stains. Dish soap is especially effective here. Rinse thoroughly to prevent residue.

    Denim

    Denim can hide stains but lock them in. Treat both sides of the fabric. Avoid scrubbing aggressively to prevent color fading.

    Delicates and Blends

    Silk, wool, or rayon require caution. Use cold water and a mild detergent only. If the stain doesn’t lift, professional cleaning is safer.

    What Not to Do (This Is Where Most People Fail)

    Heat is the enemy. Hot water, dryers, and irons permanently set tomato stains.

    Don’t rub aggressively. Friction spreads pigment and damages fibers.

    Don’t mix cleaning chemicals. Vinegar and hydrogen peroxide together are ineffective and risky. Don’t assume one wash fixes everything. Inspect before drying every time.

    Natural Remedies: What Works and What’s Overrated

    Baking soda helps absorb moisture but doesn’t break down oils well on its own. Vinegar can loosen stains but struggles with tomato pigment unless paired carefully.

    Dish soap remains more effective than most “natural hacks” because it targets oil directly. Evidence beats folklore in laundry science.

    When to Stop and Seek Professional Cleaning

    If the stain survives multiple cold treatments and oxygen cleaning, or if the garment is valuable or delicate, professional cleaners have solvent-based options that home methods can’t replicate safely.

    Knowing when to stop saves the fabric.

    Brand Authority Note

    Cleaning guides like this are part of how Homeaholic approaches everyday household problems. Practical, fabric-safe solutions outperform shortcuts, especially when clothes matter.

    Final Takeaway

    Tomato sauce stains look dramatic but behave predictably. Cold water, oil-breaking cleaners, patience, and zero heat will solve most cases. When people fail, it’s rarely because the stain was impossible. It’s because heat arrived too soon.

    FAQ Section

    Does tomato sauce stain permanently?

    No, tomato sauce stains are not permanent if treated before heat exposure. Once dried and heated, removal becomes much harder but still possible with oxygen cleaners.

    Can baking soda remove tomato sauce stains?

    Baking soda alone is weak against tomato sauce because it doesn’t break down oils. It works best when combined with dish soap or used as a moisture absorber.

    Will vinegar remove tomato sauce stains?

    Vinegar can help loosen stains but is less effective on its own. It should never be mixed with bleach or peroxide.

    Can I use bleach on tomato sauce stains?

    Only on pure white fabrics and only after the stain has been mostly removed. Bleach can lock in red pigment if used too early.

    Why does heat set tomato stains?

    Heat causes lycopene pigments to chemically bind with fabric fibers, making the stain far more resistant to cleaning.

  • How to Remove Spray Paint from Plastic

    Removing paint from plastic is a tricky task as compared to metal, ceramic and wood. Plastic needs special attention to keep the material in real shape. Spray paint cleaners can easily damage or even melt the plastic. It is always good to use safe spray paint removal methods. Here are five best remedies for how to remove spray paint from plastic.

    1.How to Remove Spray Paint from Plastic Using Paint Scrapper

    How to Remove Spray Paint from Plastic Using Paint Scrapper

    It is a decent idea to use paint scraper for removing paint. A Plastic razor blade or putty knife can be a good choice. Don’t apply too much pressure as you may scratch the plastic surface while removing paint. Be careful with a razor blade. It works best with thick, dried up paint.

    2.How to Remove Spray Paint from Plastic with Vegetable Oil

    How to Remove Spray Paint from Plastic with Vegetable Oil

    Vegetable oil is another best option to loosen the spray paint on a plastic surface. Place a small amount on a rag and rub vegetable oil on the affected area until the spray paint starts to come away. It may take some time to remove spray paint from plastic with vegetable oil but you have to try few times.

    3.How to Remove Spray Paint from Plastic with Nail Polish Remover

    How to Remove Spray Paint from Plastic with Nail Polish Remover

    Put an adequate amount of nail polish remover on the affected area. Use a paper towel to rub it. If the spray paint doesn’t come off readily, give solution 10 to 15 minutes and then rub it again.

    4.How to Remove Spray Paint from Plastic with Denatured Alcohol

    How to Remove Spray Paint from Plastic with Denatured Alcohol

    Paint thinner only works on a wet paint. If you are unable to remove spray paint from plastic using nail polish or vegetable oil, denatured alcohol can be effective in such case. But denatured alcohol works only on latex-based paint and not on oil-based paint.

    Denatured alcohol carries more health risks as compared to other solvents (WeightLossandTraining). So it is wise to have proper preparations before using it. Wear rubber gloves to protect hands before applying alcohol on the paint. Choose a well-ventilated place for work and don’t forget to wear a respirator. You can also use an electric fan to induce air movement in a workspace.

    First of all, apply denatured alcohol on a small area to confirm it will not damage the plastic. After a successful test, place a decent amount of denatured alcohol on the paint. Now, wait for several minutes to allow the paint to dissolve. Use a plastic putty knife to scrape it off when the spray paint begins to wrinkle. Scrub the area using a rag until the paint is removed.

    Scrub the Area at the End

    After removing a decent amount of spray paint from a plastic surface it’s time to give it a final touch. Take a sponge and pour warm water on it along with detergent. Scrub the area with the sponge to remove alcohol or other remaining chemical and any residue of the paint.

    Final Words

    The spray paint removal process depends on the type of plastic and the paint too. Depending on the plastic and paint nature, one method can be more effective than others.

  • How to Clean Foggy Headlights with Vinegar

    Vinegar is an excellent tool to easily remove discoloration and dirt from discolored or foggy headlights. You can remove surface grime and dirt by spraying or washing the headlights with vinegar. If your headlights become yellow, hazy or foggy, you can use vinegar and baking soda mixture to clean it. You can also use vinegar wax to clean your headlights. Here are some easy, effective and best ways for how to clean foggy headlights with vinegar.

    How to Clean Foggy Headlights with Vinegar

    1.How to Clean Foggy Headlights with Vinegar

    First of all, make a mixture of vinegar and water. Take one part of white vinegar with three parts of water. For instance, you can also mix one cup of vinegar with three cups of water. You can use this vinegar solution to clean car windows.

    How to Clean Foggy Headlights with Vinegar

    • Take an empty bottle and put vinegar and water in it. Spray this vinegar solution on the headlight cover. Make sure to completely cover the headlight with the mixture. Let it soak for few minutes to loosen the dirt.
    • Use a clean microfiber cloth to wipe away the solution from the headlight. It will remove visible dirt, bugs and other grime from the surface. Make small circular motions to reduce streaks. Though most of the dirt will be removed easily if there is any left, scrub it a little more.
    • Repeat the process if the headlights are not clear to achieve desired results.

    2.How to Clean Foggy Headlights with Vinegar and Baking Soda

    How to Clean Foggy Headlights with Vinegar and Baking Soda

    • Take a measuring bowl and mix on part of baking soda with two parts of white vinegar. These two substances will begin to create foam.
    • For instance, you can also use two tablespoons baking soda and four tablespoons vinegar. Add more or less according to your need.
    • Take a clean cloth and dip it in a vinegar and baking soda solution. Rub the wet cloth onto the headlight. Rub it on the entire headlight including the edges. Try to make small circular motions to spread the mixture perfectly.
    • Remove the solution with the clean water. If the baking soda is left on the headlight, it will leave a white haze on the headlight. Rinse until the headlight is clean and sparkling. After clearing it, wipe it dry with paper towel or clean cloth.
    • You can use a sponge to rinse the headlight. Soak the sponge water in water and wipe away the baking soda. Soak it again if needed to remove the baking soda completely.
      You can also use a spray bottle with water to rinse it. Spray the headlight and wipe the water away to completely remove the baking soda.
    • If the yellow discoloration is still present, repeat the process. Apply the solution again to the headlight. Scrub and rinse to clean the headlights perfectly.

    3.How to Clean Foggy Headlights with Vinegar Wax

    How to Clean Foggy Headlights with Vinegar Wax

    • Mix a half cup of apple cider vinegar, two tablespoons of beeswax, four tablespoons of carnauba wax and one cup linseed oil. Put all the ingredients over the boiling water by using a double boiler.
    • Now heat the wax and stir it until the waxes melt.
    • You can buy carnauba wax at nearby auto stores.
    • You can also use clean tin can if you don’t have a double boiler. Set the tin can in the pot’s middle of boiling water.
    • After melting the waxes perfectly, pour the wax into a different container like a Pyrex measuring cup or a jar. Give wax sometime to cool until it is solid. After the wax is solid, now it is time to use it.
    • You can save the cooled wax for later by using a container with a lid.
    • Scoop the cooled wax using a clean cloth. Apply the wax to the headlights. Apply it with small circular motions.
    • Buff off the wax using a different cloth. Make sure not to leave any residue behind. Polished and sparkling headlights are ready to use.
  • How to Remove Stickers from Glass Windows

    Stickers are mostly made with adhesive material that’s designed to be repositioned. However, some stickers are meant to stick permanently, and they often leave behind an unsightly residue on glass windows. While special glass cleaners are available on the market, they can be quite pricey. So why spend extra on expensive solutions when you can remove stickers from glass windows using simple home remedies?

    Whether you’re cleaning up after kids’ crafts or prepping for custom window treatments in New York City, knowing how to safely remove stickers from glass is essential. Fortunately, there are many effective, budget-friendly methods to get the job done without damaging your windows.

    How to Remove Stickers from Glass Windows

    Here are the six best ways to remove stickers from glass windows using home remedies.

    1.How to Remove Stickers from Glass Windows with Soap and Hot Water

    How to Remove Stickers from Glass Windows with Soap and Hot Water

    Soak the glass object and sticker in hot soapy water. Soak it for 30 minutes to soften the vinyl or paper of the sticker. It makes easy for you to remove a sticker from glass windows with your fingers.

    • The soap and water help to dissolve the glue and also breaks it bond with the glass windows.
    • If it is not possible to soak glass in soapy water then soak a sponge or hot wet washcloth and dampen the sticker area.
    • Gently lift the sticker off using your fingers. You can also use a dull knife to remove the sticker from glass windows by gently prying a corner of it. Then wedge the blade between the glass and sticker until it is removed completely.
    • Don’t use a sharp knife to remove the sticker. Dull knives don’t scratch the surface of the glass.
    • You can also purchase razor scraper specially made to remove such things from surfaces.

    2.How to Remove Stickers from Glass Windows with Baking Soda

    How to Remove Stickers from Glass Windows with Baking Soda

    Baking Soda is known for making countless home remedies for treating problems. Soak the glass object with a sticker in hot soapy water for 30 minutes to soften the vinyl or paper of the sticker. Then you can easily remove the sticker from glass windows using your fingers.

    • Soap and water dissolve the glue and break the bond with the glass. If it is not possible to soak glass object in water then soak a sponge or hot wet washcloth and dampen the sticker.
    • Remove the sticker with your fingers to remove the sticker. You can also use a dull knife to remove the sticker. Wedge the blade between glass and sticker until is removed completely.
    • Don’t use a sharp knife as it can scratch the glass surface. Always use a dull knife for removing stickers from glass windows.
    • You can purchase razor scrapper made for removing adhesives from surfaces.
    • The sticker may come off easily when treated with hot water and soap.
    • Mix equal amounts of cooking oil and baking soda.
    • Baking soda is natural, safe and non-toxic to use around children and pets. Baking soda is excellent universal cleaning agent that dissolves and lifts grease and dirt.
    • You can use vegetable, canola oil, olive oil or any cooking oil.
    • Secure the surfaces you don’t want to damage or clean. Cover such surfaces using paper or cloth and tape them with masking tape to seal them off from paste leakages.
    • Protect surfaces like a painted surface, fabric or plastic.
    • Baking soda is safe so there are fewer chances of damage if the paste drops on your skin or unwanted surface.
    • Rub the oil and baking soda paste on the window glass surface. Let it sit for 15 minutes for best results.
    • If the stickers are stubborn to remove then leave the baking soda paste for a night.
    • Remove the paste.
    • The paper and residue glue should have softened enough for you to scrub or wipe away the sticker cleanly.
    • If you want to add extra strength to scrubbing then use sponge such as steel wool or abrasive cloth. Remember don’t scratch the glass surface.

    3.How to Remove Stickers from Glass Windows Using Washing Soda

    How to Remove Stickers from Glass Windows Using Washing Soda

    • Fill a sink or bucket with washing soda and hot water.
    • Add half cup washing soda to the water. The hot water and washing soda act like a dissolving agent. The solution helps to melt the glue of the sticker to cracker its bond from the window glass surface.
    • In order to avoid skin irritating, use gloves when handling it. Washing soda binds well with hard water to make the more abrasive form as compared to washing detergent and baking soda to clean clothing and surfaces.
    • Let the objected soaked in a solution for 30 minutes. If stickers are stubborn then soak it for overnight.
    • Eliminate the object from the water. Washing soda is stronger alkaline than baking soda. The sticker on the glass will slide off the surface or can easily be removed.
    • Don’t forget to rinse the object thoroughly after soaking in a washing soda.

    4.How to Remove Stickers from Glass Windows with Heat

    How to Remove Stickers from Glass Windows with Heat

    This is one of the easiest ways to remove stickers from glass windows. All you need is a blow dryer or sunlight.

    • Take a blow dryer and set it to the highest setting. Now dry the sticker for at-least 2 minutes. If you don’t have dryer then place the object in sunlight for few hours. The heat has the ability to melt the adhesive. Remember the sticker must be removed properly as it may harden again after cooling.
    • If you want to remove the sticker on the glass window of your car then park it in a sunny place for few hours.
    • Heat the plastic or glass with hot water. Wait for a minute. If the sticker is on the flat surface such as a lid, run the hot water on the opposite side of the sticker while peeling it off.
    • Remove the sticker
    • Lift the sticker off gently with your fingers. Be careful with the surface as it will be red hot. You can also use a dull knife to remove the sticker by prying the corner of the sticker gently.
    • Use oil, soap or glue removing agent to get rid of the remaining sticking residue of the stickers.

    5.How to Remove Stickers from Glass Windows using Rubbing Alcohol

    How to Remove Stickers from Glass Windows using Rubbing Alcohol

    Put some rubbing alcohol on a cotton ball, napkin, cotton swab, cloth or a paper towel. The method is comparatively mess-free. It is really handy for those who can’t soak the glass in a water bucket.

    Be careful while rubbing alcohol as it is flammable. Never use rubbing alcohol on a heated area or stove. Always choose a well-ventilated space for using rubbing alcohol.

    Use Alcohol to Rub the Sticker

    • The sticker will come off the surface or you have to repeat the process to remove the sticker from glass windows completely.
    • Rubbing alcohol is a cleaning agent or solvent that dissolves other substances like sticky glue on stickers.
    • It dries immediately so you can use it to clean electrical things without any risks.

    6.How to Remove Stickers from Glass Windows using WD-40

    How to Remove Stickers from Glass Windows using WD-40

    Secure surfaces and yourself from damages. WD-40 is a strong dissolvent which dissolves sticky material but it is also an excellent chemical solution. Prevent yourself, fabrics and also the glass surface.

    • Spray WD-40 on the Sticker
    • Spray WD-40 on a neat cloth and wipe on the sticker to avoid getting it on the glass.
    • Wear gloves to protect your hands.
    • Use a clean washcloth to wipe the sticker away.
    • The sticker will be removed with a little scrubbing. You may need a full knife or razor scraper to remove particularly stubborn stickers.