

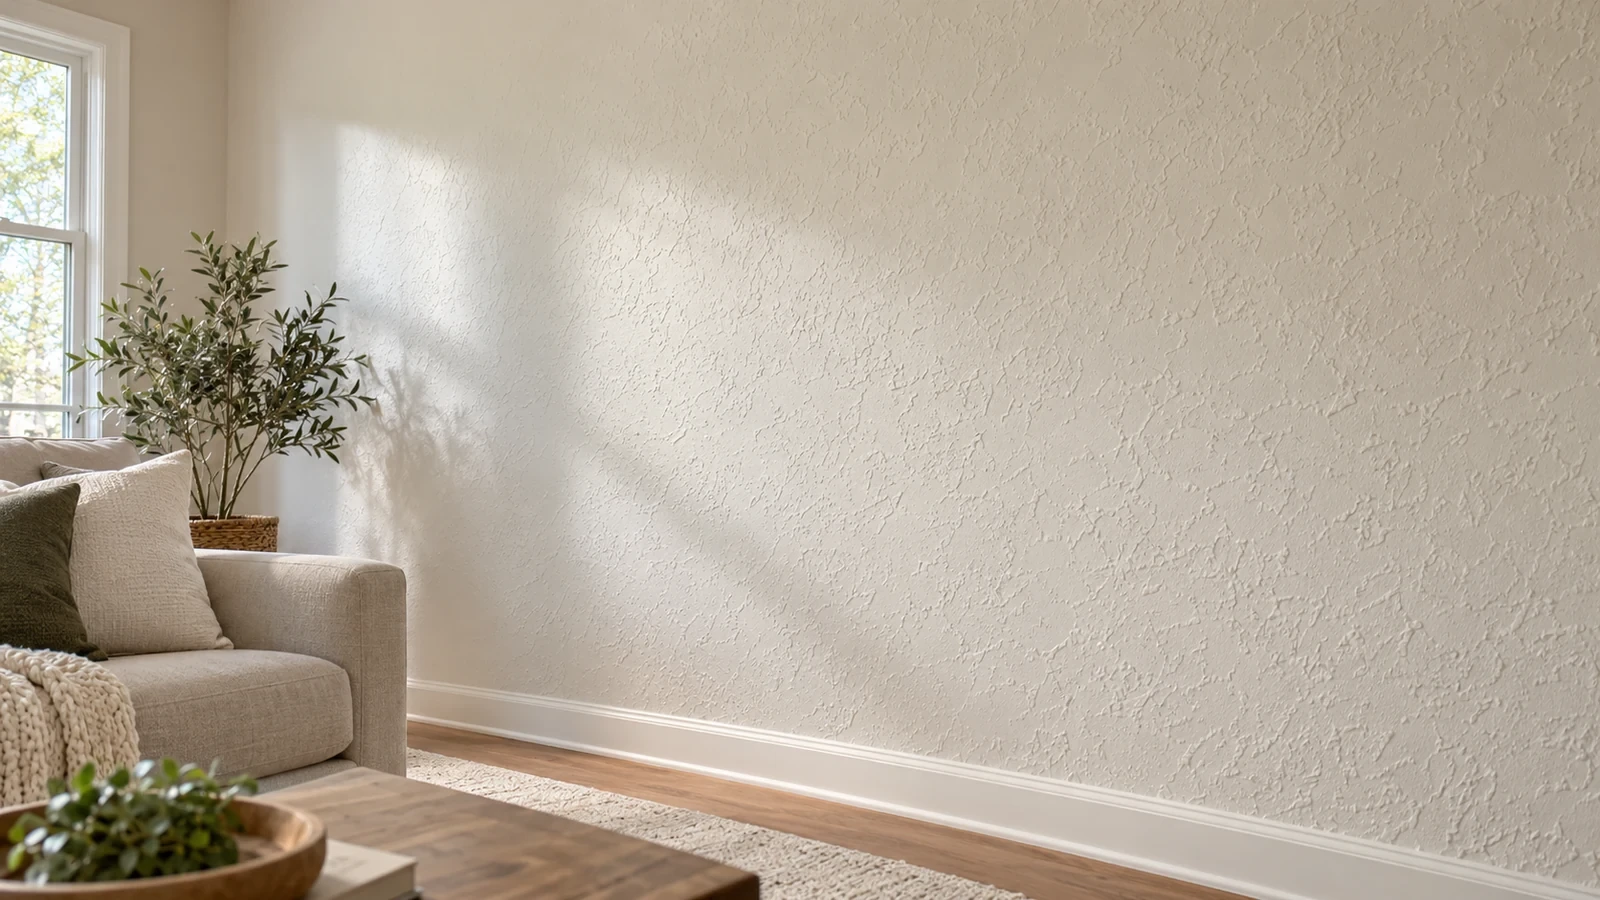
To texture walls, clean and repair the surface, apply a compatible joint compound or textured coating, and shape it with a roller, sponge, trowel, or sprayer. Allow the finish to dry, then prime and paint if required. For beginners, roller stipple is among the simplest raised-texture techniques.
Wall texture adds depth and disguises minor imperfections. The method depends on your surface, design, and budget. This guide covers practical techniques, preparation, and costs.
What Is Wall Texture, and Is It Worth It?
Wall texture is a patterned surface created with joint compound, plaster, textured paint, or a decorative coating. Raised finishes have physical relief; sponge painting creates mainly visual variation. Orange peel, knockdown, and skip trowel are recognizable drywall textures, while limewash and Roman clay use different coating systems.
Texturing adds interest or blends repaired areas into existing texture. It can conceal minor unevenness, but strong side lighting may expose inconsistent application. Texture cannot repair dampness, structural cracking, loose plaster, or failed drywall tape.
- Choose texture for character, subtle concealment, or a matching finish.
- Choose smooth walls for easier cleaning, wallpapering, and invisible repairs.
- Test first under daylight and evening lighting; relief changes with shadows.
Start with a feature wall and consider future cleaning and repairs.
Which Wall Texture Types Are Best?
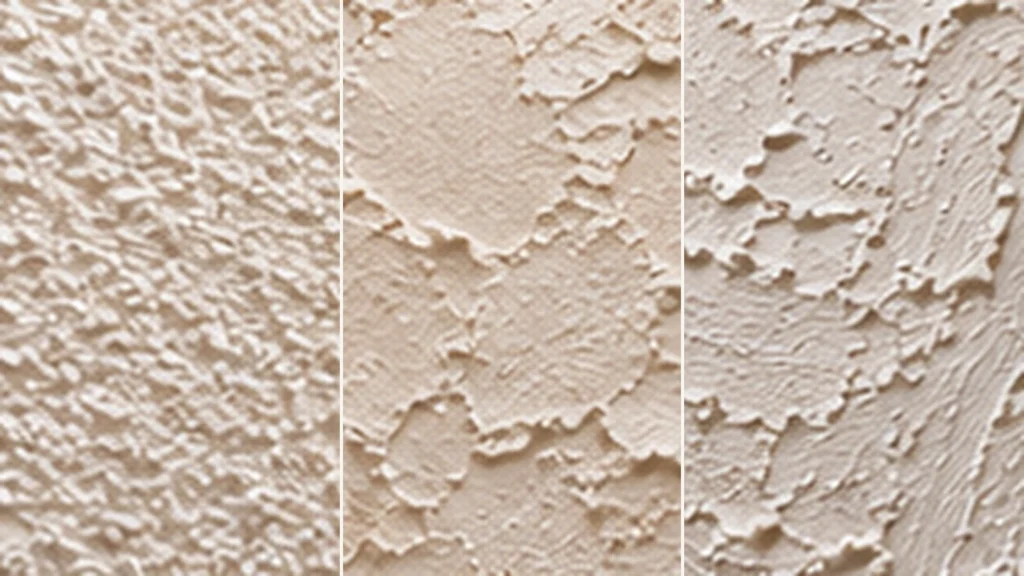
Choose texture by appearance, difficulty, and maintenance. Orange peel has fine rounded bumps; knockdown features flattened irregular patches; skip trowel shows broken hand-applied strokes. Other options include roller stipple, sand texture, and stamped slap-brush patterns.
| Texture | Appearance | Suitable use |
|---|---|---|
| Orange peel | Small, rounded droplets | Subtle everyday walls |
| Knockdown | Flattened raised islands | Visible but restrained relief |
| Skip trowel | Irregular blade strokes | Rustic feature walls |
| Roller stipple | Fine repeated peaks | Beginner DIY projects |
| Sand texture | Grainy finish | Decorative accent areas |
| Sponge painting | Mottled color | Low-relief visual texture |
Deep ridges trap dust and complicate repairs; busy rooms favor subtle texture. Limewash produces soft tonal movement rather than conventional drywall relief; Roman clay and Venetian plaster are separate decorative systems requiring their own preparation.
For beginners, try roller stipple. Choose spraying when matching a sprayed finish. Think about future patching: fine uniform texture can be difficult to reproduce without the same application equipment.
What Tools and Materials Do You Need?
DIY methods need compatible compound, tools, and protection. A roller creates stipple; a sponge makes irregular dabs; a steel trowel or broad knife forms ridges and broken strokes. Conventional sprayed textures may require a hopper gun, compressor, and the correct nozzle.
Basic supplies:
- Premixed joint compound or manufacturer-formulated texture material.
- Roller, sponge, trowel, or texture brush for the chosen finish.
- Clean bucket, mixing paddle, and broad drywall knife.
- Drop cloths, painter’s tape, and a suitable work light.
- Approved primer, paint, and appropriate personal protection.
Select materials by substrate: interior drywall products may not suit damp masonry. Read product directions for mixing limits, coat thickness, ventilation, and drying conditions.
Test pressure and pattern on spare drywall before starting.
How Do You Prepare Walls for Texture?
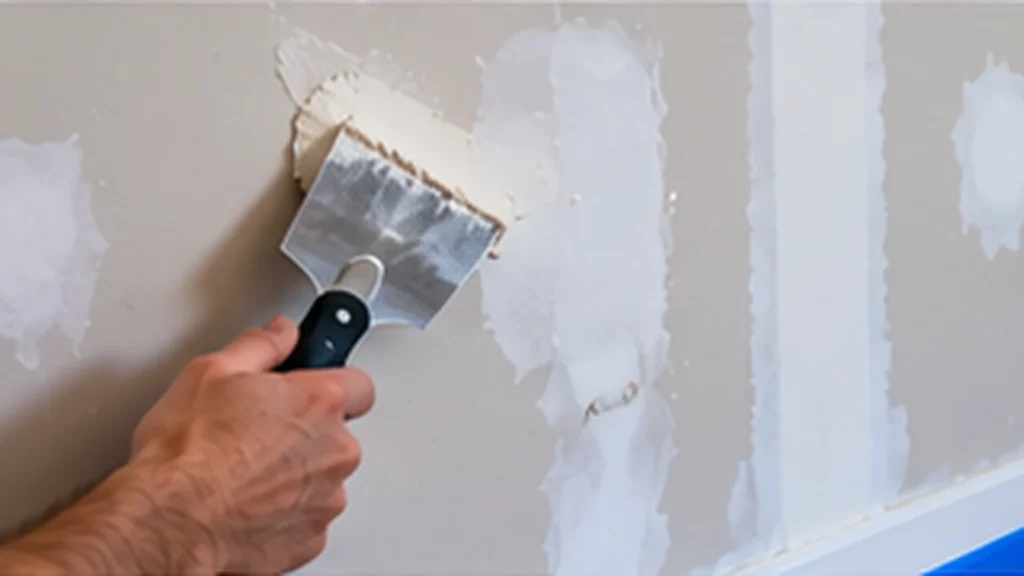
Begin with sound walls. Remove dirt and loose paint; repair holes and joints. Allow repairs to dry before continuing. Texture may camouflage small visual defects but will not stop active leaks or recurring cracks. Fix those problems before decorating.
Mask baseboards, outlets, adjacent walls, and floors. Existing glossy paint may need deglossing or a bonding primer, depending on the texture system. New drywall can require primer to equalize absorption; decorative mineral coatings often have proprietary undercoats. Check adhesion on a sample.
- Bare drywall: Complete joint repairs and follow primer instructions.
- Painted drywall: Confirm the existing finish is sound and clean.
- Damp or crumbling surfaces: Diagnose and repair the cause first.
Avoid sanding or scraping unknown older coatings without assessing hazards. The US EPA advises lead-safe precautions for work affecting older painted housing; suspect asbestos-containing materials also require professional assessment. Rules differ internationally.
How Do Beginners Texture Walls Step by Step?
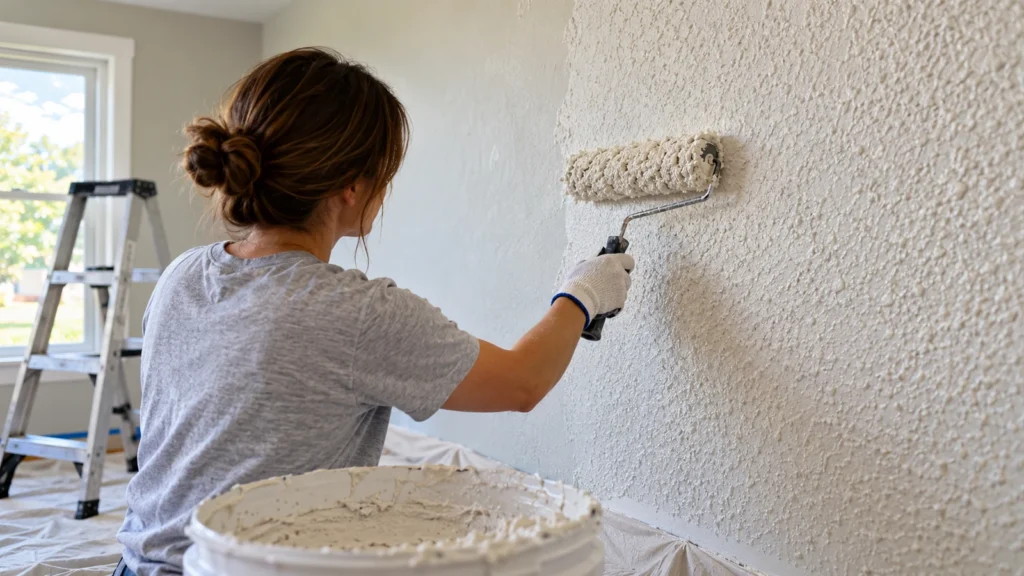
Roller stipple is a practical starting method when the product permits roller application. Test first: texture changes after drying and painting. Work in manageable sections and keep material coverage consistent; repeatedly rolling a partly dried area often creates unwanted ridges.
- Prepare: Clean, patch, protect, and prime the surface where required.
- Mix: Follow the texture product’s instructions; avoid unapproved thinning.
- Load: Coat the roller evenly without letting material drip.
- Apply: Roll a small section with overlapping passes.
- Pattern: Create stipple with steady pressure and minimal reworking.
- Dry: Allow the full specified time, then inspect under side lighting.
- Finish: Prime and paint if the system calls for both coats.
If a section looks wrong while still workable, remove it and redo the sample rather than layering corrections. Use a reference panel to match texture depth.
Try one accent wall before a whole room. Work from the top downward if the product permits it, and avoid interruptions in the middle of a wet section.
How Can You Texture Walls Without a Gun?
A spray gun is not essential for roller stipple, sponge painting, brush texture, or skip-trowel finishes. They reduce overspray but require consistency. None creates an exact replica of every sprayed finish.
Roller Texture
Load a suitable roller with compatible coating and spread an even layer. Use consistent pressure to create repeated small peaks. Avoid excessive thickness, which can sag or crack.
Sponge Texture
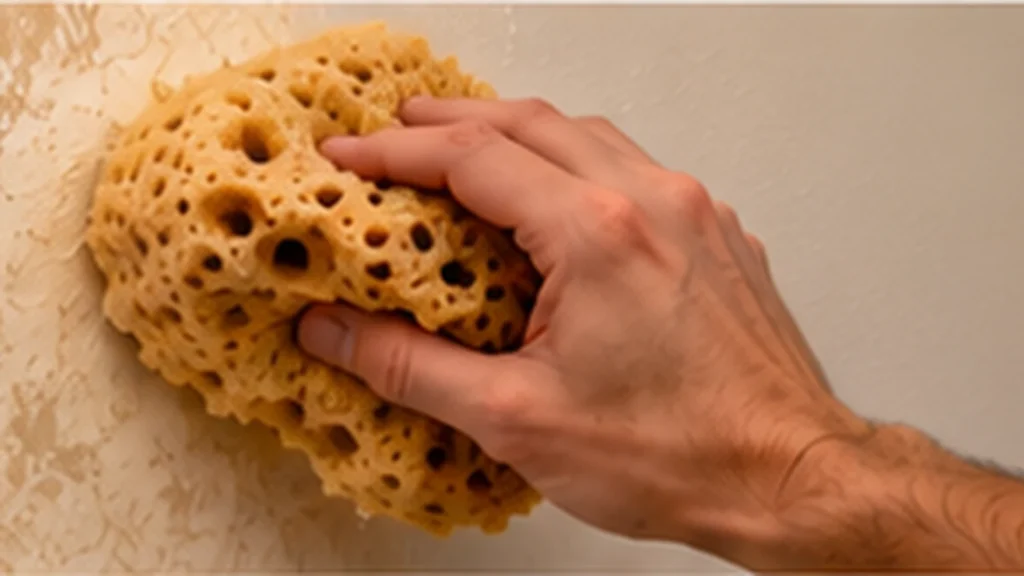
Dab a natural sponge into approved decorative paint or coating and press lightly against the wall. Rotate the sponge to prevent obvious repeating shapes. Sponge painting typically changes color appearance more than actual surface depth.
Drywall Mud and Trowel
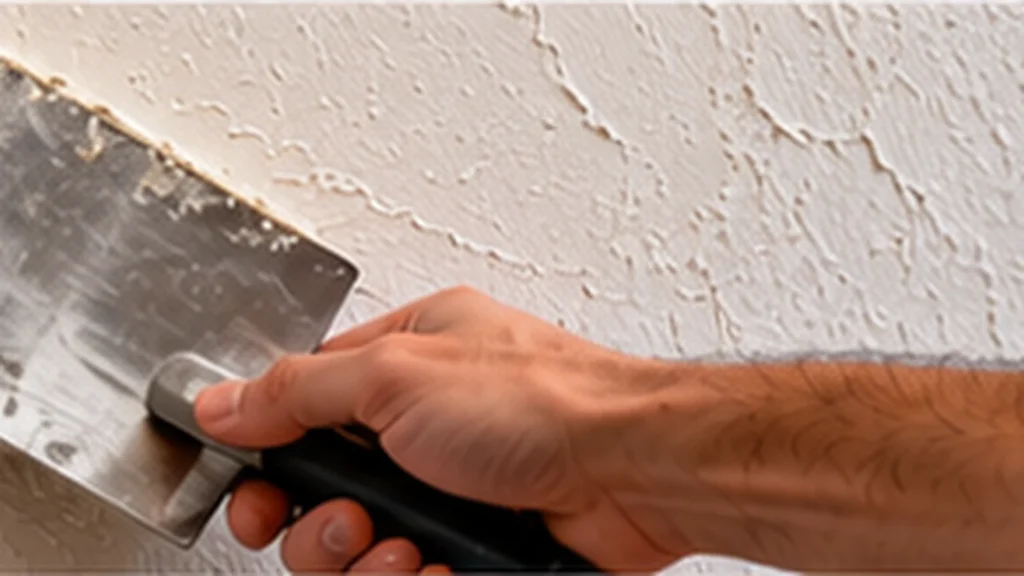
Spread compatible joint compound with a wide knife or trowel. Lift or drag the blade in short irregular passes for a broken skip-trowel effect. Practice blade angle and pressure on scrap drywall.
Roll for simplicity, sponge for color movement, or trowel for handmade relief. Clean tools between sections so dried particles do not scratch the fresh finish.
How Do You Apply Orange Peel Texture?
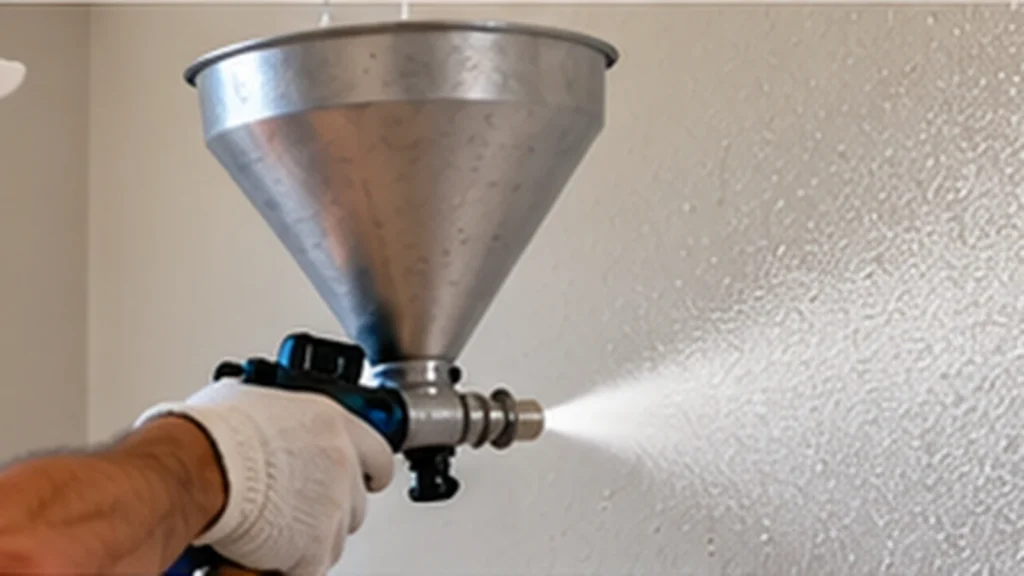
Orange peel has small, rounded droplets. A conventional finish uses a sprayer and suitable texture compound rather than thick ordinary paint. Droplet size depends on material consistency, nozzle selection, air pressure, and distance from the wall.
Mask thoroughly and practice on a sample. Hold the gun at a consistent distance and use steady overlapping passes. Avoid heavy buildup around corners, where runs and oversized lumps are more likely. Let the coating dry according to its instructions, then prime and paint if required.
- Smaller droplets: Produce a subtler finish.
- Uneven passes: Cause visible changes in density.
- Heavy application: Can leave drips and rough patches.
Repairs must match droplet size and spacing. Painting the entire wall after a successful patch may reduce color differences, but it cannot conceal a mismatched texture pattern. Aerosol texture products can help with small patches, but always test first. Roller stipple may look similar from a distance; up close it typically produces a different pattern.
How Do You Make Knockdown Wall Texture?
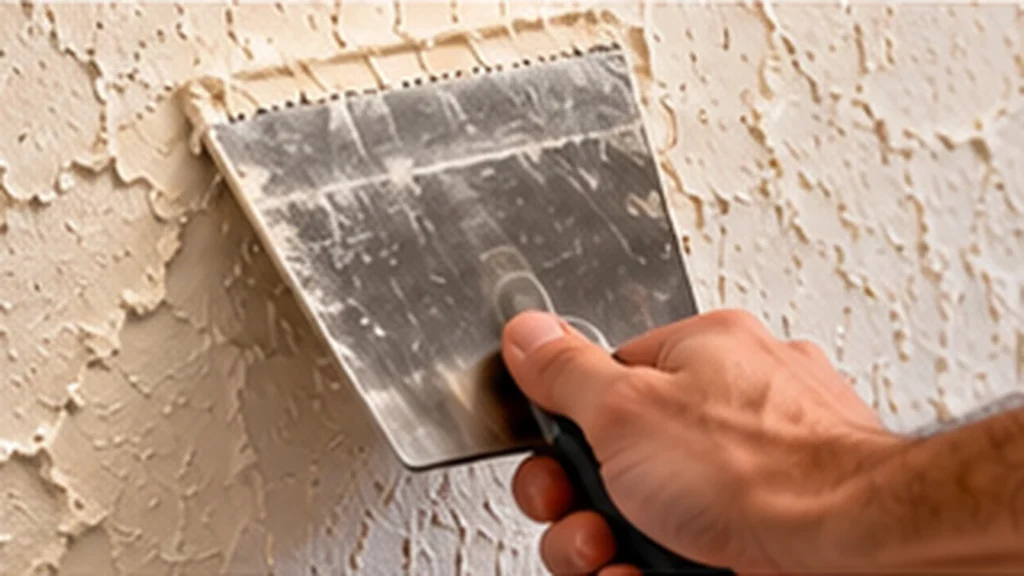
Knockdown begins with raised splatters or stamped compound. Once those peaks become firm enough, a wide knockdown knife lightly flattens them into irregular islands. Flattening too soon smears the material; waiting too long makes it difficult to shape. The correct interval depends on product, humidity, temperature, and thickness.
Apply splatter consistently and test the knife. Move with gentle, even pressure and clean buildup from the blade frequently. If the knife removes most of the relief, reduce pressure. Allow full drying before applying subsequent coatings.
- Orange peel: Raised droplets remain rounded.
- Knockdown: Droplet peaks are pressed flat.
- Skip trowel: Broken strokes come directly from blade movement.
Large jobs may benefit from professional spraying. For small repairs, compare your test patch with the surrounding wall in angled light before painting.
Can You Texture Walls With Paint?
Yes. Premixed textured paint is formulated to create surface relief, while some paints permit specific texture additives. Decorative techniques such as sponge painting and rag rolling produce visible patterns with relatively little raised texture. Ordinary wall paint alone cannot reliably imitate deep joint-compound finishes.
Check approved additives and ratios. Random sand, flour, or excessive filler can interfere with adhesion, durability, and cleaning. Sample with your planned primer, tool, and coats.
- Premixed textured paint: Convenient when predictable product behavior matters.
- Approved additive: Suitable only with compatible paint and instructions.
- Sponge or rag technique: Best for visual movement without heavy relief.
Textured paint cannot repair damaged plaster or prevent cracks. If you want pronounced three-dimensional patterns, choose a suitable compound or plaster system instead.
How Do You Make Homemade Wall Texture?
DIY texture uses premixed compound and a roller or trowel. Here, “homemade” means preparing and shaping a commercial compound yourself, not creating a coating from unrelated kitchen ingredients. Unapproved mixtures may shrink, crack, lose adhesion, or spoil.
Mix a small amount in a clean container. Add water only if the product instructions permit it, recording the quantity to keep batches consistent. Test how the material spreads and holds its shape on spare drywall before treating a room.
- Too thick: Hard to spread; leaves accidental ridges.
- Too thin: Sags or loses pattern definition.
- Poor mixing: Produces uneven patches and lumps.
- Different batches: Can create noticeable joins.
A shallow trowel creates rustic texture. For a fine stippled finish, use an appropriate roller. Choose a purpose-made textured coating rather than improvising chemistry when specialized performance is required.
What Is the Cheapest Way to Texture Walls?
Roller-applied compound avoids spray-equipment costs. Sponge painting may cost less if suitable paint and tools are already available, but it creates mainly visual texture and cannot conceal defects like a raised coating.
Calculate the whole project, not container prices. Include repairs, primer, compound, paint, applicators, masking materials, and cleanup. An inexpensive coating can become costly if it requires extensive corrections or is difficult to remove later.
- Lowest equipment cost: Sponge painting or basic roller stipple.
- For one feature wall: Use tools you already own where suitable.
- For large uniform areas: Compare DIY equipment rental with professional quotes.
- Before purchasing: Test a small section to estimate material coverage.
Renters should obtain permission before applying permanent texture. If future wallpaper or smooth walls are likely, consider whether the effort required to reverse a raised finish outweighs its initial savings.
Which Wall Textures Look Modern in 2026?
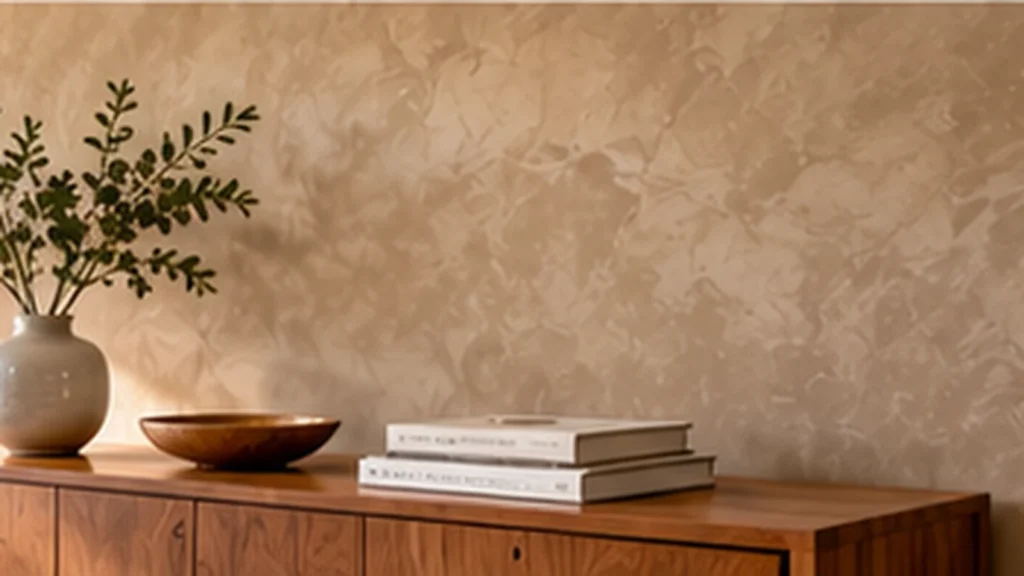
Contemporary finishes include fine texture, limewash, Roman clay, and mineral plaster. Design coverage highlights tactile materials and handcrafted variation, though there is no single style that suits every home. Smooth painted walls remain modern too.
Consider room size, light direction, and cleaning needs. Fine orange peel blends into many interiors. Roman clay uses overlapping trowel marks for subtle movement, while limewash creates gentle tonal variation rather than heavy relief. Venetian plaster may offer a refined, polished appearance but usually requires more skill and product-specific preparation.
- Minimalist rooms: Smooth walls or very fine texture.
- Natural interiors: Restrained limewash or Roman clay.
- Feature walls: Skip trowel or carefully designed plaster relief.
- Busy hallways: Prioritize durability and easy maintenance.
Test samples in daylight and lamplight. Deep relief can cast dramatic shadows, but that same effect may overwhelm a compact room or expose application inconsistencies.
How Much Does Wall Texturing Cost?
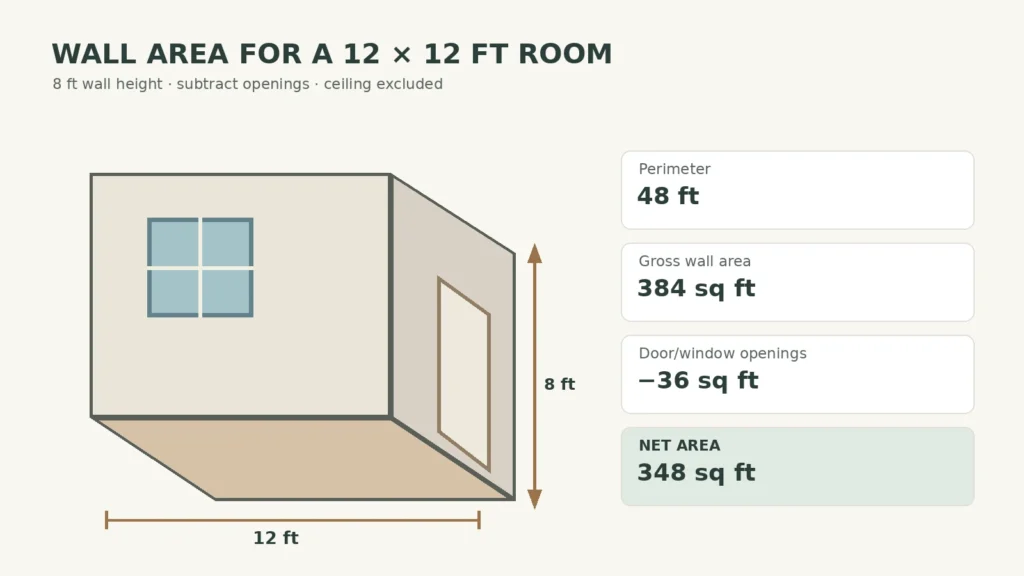
Costs depend on area, repairs, materials, and labor. Measure each wall’s length times height and subtract substantial openings. Do not confuse room floor area with the total surface that needs texturing.
How Much to Texture a 12×12 Room?
For a 12-by-12-foot room with 8-foot walls, the perimeter is 48 feet and the gross wall area is 384 square feet. Assuming 36 square feet of doors and windows gives 348 square feet of net wall area; the ceiling is excluded.
HomeGuide cites illustrative US professional wall-texturing rates around $0.80–$1.80 per square foot. Applied to 348 square feet, that equals roughly $278–$626 for texturing before preparation, painting, contractor minimums, and other charges. This US example varies internationally. Get itemized quotes: one contractor may include primer and paint, while another prices only spraying or troweling.
For DIY work, calculate material quantities from each product’s stated coverage. A 20-litre paint price varies by brand and country; a product called Premium Rustic Texture also needs an exact manufacturer and package specification. Litres and kilograms are different measurements.
Is Wallpaper Better Than Texture Paint?
Wallpaper is useful for repeated patterns, detailed graphics, and designs you may eventually replace. Texture paint produces a seamless decorative coating and can sometimes be repainted instead of replaced. Neither is universally cheaper.
| Factor | Texture paint | Wallpaper |
|---|---|---|
| Appearance | Continuous textured coating | Printed or embossed pattern |
| Installation | Coating tools and drying | Alignment and adhesive |
| Cleaning | Depends on relief and finish | Depends on paper and coating |
| Changing style | May need smoothing | May need stripping |
Choose wallpaper when precise designs and easier pattern changes matter. Choose texture coatings when you prefer continuous relief and a custom handmade appearance. In kitchens and bathrooms, confirm the product tolerates the expected humidity and cleaning routine. Compare preparation, maintenance, and removal. Heavy texture generally needs smoothing before wallpaper can adhere correctly.
Should You Paint Before or After Texture?
For ordinary paintable drywall texture, the usual sequence is surface repair, specified primer if needed, texture application, complete drying, then appropriate primer and finish paint. Ordinary paint cannot replace a required bonding primer.
New drywall may need primer to control porosity. Sound existing painted walls can sometimes accept texture after cleaning and compatible preparation. Glossy coatings or questionable adhesion may require special treatment.
- Before texture: Repair, clean, and prime as directed.
- After texture: Dry thoroughly before primer or finish paint.
- Decorative coatings: Follow the entire manufacturer-specified system.
Limewash may require a particular undercoat; Roman clay is itself a decorative finish and should not automatically receive ordinary paint over it. Beginning too early can trap moisture under paint, leading to a weak or uneven finish. Thick areas can retain moisture longer.
How Do You Paint Existing Textured Walls?
Paint over existing texture only when it is clean, dry, firmly attached, and compatible with the new coating. Remove dust, repair patches, and test first. Fragile older finishes may soften or detach when recoated.
Use a roller nap that can reach the texture’s recesses without excessive pressure. Brush around trim and corners, then roll in manageable sections. Deep grooves can require more paint than a smooth wall because they increase the coated surface area.
- Shallow patterns: A medium-nap roller may be sufficient.
- Deep patterns: Use an appropriately longer nap and brush missed recesses.
- Repaired patches: Prime as directed to reduce visible color or sheen differences.
Matte paint generally emphasizes minor irregularities less than glossy paint. Eggshell or satin may offer easier cleaning, depending on the product. Apply the number of coats needed for even coverage without flooding the texture.
What Are the Disadvantages of Textured Walls?
Texture complicates cleaning, repairs, and future smoothing. Raised peaks can collect dust or chip in high-contact corridors. Repairs can remain visible because reproducing the original tool marks and texture density requires practice. Strong side lighting may emphasize those differences.
Textured coatings do not waterproof walls, fix leaks, or stabilize damaged plaster. Applying them over moisture problems may delay necessary repairs. Removing deep texture can require scraping, professional assessment of older materials, or several skim coats.
- Cleaning: Dust and debris collect around raised edges.
- Repair: Small patches may not blend invisibly.
- Redecoration: Wallpaper may need a newly smoothed surface.
- Cost: Extra paint and skilled repairs increase long-term expense.
For easier upkeep, choose smooth walls or decorative paint. Reserve heavier texture for areas where you genuinely want a permanent finish.
How Long Does Wall Texture Last?
Well-applied texture may last years; lifespan varies. Durability depends on substrate condition, water exposure, impacts, material compatibility, and cleaning habits. A secure paintable texture may need only occasional repainting; loose compound must be repaired before recoating.
Dust gently and inspect high-contact areas for chips, peeling, or movement. Avoid soaking porous unsealed textures or scrubbing hard enough to damage raised peaks. If stains or cracking repeatedly return, find the underlying cause rather than adding another finish layer.
- Maintain: Clean carefully and repair chips promptly.
- Investigate: Persistent dampness, bubbling, or recurring cracks.
- Hire a professional: For extensive plaster failure, hazardous older coatings, or intricate mineral finishes.
Before hiring, ask whether the quote covers repairs, protection, materials, priming, painting, cleanup, and touch-ups. Choose a finish suited to your maintenance needs. Keep a note of the product name and application method so a future touch-up can be matched more accurately.
Frequently Asked Questions
What is the easiest wall texture for beginners?
Roller stipple is an accessible raised texture using basic tools. Sponge painting is easier when you want a visual pattern without substantial relief.
What are five common wall textures?
Orange peel, knockdown, skip trowel, slap brush, and sand texture. They differ in equipment, surface relief, and repair difficulty.
Can you texture a painted wall?
Yes, if the existing paint is sound and the chosen coating is compatible. Clean, test adhesion, and prime where instructed.
Can you mix sand into ordinary paint?
Only use additives approved for the specific paint. Premixed textured paint offers a more predictable alternative to improvised mixtures.
Are textured walls in style in 2026?
Yes. Fine relief, limewash, and mineral plaster fit contemporary designs. Smooth walls remain a modern option as well.
Which wall texture is most popular?
Orange peel and knockdown are common in some drywall markets. There is no reliable single global winner.
Can wallpaper cover textured walls?
Pronounced texture can show through or weaken adhesion. Smooth or otherwise prepare the surface according to wallpaper instructions.
What paint works best on textured walls?
Use compatible interior paint and roller nap suited to the relief. Select sheen based on cleanability, lighting, and desired appearance.

Hi! I’m Myra Sheikh, the creative voice behind Homeaholic. I love sharing cozy home decor inspiration, simple DIY projects, smart organizing ideas, and practical tips to make everyday spaces feel beautiful, comfortable, and personal.
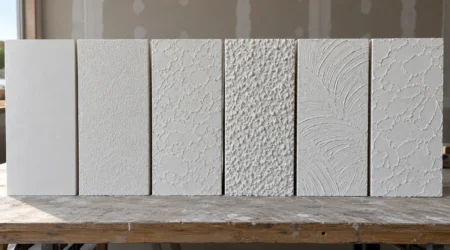
Types of Ceiling Texture: 15 Styles, Costs & 2026 Trends
Ceiling textures include orange peel, knockdown, popcorn, slap brush, skip trowel, swirl, and decorative plaster. Orange peel and light knockdown are practical choices for many homes, while smooth ceilings suit a more minimalist look. The best finish depends on surface...
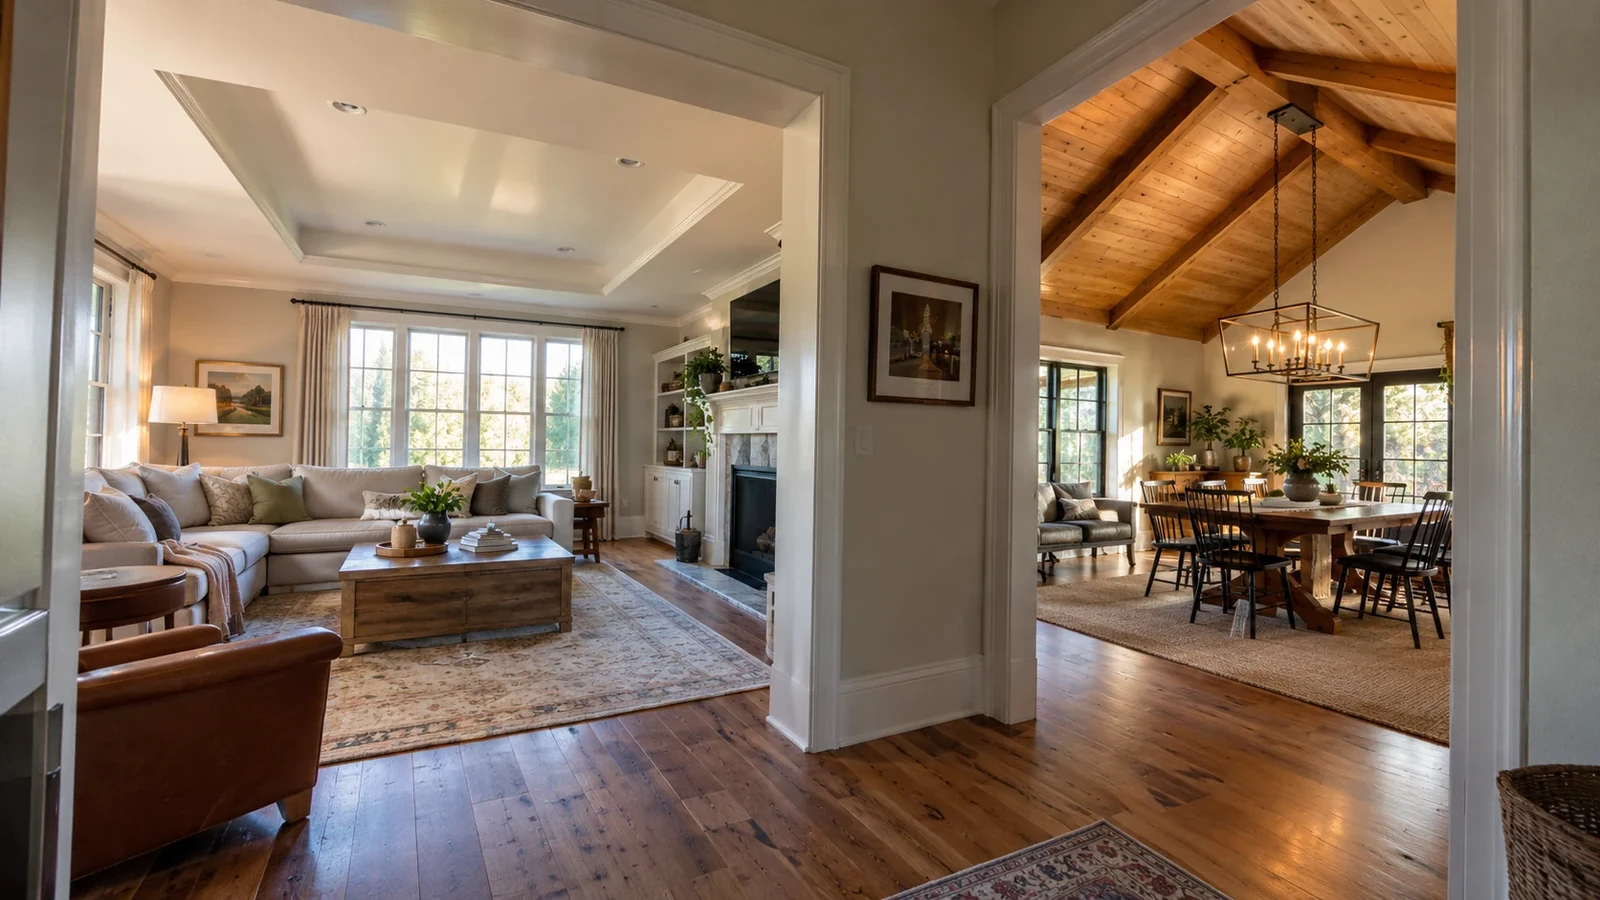
Different Types of Ceilings: Styles, Materials, Costs, and Designs
Different types of ceilings include flat, tray, coffered, vaulted, cathedral, coved, and suspended designs. Popular materials include gypsum board, plaster of Paris (POP), PVC, wood, metal, and acoustic tiles. The best ceiling depends on room height, moisture, budget, maintenance needs,...