Tag: vinegar remedies

  • How to Clean Foggy Headlights with Vinegar

    Vinegar is an excellent tool to easily remove discoloration and dirt from discolored or foggy headlights. You can remove surface grime and dirt by spraying or washing the headlights with vinegar. If your headlights become yellow, hazy or foggy, you can use vinegar and baking soda mixture to clean it. You can also use vinegar wax to clean your headlights. Here are some easy, effective and best ways for how to clean foggy headlights with vinegar.

    How to Clean Foggy Headlights with Vinegar

    1.How to Clean Foggy Headlights with Vinegar

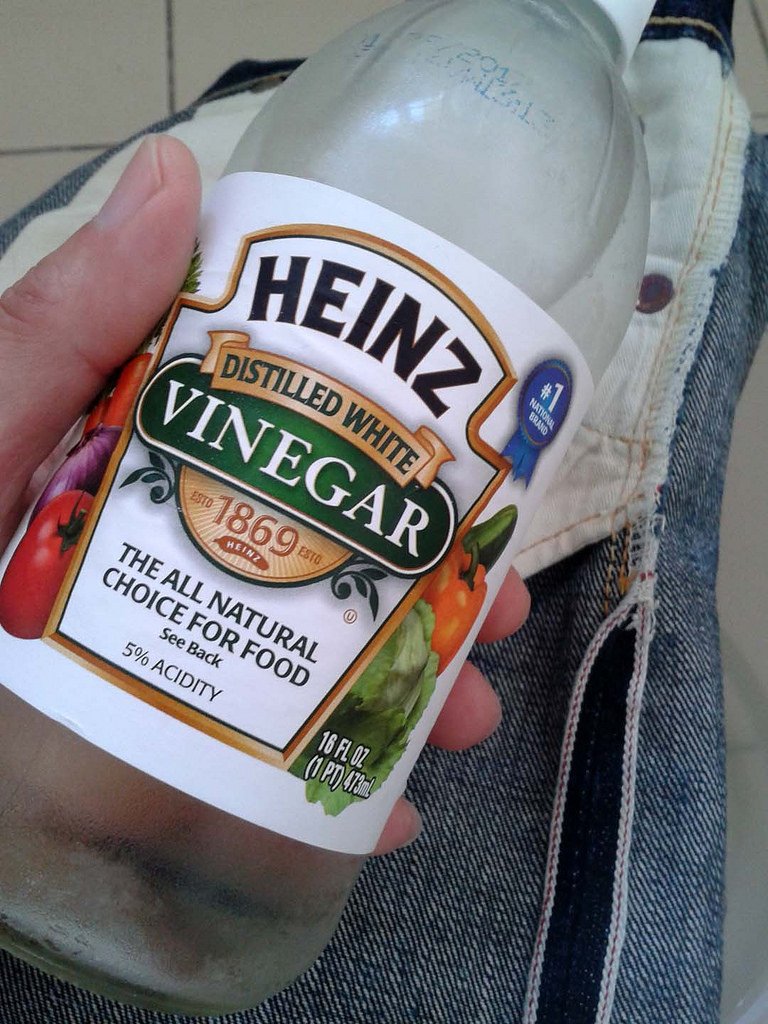
    First of all, make a mixture of vinegar and water. Take one part of white vinegar with three parts of water. For instance, you can also mix one cup of vinegar with three cups of water. You can use this vinegar solution to clean car windows.
    How to Clean Foggy Headlights with Vinegar

    • Take an empty bottle and put vinegar and water in it. Spray this vinegar solution on the headlight cover. Make sure to completely cover the headlight with the mixture. Let it soak for few minutes to loosen the dirt.
    • Use a clean microfiber cloth to wipe away the solution from the headlight. It will remove visible dirt, bugs and other grime from the surface. Make small circular motions to reduce streaks. Though most of the dirt will be removed easily if there is any left, scrub it a little more.
    • Repeat the process if the headlights are not clear to achieve desired results.

    2.How to Clean Foggy Headlights with Vinegar and Baking Soda
    How to Clean Foggy Headlights with Vinegar and Baking Soda

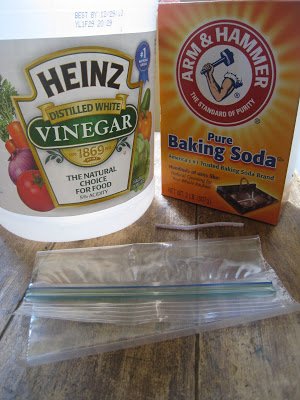
    • Take a measuring bowl and mix on part of baking soda with two parts of white vinegar. These two substances will begin to create foam.
    • For instance, you can also use two tablespoons baking soda and four tablespoons vinegar. Add more or less according to your need.
    • Take a clean cloth and dip it in a vinegar and baking soda solution. Rub the wet cloth onto the headlight. Rub it on the entire headlight including the edges. Try to make small circular motions to spread the mixture perfectly.
    • Remove the solution with the clean water. If the baking soda is left on the headlight, it will leave a white haze on the headlight. Rinse until the headlight is clean and sparkling. After clearing it, wipe it dry with paper towel or clean cloth.
    • You can use a sponge to rinse the headlight. Soak the sponge water in water and wipe away the baking soda. Soak it again if needed to remove the baking soda completely.
      You can also use a spray bottle with water to rinse it. Spray the headlight and wipe the water away to completely remove the baking soda.
    • If the yellow discoloration is still present, repeat the process. Apply the solution again to the headlight. Scrub and rinse to clean the headlights perfectly.

    3.How to Clean Foggy Headlights with Vinegar Wax

    How to Clean Foggy Headlights with Vinegar Wax

    • Mix a half cup of apple cider vinegar, two tablespoons of beeswax, four tablespoons of carnauba wax and one cup linseed oil. Put all the ingredients over the boiling water by using a double boiler.
    • Now heat the wax and stir it until the waxes melt.
    • You can buy carnauba wax at nearby auto stores.
    • You can also use clean tin can if you don’t have a double boiler. Set the tin can in the pot’s middle of boiling water.
    • After melting the waxes perfectly, pour the wax into a different container like a Pyrex measuring cup or a jar. Give wax sometime to cool until it is solid. After the wax is solid, now it is time to use it.
    • You can save the cooled wax for later by using a container with a lid.
    • Scoop the cooled wax using a clean cloth. Apply the wax to the headlights. Apply it with small circular motions.
    • Buff off the wax using a different cloth. Make sure not to leave any residue behind. Polished and sparkling headlights are ready to use.
  • How to Get Tomato Sauce Out of Carpet

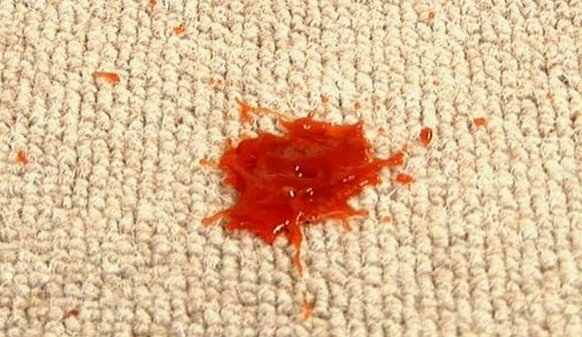
    Tomato juice and sauce is somehow washable and can be removed from the carpet with little effort. Such strains, when dried, becomes one of the most horrible and hardly remove from the household surfaces. If you are facing such issues, here are home remedies for how to get tomato sauce out of carpet. Isn’t it that easy?


    Tomato based sauces and salsa often makes devastated marks on the light colored carpets. Stain removal process has always been the struggling and long duration task which need extra efforts along with stamina. Yes, we often surrender after the first attempt to get the tomato sauce out of the carpet, however, we have to keep cleaning until we can hardly the see the stain or it vanish from the surface. If you are a working woman and don’t have enough time to spend on cleaning of your carpet. Mark a date to clean certain things on a calendar. It will help you in getting all tools available on that day and you are mentally prepared to simply kick off the process.

    How to Get Tomato Sauce Out of Carpet

    How to Get Tomato Sauce Out of Carpet

    Here are some quick and easy tomato sauce removals from the carpet remedies at home. These stain removal techniques will help you make sure tomato juice and sauce remain at the table where they belong.

    There are two main methods which you can use to remove almost every out of the carpet.These methods are,

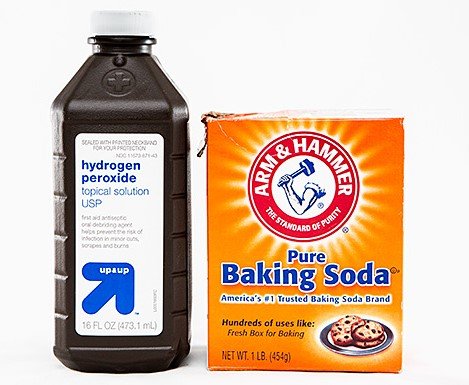
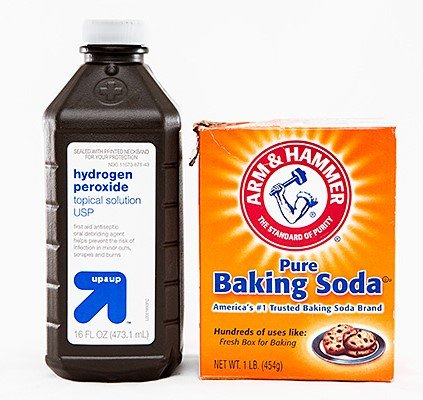
    Hydrogen Peroxide formula

    Vinegar formula

    These both methods are best to clean tomato sauce from the carpet.

    You’ll probably be suggested by your friends and family to move over the internet and discover some useful remedies over there. You’ll discover a wide range of cleaning remedies all over the internet. Every person swears by with regards to managing a tomato or pasta sauce recolor. Why sit around idly on cures that don’t work?

    Remove the Excess Before

    Remove the Excess Before

    To start with, to remove or clean a tomato sauce stain from clothes, there are two elements you’ll need to handle head-on quickly – the lumps of tomato that are laying on the surface of the texture, and the sauce that is splashing further into the strands with each torturous moment. As far as the strong nourishment, use a spoon to deliberately gather up as much as you can – tenderly so you don’t spread the stain. Contained should the stain is as much as possible. Make sure you remove all the excess prior starting any application cleaning process if the stain is dry, you can use a dry vacuum to suck from the roots of the stain. Continue touching until the fabric leaves away clear. It shows you’ve expelled however much of the abundance fluid as could reasonably be expected.

    How to Get Tomato Sauce Out of Carpet with Hydrogen Peroxide

    How to Get Tomato Sauce Out of Carpet with Hydrogen Peroxide
    • As we know that tomato sauce is the most widely used sauce almost in every home. We have the possibility to get the tomato stain on our clothes while we are having food or cooking something in the kitchen.
    • Hydrogen peroxide has an absorbent quality and also removes dirt from any surface. It can easily clean the tomato sauce out of the carpet. Here is a process to use this chemical on your carpet.
    • Mix one tablespoon of hydrogen peroxide in the cold water of about 3 tablespoons. Never use warm or hot water to clean the carpets. This will make a light mixture which will not harm your carpet texture anyway.
    • Make sure the texture of your carpet, whether it will suit your carpet or not. Test it on the small spare area of your carpet.
    • Pour that mixture on the affected area of the carpet and let it penetrate completely in the carpet for almost 30 minutes. Cover it with a white towel so that it stays wet and don’t get dry that early.
    • Wipe that mix with cold water again.

      How to Get Tomato Sauce Out of Carpet Using Vinegar Formula


    How to Get Tomato Sauce Out of Carpet Using Vinegar Formula 
    • Vinegar has bleaching agents and it can pull off almost any stain from any household surfaces. Never go for too concentrated mix while cleaning sensitive items like carpets, and other fabrics.
    • Lift up the excess of tomato sauce from the carpet to remove the stain effortlessly. Make a mixture of 1 tablespoon of vinegar and 3 to 4 tablespoons of cold water with a half teaspoon of liquid dish wash. Mix all well in a bowl and soak the clean white linen or towel in the mixture and dab on the affected area of the carpet.
    • Be patient. Complete removal may require repeating the same step several times. Tamp down on the carpet; do not scrub as this may distort the texture of the pile.
    • Cover the stain with the towel and press down repeatedly to absorb the stain material and detergent.
  • How to Clean Stove Top Burners

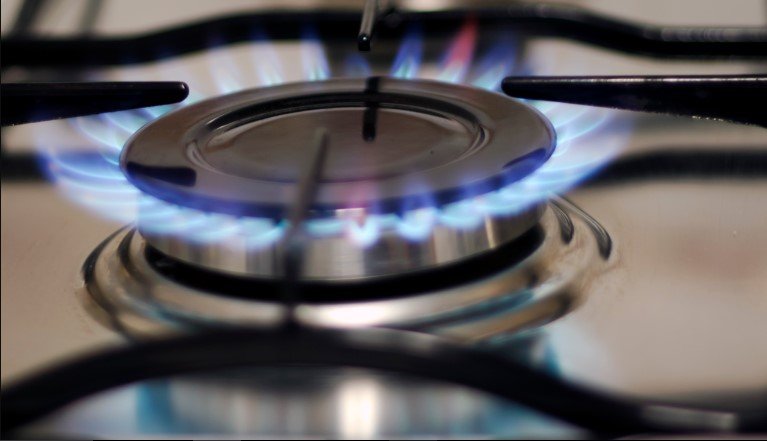
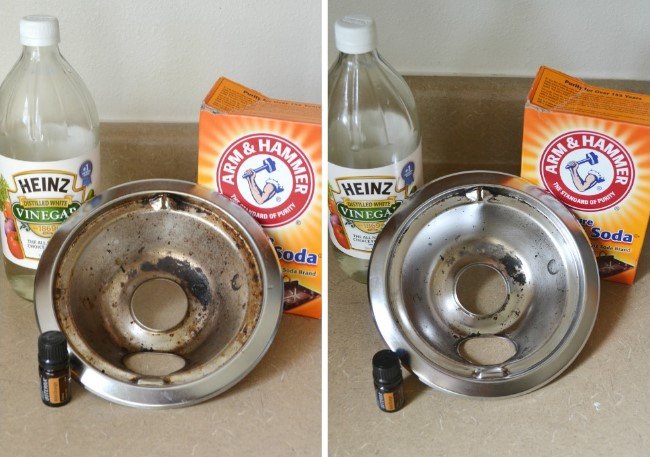
    In any of the kitchen, the toughest and the hardest cleaning job are cleaning the stove top burners. Over and over again food, filth, and grime get burned on the stove top burners. Sometimes it’s really hard to scrub on such kind of materials and material also resist against scrubbing. Your cooking is surely affected by the build up grease and food particles on the stove top burners. Stove’s efficiency will get increase and heat equally distributes if your burner is clean. So., the question is how to clean stove top burners?

    How to Clean Stove Top Burners

    How to Clean Stove Top Burners

    How to Clean Stove Top Burners

    You can clean your stove top burner by using some specific methods and products. But it depends on how you clean stove top burners. Some of the materials can easily be removed, in case if you clean the stove top burners on a weekly or on the daily basis. But if it takes long to clean them, then, for deep cleaning proper procedure is required to remove the stubborn grease, grime, and food. Here are some very effective ways to clean stove top burners.

    How to Clean Stove Top Burners

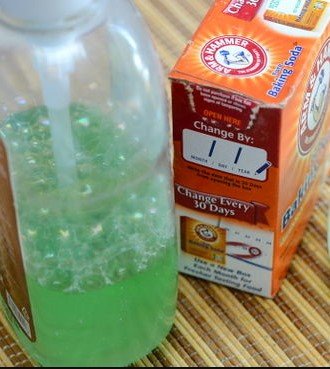
    How to Clean Stove Top Burners by using Dish Soap and Baking Soda

    How to Clean Stove Top Burners by using Dish Soap and Baking Soda

    Things Required

    • Dish soap
    • Baking soda
    • Water
    • Dishrag

    1.In the first step, the stove top burner should be totally cool. After that, remove burners from the top of the stove. Most of the stove burners slide out through a simple jerk and can easily be lifted from the joining point.

    2.Now, you need to use some amount of mild dish soap and a cloth plus water. Then, you have to rinse or wash any of the remaining from the coils of the burner. Make sure that any portion of the electrical connection does not get wet plus do not submerge or sink whichever portion of the burners.

    3.If any of the food remaining or grime are not coming out or loosen down by using a mixture of water and soap. Then, you can use another procedure by making a paste of water and baking soda. After that, put it on the tough and hard spot or stain. Then, allow it to sit for at least 20 minutes. After this, you have to scrub it and wash or rinse the burner.

    4.When you are trying to replace or change the burners, you will have to ensure that burners are totally dry.

    How to Clean Stove Top Burners with Vinegar

    How to Clean Stove Top Burners with Vinegar

    Things Required

    1. Vinegar
    2. Clean cloth

    You can easily remove the grease stains from the stove top burners by using vinegar and it’s for the daily care and maintenance.

    •Spray vinegar on the stove top burners. And then, let it stay for about 10 to 15 minutes.

    •Then use a clean cloth to wipe it down.

    Always remember this procedure is effective for continuing care and maintenance as it stops grease and grime to bake in.

    How to Clean Stove Top Burners by using Baking Soda and Salt

    How to Clean Stove Top Burners by using Baking Soda and Salt

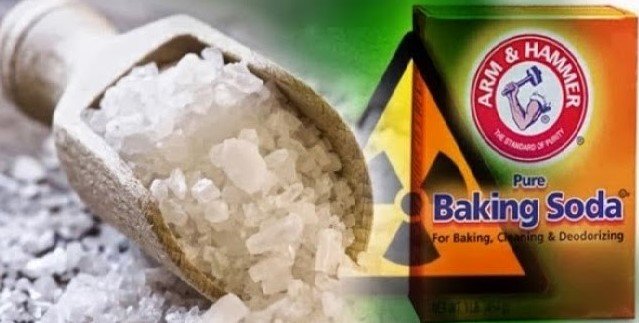
    In this procedure blend one tablespoon of salt along with one tablespoon of baking soda. Then, add some water to make a paste. Now, dip a cloth in the mixture of salt and baking soda and scrub away the gunk, grime, and grease.

    How to Clean Stove Top Burners using Olive Oil or Vegetable oil

    How to Clean Stove Top Burners using Olive Oil or Vegetable oil

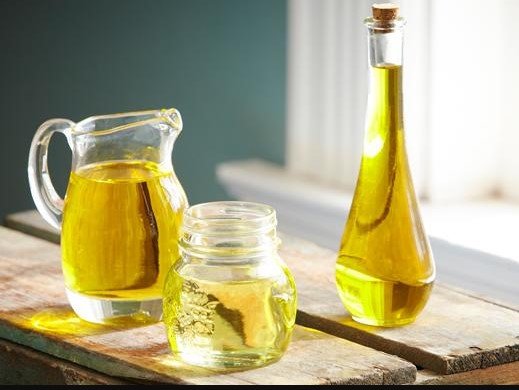
    In this procedure,  pour a little amount of olive oil or vegetable oil on the stove top burner. Then, use a clean cloth and scrub the oil on the grime and grease. At the end, you need to spray it down with the help of multipurpose cleaner.

    How to Clean Stove Top Burners using Baking Soda and Hydrogen Peroxide

    How to Clean Stove Top Burners using Baking Soda and Hydrogen Peroxide

    This is really an effective and a power pack procedure. With this process, you can snub and discard any of the remaining’s on the stove top burner. You just need to sprinkle or scatter the baking soda on the complete surface. Then, you need to drizzle by using peroxide. It will break down all the grime and grease and give the stove top burner a great shine. Just wash it and when the grime and grease are removed, let it dry for a while.

    How to Clean Stove Top Burners using Lemon and Baking Soda

    How to Clean Stove Top Burners using Lemon and Baking Soda

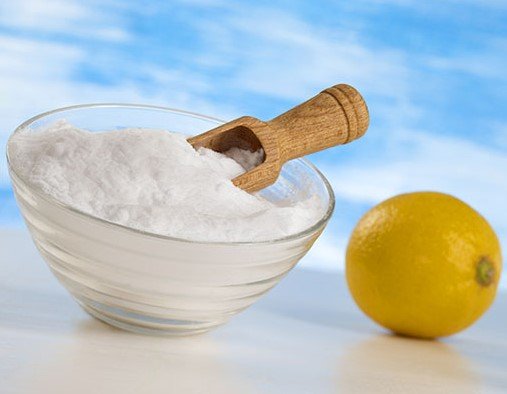
    Lemon consists of natural grease cutting features while the baking soda consists natural antibacterial and antiseptic characteristics. Baked on grease and stains can be removed with the help of baking soda as it is comprised of tremendously fine particles. You just need to scatter some amount of baking soda on the stove top burner. After that, take a lemon slice and rub the surface. Wipe away the area to eradicate any leftover particles of baking soda and pulp of lemon, using a wet cloth.

  • How to Remove Water Stains From Wood

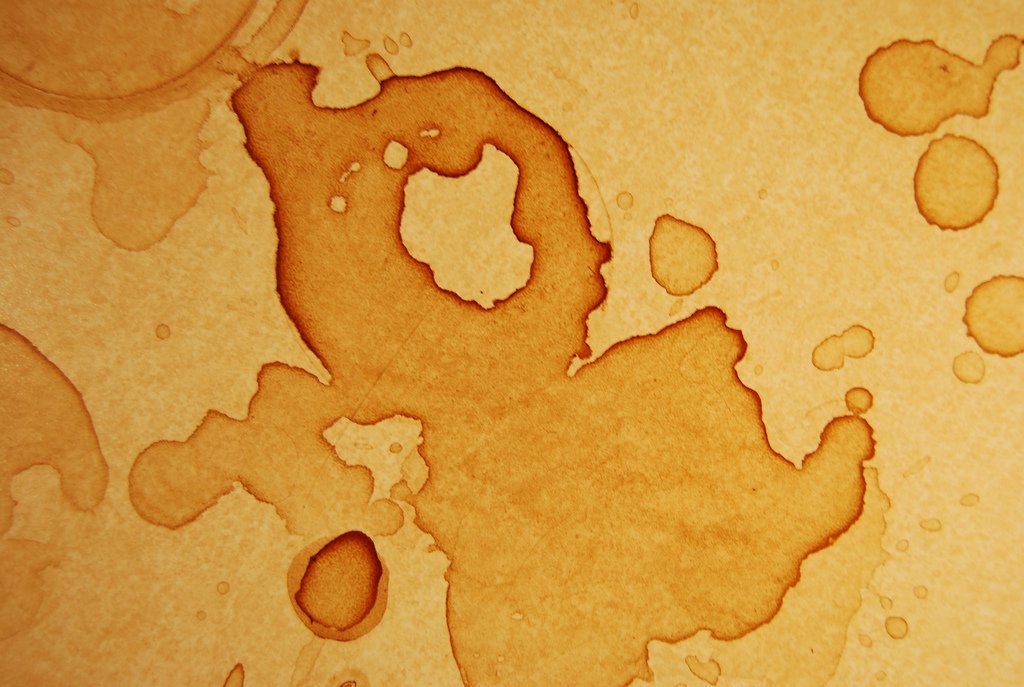
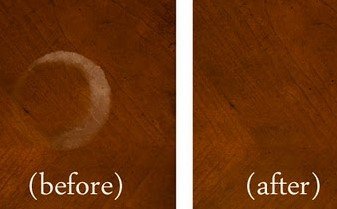
    Different stains remain on wood due to various reasons like steam or liquid. They generally appear in light colored or white. It proves that it is not able to penetrate more deeply and intensely rather than through the polished or waxed surfaces. When the stains become dark then, it basically indicates that liquid penetrates and enters into the finished wood and even it can penetrate through the wood itself. So the question is how to remove water stains from wood.

    how to remove water stains from wood

    How to Remove Water Stains From Wood

    How to Remove Water Stains From Wood

    The most common mixtures and cures that need less money and less time are followings.

    How to Remove Water Stains From Wood with Baking Soda

    How to Remove Water Stains From Wood with Baking Soda
    Most of the white marks on the coffee table and on additional wooden tables are caused by sweating glasses and hot cups. Such marks can be removed by taking one tablespoon of baking soda and one tablespoon of water. Make a paste of the two ingredients. Then you need to softly rub that specific affected area in a circular manner till it vanishes. Always remember there is no need to use much water.

    How to Remove Water Stains From Wood with Petroleum Jelly

    How to Remove Water Stains From Wood with Petroleum Jelly

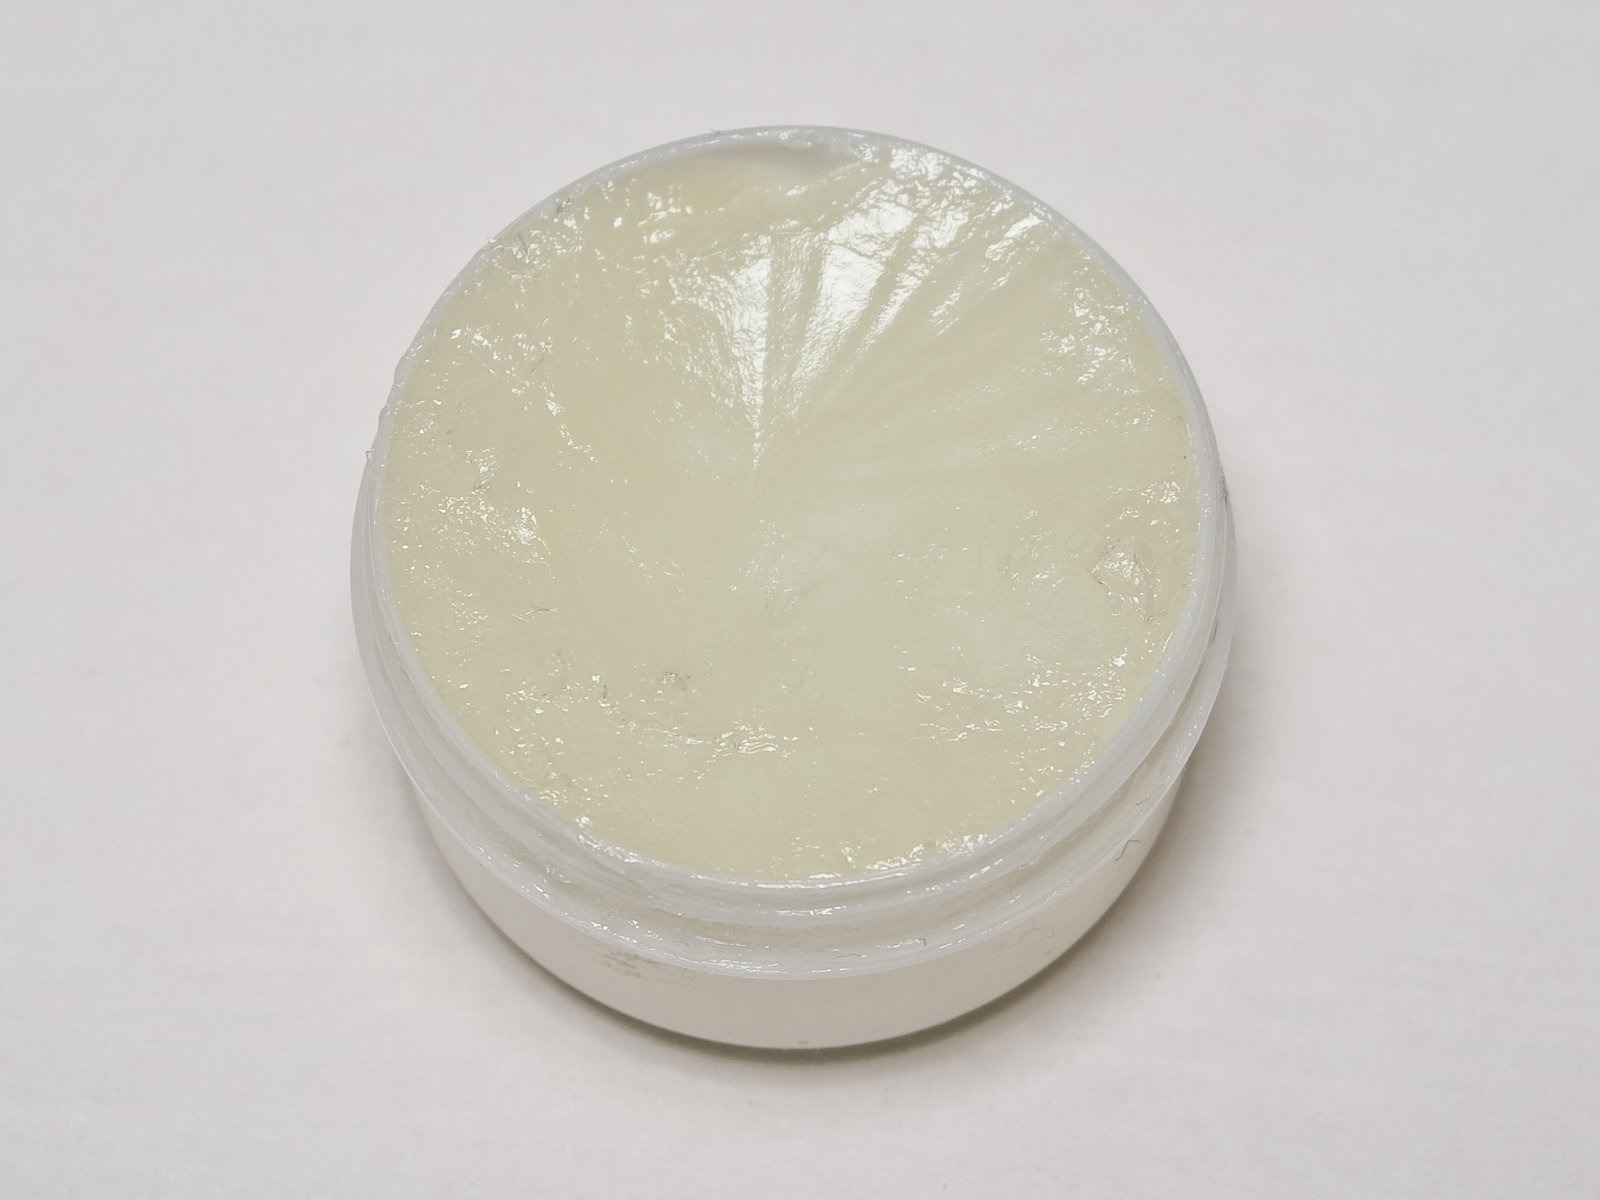
    Many of the watermark rings can be created on the wood furniture due to different reasons. In order to remove all the stains and rings, you need to put on the petroleum jelly and left it all the night. Then, in the next morning, you need to wipe out all the watermark stains with the jelly and with the help of a soft cloth.

    How to Remove Water Stains From Wood with Salt

    How to Remove Water Stains From Wood with Salt

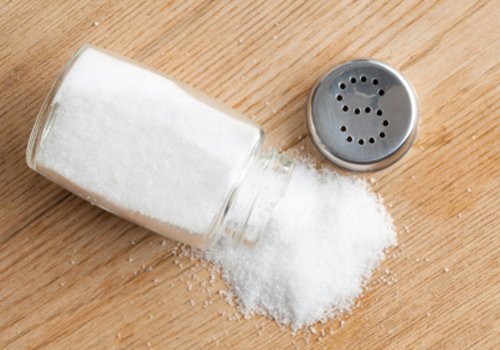
    Watermark stains that are created with the bottles and glasses can be removed by making a mixture or a paste of one tablespoon of salt and few drops of water. Take a soft cloth or a sponge and softly rub that paste on the watermark rings and rub till all the water stains disappear. It will also reinstate the glow and shine of the wood.

    How to Remove Water Stains From Wood with Toothpaste

    How to Remove Water Stains From Wood with Toothpaste

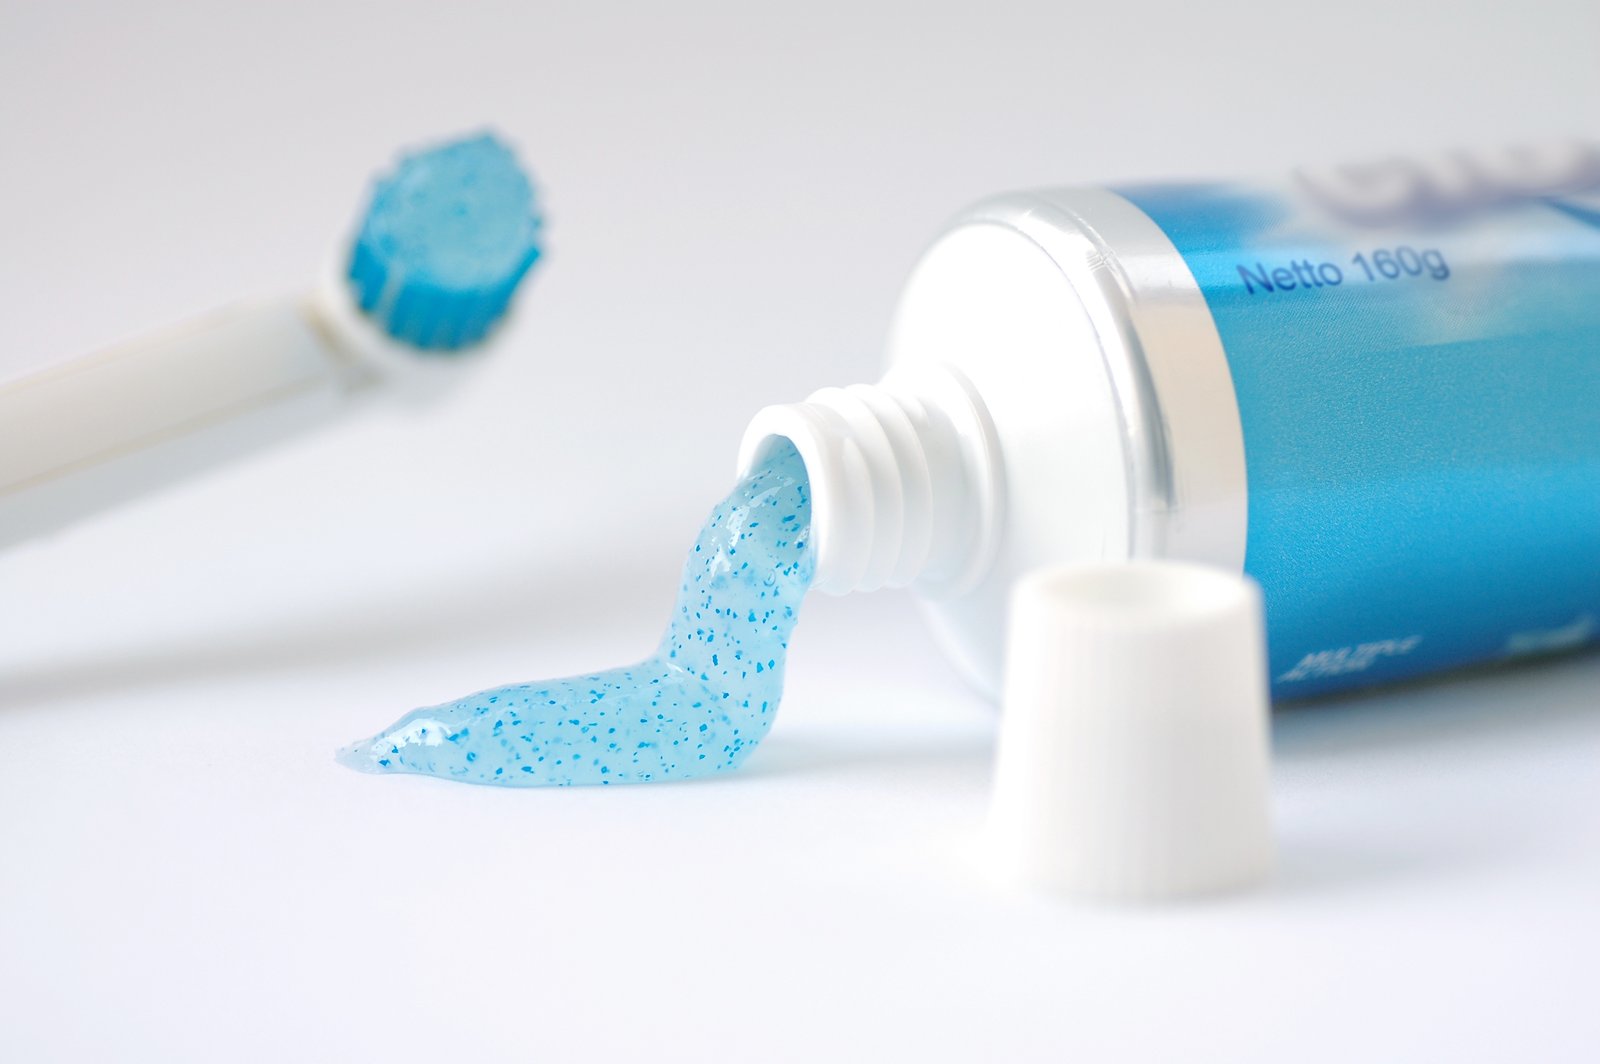
    To get rid of all the watermark stains and rings created by sweating drinks and beverages, you need to take a soft cloth and a non-gel toothpaste. Apply the non-gel paste on the soft cloth and gently rub that soft cloth on the affected area. After that, take a damp cloth and wipe it off and let it for some time to dry. For better and stronger results, you can mix baking soda with the white toothpaste in equal quantity. Now, you need to rub that mixture in the parallel direction of the wood. Wipe it off and after that polish it with the help of lemon oil.

    How to Remove Water Stains From Wood with Vinegar

    How to Remove Water Stains From Wood with Vinegar

    Wet glasses leave ugly white watermark rings on the wood. In order to remove them, you need to mix olive oil with the vinegar in equal quantity. Take a soft cloth and apply the mixture with that cloth, however, moving through the grains of wood. Take another soft cloth to add extra shine to the wood.

    How to Remove Water Stains From Wood with Car Wax

    How to Remove Water Stains From Wood with Vinegar

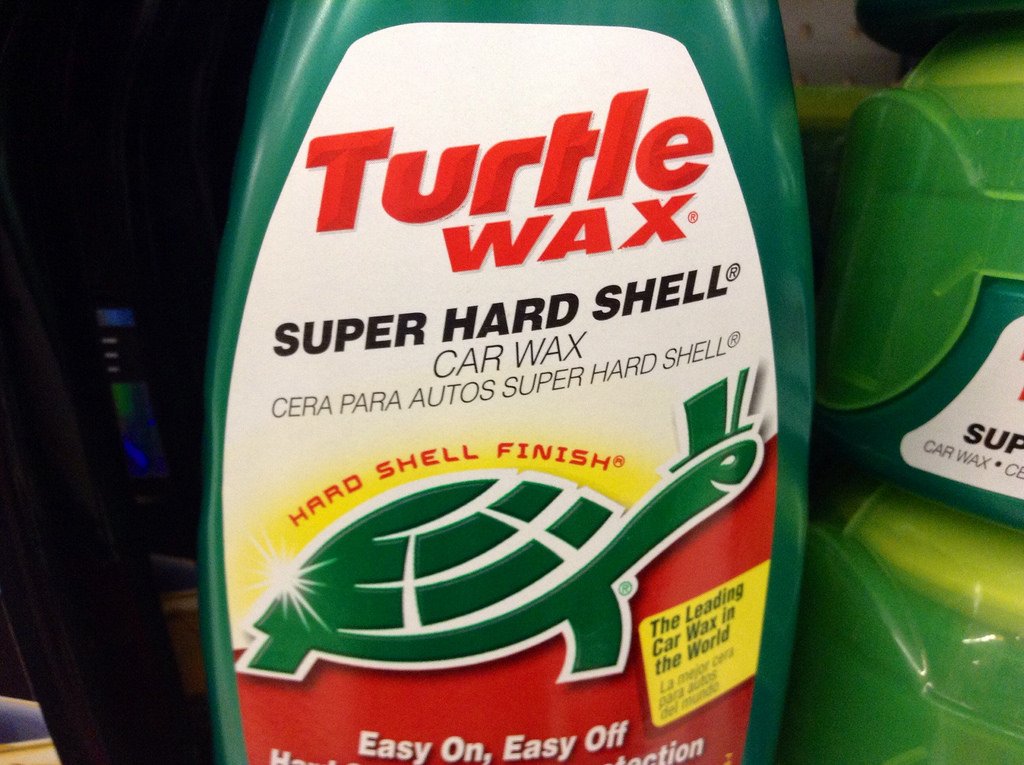
    Car wax can also be used to remove the nasty white watermark rings. Whenever regular and normal polish does not work well, then, you can use a dab of car wax. Use your finger to put on the wax in order to trace the ring. Then leave it to dry and after that, use a soft cloth in order to buff it.

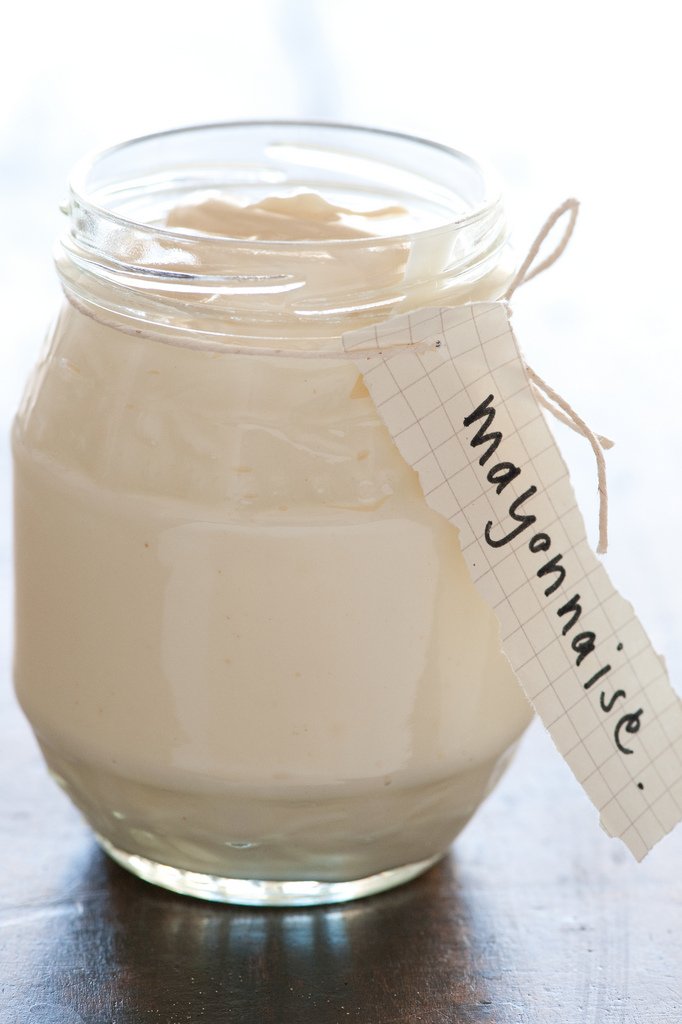
    How to Remove Water Stains From Wood with Mayonnaise

    How to Remove Water Stains From Wood with Mayonnaise

    Watermark stains can also be removed with the help of mayonnaise. You need to put on the mayonnaise onto the watermark stains. Let it sit for the whole night. Next morning, take a thick cotton cloth in order to wipe it away.

    How to Remove Water Stains From Wood with Ashes

    How to Remove Water Stains From Wood with Ashes

    Cigarette ash or cigar ash can be also used to remove the water stains from the wood. These ashes will buff in the watermark stains with the help of a soft cloth.

    How to Remove Water Stains From Wood with Ashes

  • How to Distress Furniture with Vinegar

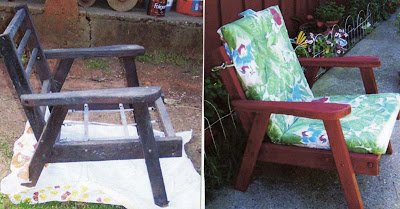
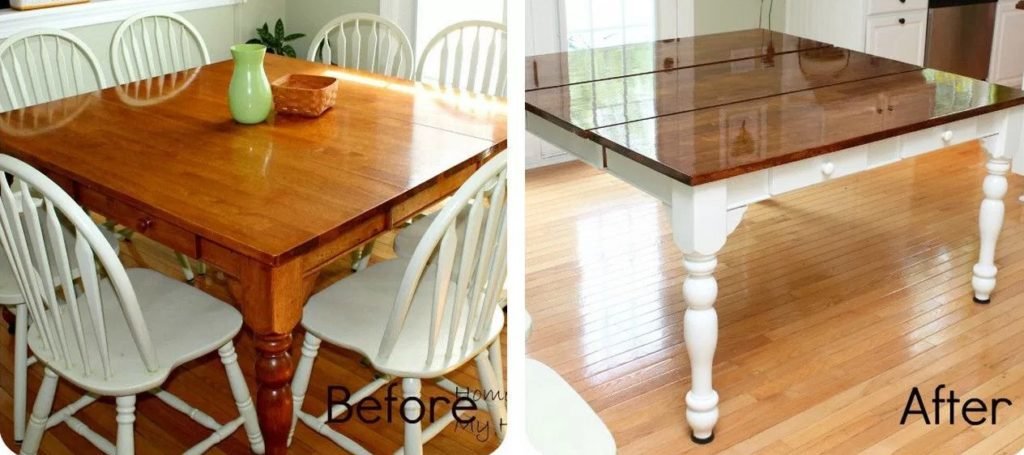
    Distressing furniture or an object could be the great idea for your newly built home. As modern homes have vintage crafts and accent pieces located in different spaces. What does vintage yet industrial-looking furniture mean to? That word represents the creativity which you have shown by distressing different this age furniture pieces and turned them into an industrial yet old age. Here are some techniques for how to distress furniture with vinegar.

    How to Distress furniture with Vinegar

    Distressing is a way of peeling off painted and polished wood with different techniques and providing it retro French look. You can also distress your furniture with vinegar if you are a home creative person. There are more than one techniques for distressing furniture. However, we are here to learn to distress furniture at home with readily available ingredients and tools.

    The purpose behind distressing the furniture is to give weathered look to new modern pieces. This can be performed at home by using different worn looking techniques. This process is intentional and can present any wooden furniture into a worn and vintage looking texture with the help of sandpaper and paint sprinter.

    How to Distress Furniture with Vinegar

    How to Distress Furniture with Vinegar

    This process is one of the common technique used to give imperfect look to your furniture. Just like denim, furniture needs some ripped color off for queuing up in the modern furniture.

    Clean it up

    Brush off the dirt on your furniture before starting operation. Wiping of dirt is important so that it won’t flow within the paint application and got black scars on the furniture. You can also use a blower if your furniture is old and or if new, you can simply dust it off with a rag cloth.

    Power Sander

    This step is important as it needs to refine the surface of your furniture and it fixes the initial layer of your item. It usually works to lose the effect of polyurethane finish on the uppermost layer of the wood and reach almost every corner of the furniture where a normal sander hardly can reach.

    Apply Paint

    It is important to know before you attempt to paint. If you never did this before, you must know the method to paint your wooden furniture. as we usually see varnish and polishes on the wood but hardly see paint on them.

    You can choose pastels and bright colors as per recent distressed furniture trends snapped in the magazines. We would like you to experiment this process on spare small wooden items in your home or you simply choose a wooden fruit basket before getting your hands on the big furniture item.

    Apply one coat of paint and let it dry for an hour or two depending on the weather conditions. If the weather is favorable cold or humid, it will take more than two hours to get absorbed. Remember, keep the brush direction straight and avoid round or random movements. Once the first coat gets dried, apply the second coat of your choice which you want to tear it off and show. If the color of the wood is dark and you are a using light color to distress, you might apply two or three coats of paint to bring the natural color effect.

    Add vinegar in dash of water

    Never go straight to vinegar, add a dash of water and make it a mixture. You can use any vinegar type (synthetic and apple cider) for this purpose. Take a ragged piece of cloth and dip into that mixture. Make sure the cloth don’t drip just to wet it is the main goal. Start rubbing gently in the straight movement right according to the direction of the paint. It will start fading and turning off the actual color of paint.

    Add vinegar in dash of water

    Apply this to the extent which you want to keep it. Don’t go so harsh so that it would look awful and distressed in a bad way.

    To Seal this look with Polyurethane

    If you want to seal this look and don’t want it distressed more with physical wear and tear, you can use Polyurethane to lock this look for a long haul. This might be the final step of distressing the furniture with the vinegar method. This application will provide a matte yet glossy finish to the surface of your furniture. Using a foam brush will beautify its entire appearance.

    Is using vinegar on wood safe?

    Using vinegar with water is safe to distress any wooden furniture. Vinegar can also be used to give imperfection to the wood color. Do not use vinegar on hardwood furniture and floor directly for cleaning purpose as it leave bleach spots. It can only be used to distress wooden furniture.

    Is using vinegar on wood safe?

    Regardless of whether flipping through stylistic theme mags or looking at prevalent sticks on Pinterest, you will discover distressed wood becoming the focal point all over print and electronic fashion even in DIY. One reason is that worn wood fit well with many styles of embellishing from Scandinavian and Bohemian style to Cottage and Vintage chic. The motivation is interminable as well.

    Distressing wooden furniture also refers to a french interior design concept. As in Paris, we have seen different restaurants cafes, hotels and even homes have a touch of distressed wooden pieces. Actually, the concept of this design has been introduced by the French interior designer. We also know that France is the central hub of origin f every new fashion and style. If you are ready to distress your furniture you must feel that Paris is nowhere but your home.This furniture type suits best with the rustic, industrial, retro, vintage and Scandinavian concept of the interior.