Tag: kitchen cleaning

  • How to Clean a Dishwasher Drain

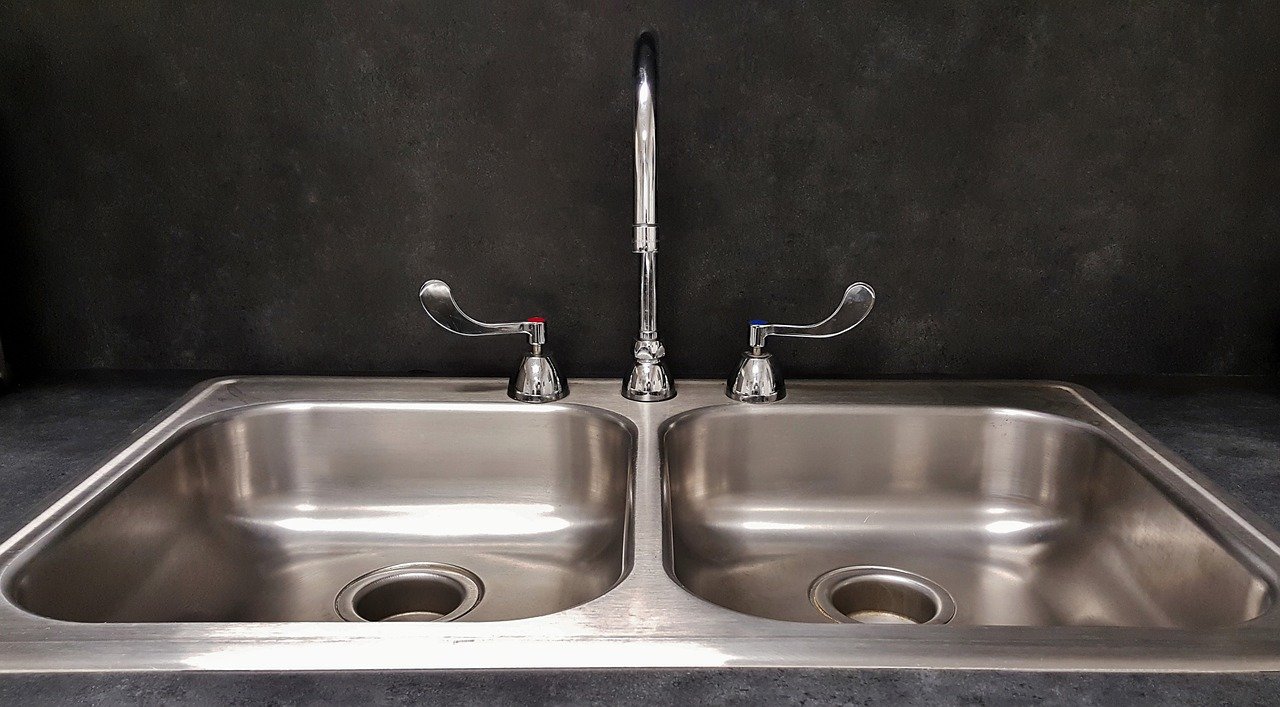
    Dishwasher drains often gets clogged with grease build-up, food debris etc. When your dishwasher stops draining completely after it is used then it indicates your drain is clogged. So the question is how to clean a dishwasher drain effectively. There are many ways to clean a dishwasher drain at home. Here are some easy ways for how to clean a dishwasher drain.
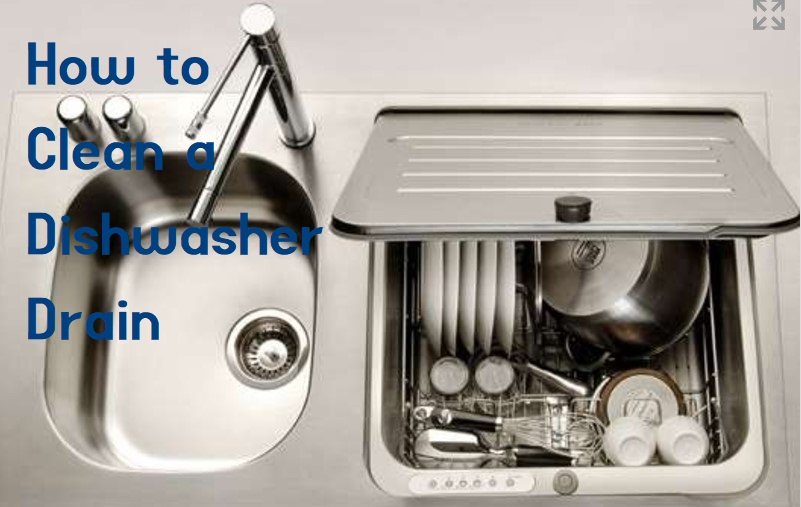
    How to Clean a Dishwasher Drain

    1.How to Clean a Dishwasher Drain by Cleaning the Drain Filter

    Take a damp cloth to clean the filter and remove debris. Remove any debris or food waste remained in your dishwasher. Take a damp cloth and wipe around the filter and catch basin.

    For example, you can find small particles like seafood shells, noodles, bones or glass shards.

    Unscrew the Filter

    Use owner’s manual for how to remove the filter on your dishwasher. Commonly, four screws hold the filter. In order to access the filter, you need to remove the bottom rack of the dishwasher.

    Wash the dishwasher filter with water and remove grease or debris attached to the filter. The dishwasher will not drain properly if the filter is clogged.
    You can use a wet vac to clean off grease or other remaining from the filter.

    After cleaning the dishwasher filter, reconnect it using a screwdriver. Remember put all the screws in place before tightening. You will not need to unscrew all the screws if you drop a screw into the dishwasher bottom.

    2.How to Clean a Dishwasher Drain- Unclogging the Drain

    How to Clean a Dishwasher Drain- Unclogging the Drain

    Remove the bottom rack to unclog the dishwasher drain from inside. You will be able to access to the drain, filter and catch basin. Disconnect the power before working on the dishwasher.

    Remove the drain catch and filter using a screwdriver located in the center bottom of the dishwasher. Read the owner’s manual to locate and remove the dishwasher filter.

    After removing the filter and drain catch, the drain will appear in front of you. Remove the clogs from the drain with an auger or straightened wire hanger.

    Cleaning Procedure

    Pour vinegar and baking soda mixture down the drain. Use vinegar and baking soda solution to flush out the drain. Pour two tablespoons of vinegar and one tablespoon of baking soda down the drain.

    You can also use commercial drain cleaner for unclogging drain but they may contain harsh chemicals which mostly remain in a dishwasher.

    Give the solution 10-15 minutes to sit properly. The vinegar and baking solution helps to break up clogs that remain in the drain. Pour hot water down the drain after 15 minutes to remove the mixture along with any remaining debris.

    Now connect and run the dishwasher on a normal cycle after unclogging the drain. The dishwasher will drain properly and water will no longer pool in machine bottom.

    3.How to Clean a Dishwasher Drain- Removing Clogs from the Drain Hose

    How to Clean a Dishwasher Drain- Removing Clogs from the Drain Hose

    Turn off the dishwasher power by removing the plug before doing anything.

    Read given instructions on a dishwasher owner’s manual to know how to locate and disconnect the hose from the dishwasher.

    After locating the hose, use pliers to pinch the wire clamp and slide it up the hose. Place a catch basin under the hose also to collect any spills that can come out of the hose.

    After disconnecting the hose, trying wiggling the hose to loose remaining that may be trapped.

    After removing the clog from the hose, attach the hose to the dishwasher. Now plug in the dishwasher and run it on normal cycle without dishes. The dishwasher will drain properly and water will not pool in the machine bottom.

    4.How to Clean a Dishwasher Drain- Maintaining a Clean Dishwasher

    You can also use precautionary tips to ensure the dishwasher drain doesn’t clog again. Your dishwasher also shares a drain with the kitchen sink. If kitchen sink is clogged then it can also a backup dishwasher. Immediately run garbage disposal before using the dishwasher. It will help to clear the drain and also makes the dishwasher even more efficient.

    In most cases, the dishwasher drain gets clogged with large food particles that trap in the drain or filter. Removing the food particles from the dishes before loading them in a dishwasher can help you to prevent this problem. You can keep a dishwasher clog-free and clean in such way.

    Don’t over rinse your dishes. It is a good idea to remove food particles from dishes before loading the dishwasher, don’t soak your dishes. The dishwasher needs a little grease. Without grease or grime, the soap will form during the washing cycle and it can be dangerous to the machine too.

    Over usage can also cause clogs in dishwashers. You can also save money and extend the dishwasher lifespan by running it when it is full. Don’t run the dishwasher for partial loads.

    Additional Tips

    Before cleaning the drain, always unplug the dishwasher.

    Contact a licensed plumber if you are not able to unclog the dishwasher drain. An expert plumber will help you to fix the clogs and keep your dishwasher running in proper shape again.
  • How To Clean Aluminum Pots

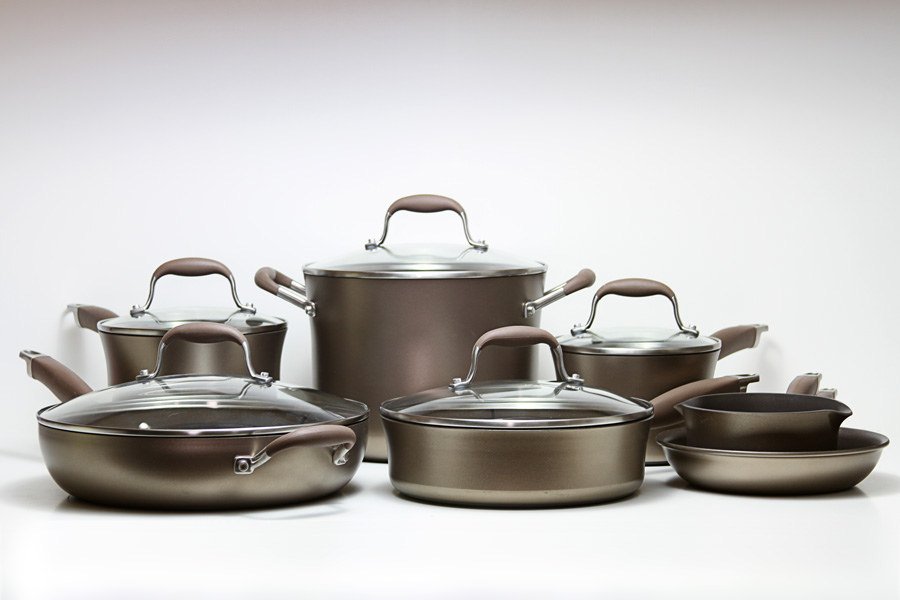
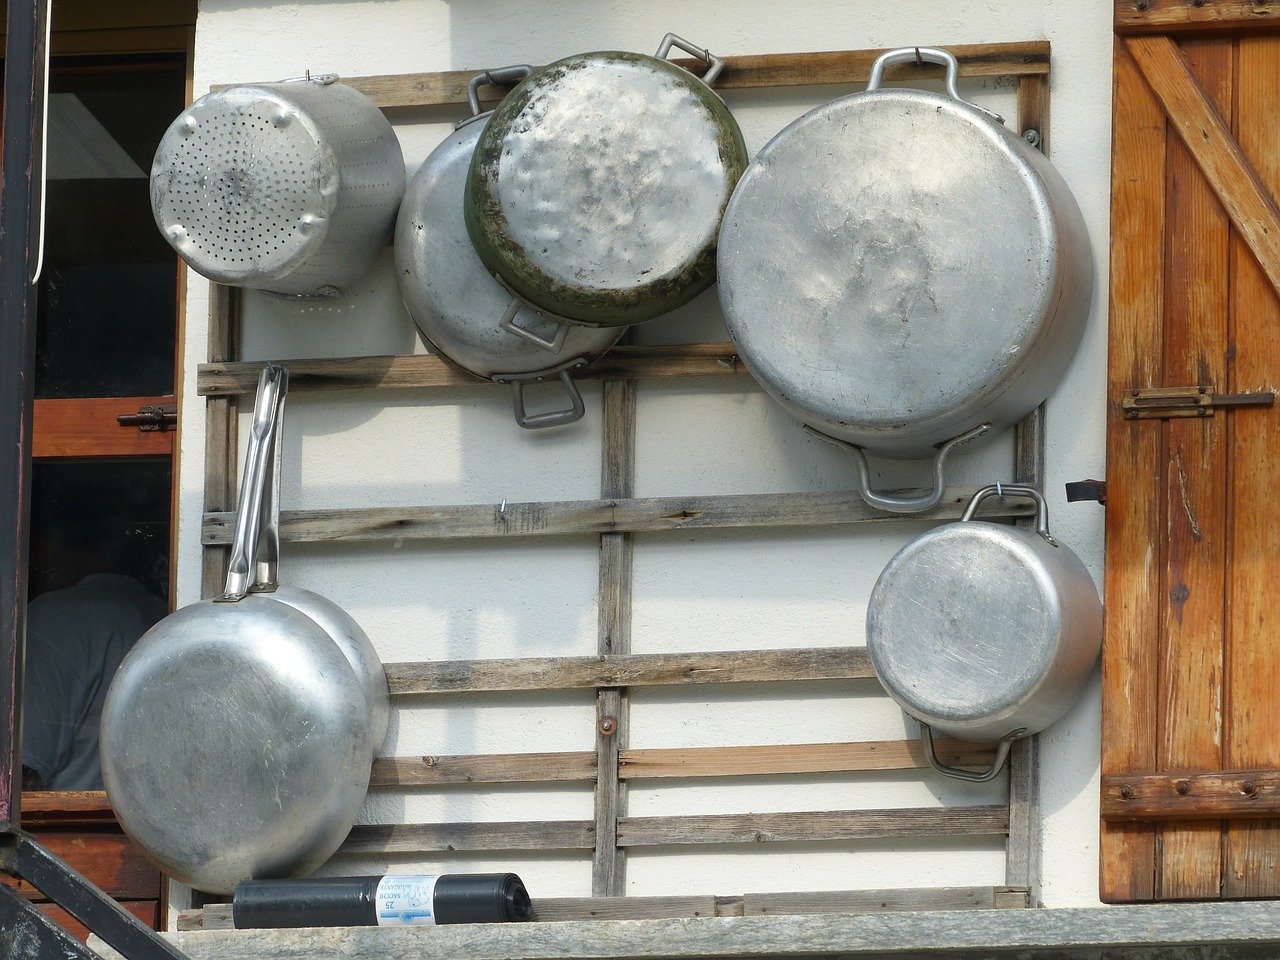
    Aluminum is one of the plentiful metals available on the earth. It’s a soft and light metal used for multiple purposes. Sometimes it is mixed with other metals to make its properties stronger like magnesium, zinc, and copper. Aluminum is used for different purposes like electric works, siding, paints, wheels, motors, gutters etc. Mainly aluminum is used to make household items like Pots, tables, and pans.

    Multiple coating on surface replies to Oxygen exposure. Aluminum pots are often used to cook food at home so it develops a undesired coating on the surface of the pot and leaves stubborn stains to clean and restore its shine and beauty. Do you want to know how to clean aluminum pots easily? Let’s share some useful ways on how to clean aluminum pots and pans at home.

    How to Clean Aluminum Pots

    More clean pots you use more comfortable you feel while cooking and washing the aluminum pots. Sometimes burnt cooked food leaves unpleasant and stains on its surface which becomes so hard to clean and return back its shine like it was purchased brand new. If we don’t take corrective action at the right time so our pots will turn into dull gray and may be its permanent to remove.

    How to Clean Aluminum Pots

    Hence, there are numerous ways to clean out dirt and debris on the surface of aluminum pots but we have to pick few which work out the most effective and efficient and provide us the best-desired solution forever. There are various ways to clean out aluminum pots at home which are not only easier but effective too.

    How to Clean Aluminum Pots

    How to Do it

    • Wash out all the dust or dirt visible and layered on the pots. Fill it out with warm water and leave it for few minutes as required or until it makes stains weaker then wash it out with soap. Escape from the aluminum oxide by washing out grease first. You can use a scratch pad to remove all grease on the surface and from the surrounding edges.


    • How to clean out burnt food on the underneath surface of the pots. Pour some water into the pot and boil it for the five to ten minutes then rub it with long sharpen flat edge spatula made of wood. Repeat the process until it gets clean.


    • Always never use harsh items to remove the nastiness on the surface on the pots. Use soft plain steel wool. The disadvantage of using harsh abrasive is that it leaves permanent scratches on the pot which is so difficult to remove in the near future.


    • Cleaning with Acid. Though it is uncommon practice to use this method. It can be effective to enhance the look of the aluminum pots. Fill out the pot with water by adding two tablespoons of vinegar, cream tartar or lemon juice. Let the water boil in the pot for at least fifteen minutes. It also plays a crucial role to remove the dirt or burnt cooked stains.


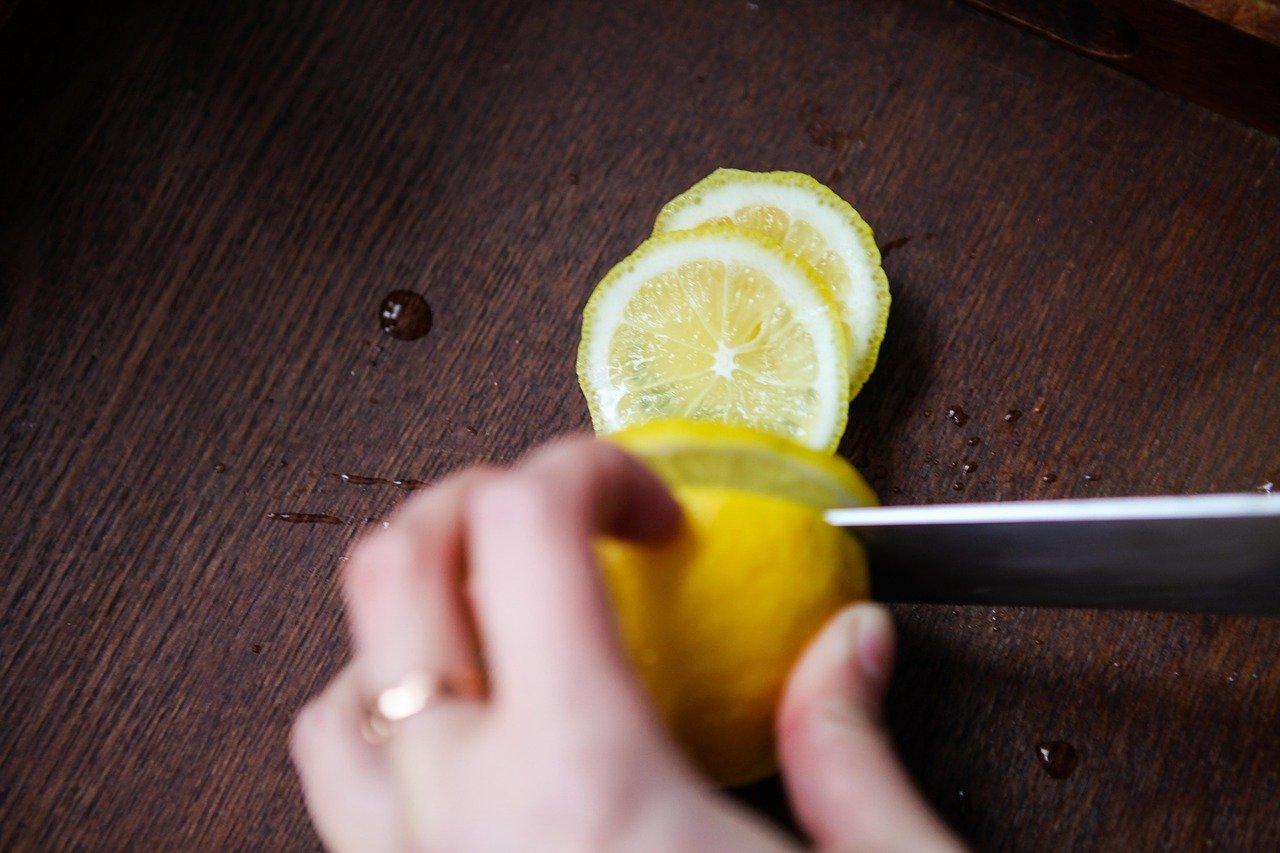
    • If above-mentioned method a is a bit hard to apply so just pick a lemon and slice it to rub on the surface of the aluminum pots gently. Lemon juice is also same effective but rubbing too hard can be hazardous for the look of pots.


    • Never use chemicals to clean it up because using chlorine bleach or other acids can be harmful to the human skin as it causes to skin, eye and lung irritation. It can also cause diarrhea or vomiting. Use simple and homemade remedies or natural things.


    • There are also various items to increase the brightness of the aluminum pots and it also works as a cleanser. It’s not only biodegradable but also environmental friendly items and nontoxic. It is popular as Aluminum Cleanser and brightener.


    • Baking soda is also useful to eradicate grease on the surface and edges of the pot.


    • Creamer of tartar can also be effective so add two tablespoons of creamer tartar in the quarter of the water and boil for the ten minutes until the mixture dissolved in the water.


    • There is a traditional and easy method to clean the burnt food or debris or shine the brightness of the pot is rubbing tiny chunks of sand with wool steel can easily clean out but rubbing too hard can leave permanent scratches on the surface of the pot.


    • Tomatoes, lemons, and apples are also effective for cleaning aluminum pots. They also work like natural acid which is non-toxic and less harmful but it’s uncommon in practice by household wives.

    CONCLUSION

    In short, there are various unique and old methods for cleaning aluminum pots. But always choose the best possible and feasible method which provides more effective outcome with a permanent solution to all of our queries. Choosing not only economical method which not only cleans the dirt or debris of gray lines or greasy texture but it is also appropriate to the human health.

    CONCLUSION

    There are various acids which are effective to clean the aluminum pots. But they are really harmful to the human health. They may not only create skin issues but also eyes irritation issues. So we have to look at all of the other health factors and side effects of the adopted method. A fine grade of steel wool and pad is handy for its benefits. Vinegar and creamer tartar mixture is greatly effective to achieve our goal. While lemon juice method is not only economical but also homemade remedy and equally effective.

  • How to Clean Grease Off Stove Hood

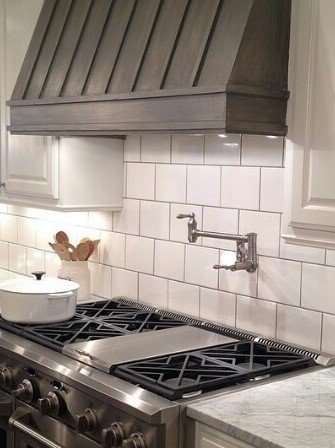
    Your range hood channel takes a great deal. The majority of that oil and smoke from your day by day cooking gets consumed by the channel, particularly in the event that you cook with stainless steel cookware, abandoning it looking corroded, dry, and only straight up gross. Would you need to cook or engage in a kitchen where your range channel is truly canvassed in rottenness? We thought not. In case you’re hoping to clean your range channel yet don’t know where to start, we don’t censure you. It’s a dark piece of the kitchen that you’re never truly instructed how to clean. All things considered, never fear! The biggest problem is how to clean grease off stove hood right?

    How to Clean Grease Off Stove Hood

    To stay away from your channels getting to where they are, making a point to check your fan channels consistently. In the event that you want to profound sear sustenance, you ought to check considerably MORE routinely, in light of the fact that chances are your channel isn’t looking so hot.

    Moving on, It began with a worn out light. I was making a flame broiled cheddar sandwich for myself on the stove when the light over the stove went out. Since I have this thing about expecting to perceive what it is I’m cooking, I needed to put the cheddar sandwich on hold while I went looking for another globule.

    As I was changing the globule I sadly saw the state of the underside of the hood over my stove. YUCK! Kinda wish I hadn’t done that. Typically all I see is front of the stove hood, which I figure out how to keep entirely perfect. Well, don’t let that trick you, underneath sneaks a monster!

    How to Clean Grease Off Stove Hood

    I more likely than not taken a gander at that thing a hundred times and not mulled over how filthy it must be – until today that is. So slight change of arrangements for the evening. I completed the barbecued cheddar sandwich and went to counsel with my companion Google.

    How to Clean Grease Off Stove Hood

    Pull out your greatest pot, fill it with water and heat it to the point of boiling. At that point include 1/2 measure of heating pop, gradually! Truly, you need to include it about a tablespoon at any given moment since it promptly bubbles up alarmingly! (The bubble goes immediately.) Then bring your built up with oil channel and submerge it in the pot. (All things considered, 1/2 of it in any case.)

    For an initial couple of minutes, I viewed in interest as the bubbling water went to deal with the oil. I could see it simply softening off. In any case, my interest soon swung to sicken as I keep on watching my channel “cook” in the water.

    The Cleaning Process

    I couldn’t trust how much oil simply kept rising to the surface! I at long last concluded that I ought to discharge this pot o’ muck, and give the vent another treatment with a perfect pot of water and additionally preparing pop. So I took out the vent, and dumped the oil smooth out in the lawn (I wasn’t going to dump it down my sink!) When I got back in I chose to have a go at flushing the vent with truly high temp water out of the tap before bubbling it once more, however it worked out that is all it took to get whatever remains of the oil out. I continued flushing until the water ran clear, and that was that.

    In the wake of giving the vent a chance to dry for whatever remains of the day propped up on top of the stove, I returned it to its home and it was a quite extraordinary feeling knowing it was presently an oil free zone.

    All things considered, it truly was a straightforward settle – one that could have been a great deal more terrible had it included a hand-to-hand battle with the oil.

    Come to consider it, the main time my hands touched oil was taking the sift through in any case.

    How to Clean Grease Off Stove Hood- The Simple Way

    How to Clean Grease Off Stove Hood- The Simple Way

    Be that as it may, to manage the channel you have now, attempt this basic system:

    You Need:

    • OxiClean
    • Hot water
    • Bucket

    You can use many other products here, such as dish soap or even hot steam, but this method works extremely well.

    1.  Fill up a basin with bubbling high temp water.
    2. Add a couple scoops of OxiClean.
    3. Place the channel in the blend and leave in for 10-30 minutes.
    4. Scrub with a swarm brush if need be.
    5. Dry and supplant the channel.
  • How to Remove Rust from Stainless Steel Sink

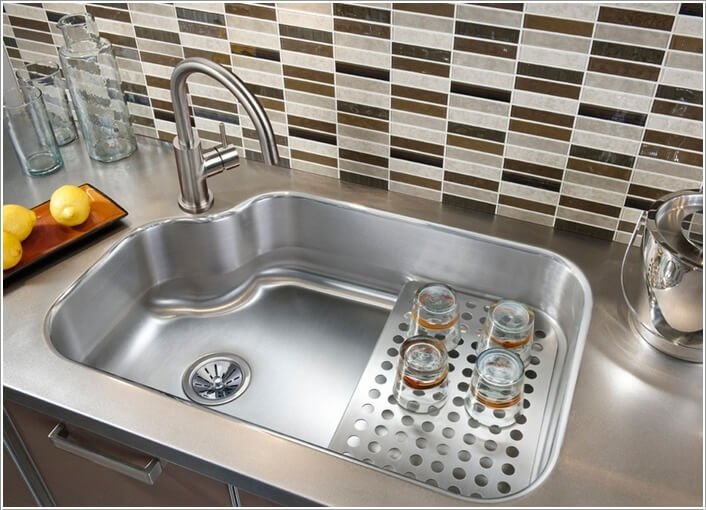
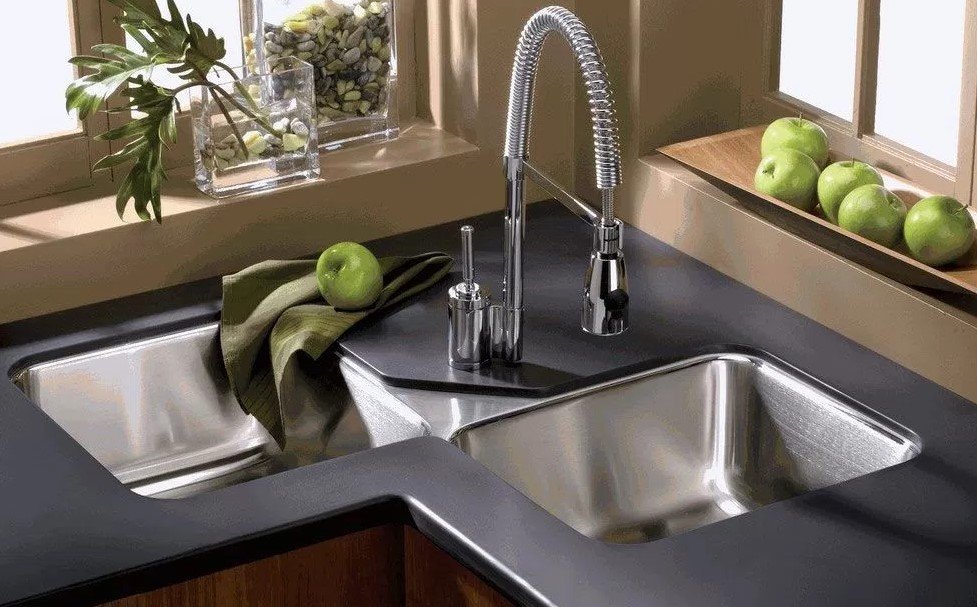
    It is fact that Stainless steel and tenacious rust is each kitchen darling’s foe. Every kitchen lover wants to know how to remove rust from stainless steel sink? What’s more, since we’ve all been there (gracious, have we ever), we thought it just appropriate to impart to you some accommodating tips that make freeing your sink of that unattractive rust super simple. I’m talking everything from lemon juice to lighter liquid keeping your kitchen shining clean.

    How to Remove Rust from Stainless Steel Sink

    In spite of its name, stainless steel rusts. Be that as it may, if your stainless steel sink is eroded, there’s no compelling reason to supplant it at this time. With a touch of know-how and simple cleaning deceives, you can evacuate rust in a glimmer.

    Nothing’s more terrible than washing plates after supper in a corroded sink. While stainless steel doesn’t rust as effectively or in an indistinguishable way from standard steel, in spite of prevalent thinking, it is not recoloring verification. Stainless steel kitchen sinks are at times significantly more helpless to rust when other wet articles, for example, cast press container, utensils or flatware are left in the sink for drawn out stretches of time. The metal responds with the water and Galvanic Corrosion happens, prompting the staining you see on the sink’s surface zone.

    There are more than 150 evaluations of stainless steel, and some are more inclined to consumption than others. As a rule, the higher the chromium content, the more improbable the steel will rust. Check with your maker or guarantee to decide the chromium substance of your stainless-steel sink, and if looking for a substitution, make sure to settle on a high chromium number.

    How to Remove Rust from Stainless Steel Sink

    How to Remove Rust from Stainless Steel Sink

    Fortunately, you don’t have to purchase another sink to handle rust at this point. Attempt these simple, natively constructed cleaning answers for making your stainless-steel shimmer:

    How to Remove Rust from Stainless Steel Sink with Vinegar

    How to Remove Rust from Stainless Steel Sink with Vinegar

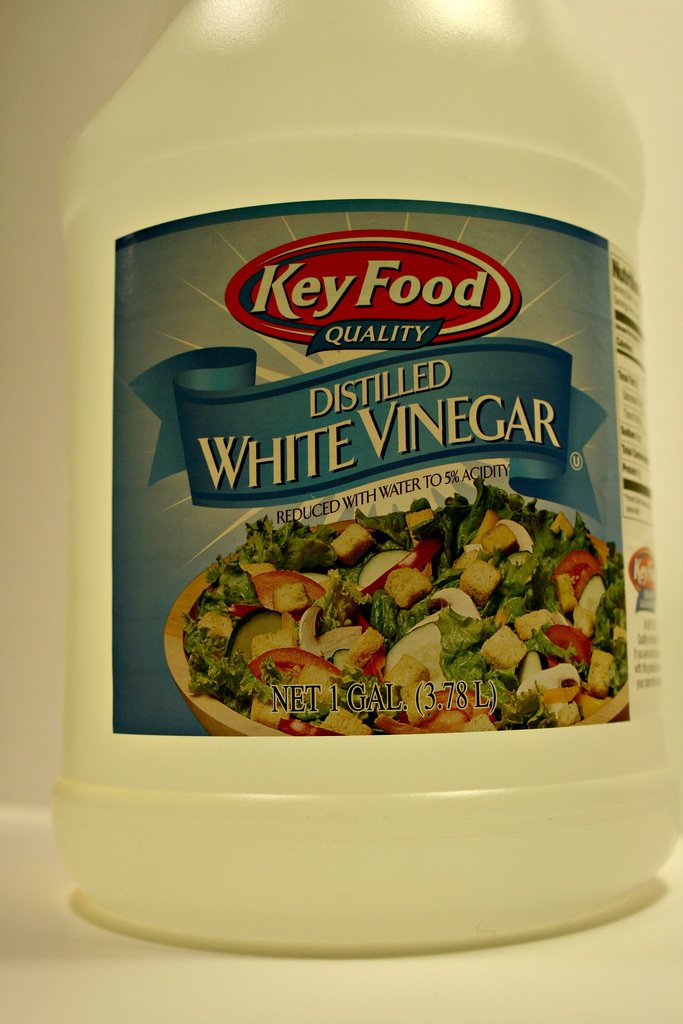
    Simply pour a liberal measure of vinegar onto a delicate scouring pad* for an eco-accommodating contrasting option to cruel chemicals. The stain will lift instantly.

    How to Remove Rust from Stainless Steel Sink with Lemon

    How to Remove Rust from Stainless Steel Sink with Lemon

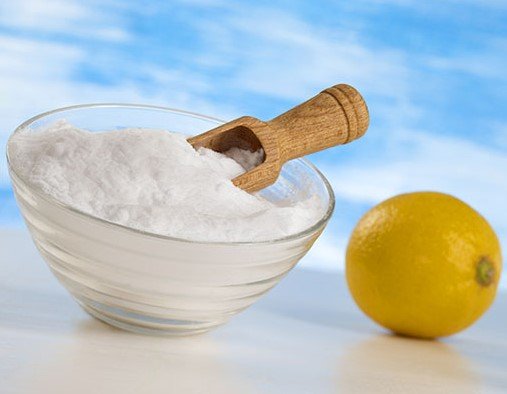
    Lemon squeeze and preparing pop: Create glue from equivalent amounts of lemon squeeze and heating pop, and then clean with a moist wipe. For harder stains, leave the glue on for 15-30 minutes, then wipe clean.

    Lemon squeeze and cream of tartar: Mix one tablespoon of cream of tartar with a couple drops of lemon juice to make glue, then smooth it on rust spots and rub it in overwhelmingly with a delicate wipe.

    Club pop: Buff rust scrapes with a pop hose material.

    Lighter liquid: If all else comes up short, take a stab at pouring lighter liquid on a perfect material and scouring the rust spots clean. For security, remember that lighter liquid is exceptionally combustible and can be lethal for the earth, so utilize this choice if all else fails – and never around an open fire (ensure all adjacent stove burners are off).

    In the blink of an eye by any means, your stainless sink will sparkle brighter than that cast-press pot – simply keep the two far from each other to stay away from more rust later on.

    How to Remove Rust from Stainless Steel Sink Easily

    Here are a couple of things to attempt to expel rust stains from stainless steel.

    Attempt Comet or Bar Keepers Friend. I had one and it got it out of mine.

    On the off chance that that doesn’t work Try CLR. Give it a chance to sit for somewhat then clean.

    If it doesn’t work then make a glue of lemon squeeze and salt and let it sit on it over
    night and after that delicately rub.

    If it doesn’t work then you can simply have a go at sending it out with 600 coarseness sandpaper. This worked truly well on my porcelain sink that nothing would get it out.

    Try not to let rust run widespread in your home. Battle the nosy stain with these surefire techniques and your ledges and apparatuses will soon flicker at the end of the day

    For Little Stainless Steel Rust Spots

    For Little Stainless Steel Rust Spots

    STEP 1

    When evacuating just a couple of ignoble spots from the side of a skillet or the front of your dishwasher, blend a glue from 1 tablespoon of preparing pop and some water. (For bigger rust spots, skip ahead to the following arrangement of steps.) Baking pop is an extremely gentle rough, so you can sit back and relax realizing that you’re vanquishing erosion in a totally synthetic

    STEP 2

    Rub the glue onto your stainless steel surface toward the grain utilizing a delicate, clean fabric.

    STEP 3

    Finally, wash and tenderly wipe the influenced zone with a moist paper towel.

    For Serious Stainless Steel Rust

    For Serious Stainless Steel Rust

    STEP 1

    Rinse the bigger surface region—be it the bowl of your sink or a segment of your stainless steel counters—completely to expel any garbage and hose the surface. Quickly after, sprinkle a layer of heating pop over it, making a point to coat the whole rusted district.

    STEP 2

    Let the layer of preparing pop to sit for between 30 minutes and 60 minutes.

    STEP 3

    Roll up those sleeves and begin scouring! You can scour with a delicate swarm brush, or—in case you’re crisp out of cleaning brushes—utilize an old toothbrush that you may have put something aside for these kinds of cleaning purposes.

    STEP 4

    Rinse and precisely dry with a paper towel.

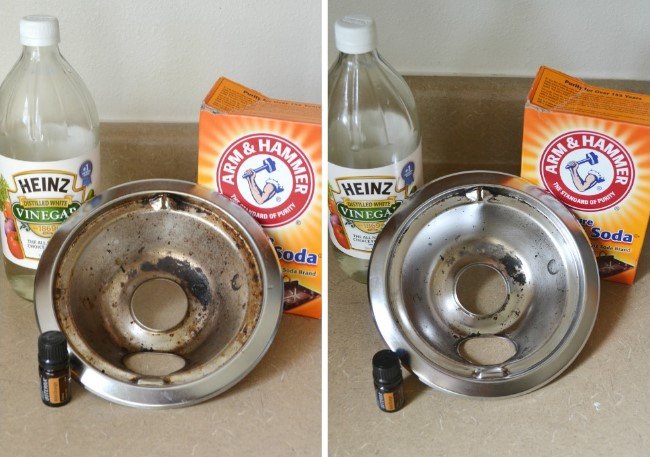
  • How to Clean Stove Top Burners

    In any of the kitchen, the toughest and the hardest cleaning job are cleaning the stove top burners. Over and over again food, filth, and grime get burned on the stove top burners. Sometimes it’s really hard to scrub on such kind of materials and material also resist against scrubbing. Your cooking is surely affected by the build up grease and food particles on the stove top burners. Stove’s efficiency will get increase and heat equally distributes if your burner is clean. So., the question is how to clean stove top burners?

    How to Clean Stove Top Burners

    How to Clean Stove Top Burners

    How to Clean Stove Top Burners

    You can clean your stove top burner by using some specific methods and products. But it depends on how you clean stove top burners. Some of the materials can easily be removed, in case if you clean the stove top burners on a weekly or on the daily basis. But if it takes long to clean them, then, for deep cleaning proper procedure is required to remove the stubborn grease, grime, and food. Here are some very effective ways to clean stove top burners.

    How to Clean Stove Top Burners

    How to Clean Stove Top Burners by using Dish Soap and Baking Soda

    How to Clean Stove Top Burners by using Dish Soap and Baking Soda

    Things Required

    • Dish soap
    • Baking soda
    • Water
    • Dishrag

    1.In the first step, the stove top burner should be totally cool. After that, remove burners from the top of the stove. Most of the stove burners slide out through a simple jerk and can easily be lifted from the joining point.

    2.Now, you need to use some amount of mild dish soap and a cloth plus water. Then, you have to rinse or wash any of the remaining from the coils of the burner. Make sure that any portion of the electrical connection does not get wet plus do not submerge or sink whichever portion of the burners.

    3.If any of the food remaining or grime are not coming out or loosen down by using a mixture of water and soap. Then, you can use another procedure by making a paste of water and baking soda. After that, put it on the tough and hard spot or stain. Then, allow it to sit for at least 20 minutes. After this, you have to scrub it and wash or rinse the burner.

    4.When you are trying to replace or change the burners, you will have to ensure that burners are totally dry.

    How to Clean Stove Top Burners with Vinegar

    How to Clean Stove Top Burners with Vinegar

    Things Required

    1. Vinegar
    2. Clean cloth

    You can easily remove the grease stains from the stove top burners by using vinegar and it’s for the daily care and maintenance.

    •Spray vinegar on the stove top burners. And then, let it stay for about 10 to 15 minutes.

    •Then use a clean cloth to wipe it down.

    Always remember this procedure is effective for continuing care and maintenance as it stops grease and grime to bake in.

    How to Clean Stove Top Burners by using Baking Soda and Salt

    How to Clean Stove Top Burners by using Baking Soda and Salt

    In this procedure blend one tablespoon of salt along with one tablespoon of baking soda. Then, add some water to make a paste. Now, dip a cloth in the mixture of salt and baking soda and scrub away the gunk, grime, and grease.

    How to Clean Stove Top Burners using Olive Oil or Vegetable oil

    How to Clean Stove Top Burners using Olive Oil or Vegetable oil

    In this procedure,  pour a little amount of olive oil or vegetable oil on the stove top burner. Then, use a clean cloth and scrub the oil on the grime and grease. At the end, you need to spray it down with the help of multipurpose cleaner.

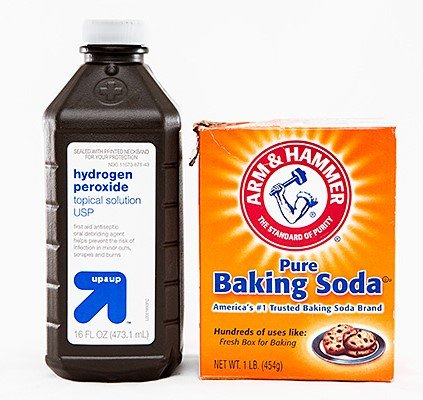
    How to Clean Stove Top Burners using Baking Soda and Hydrogen Peroxide

    How to Clean Stove Top Burners using Baking Soda and Hydrogen Peroxide

    This is really an effective and a power pack procedure. With this process, you can snub and discard any of the remaining’s on the stove top burner. You just need to sprinkle or scatter the baking soda on the complete surface. Then, you need to drizzle by using peroxide. It will break down all the grime and grease and give the stove top burner a great shine. Just wash it and when the grime and grease are removed, let it dry for a while.

    How to Clean Stove Top Burners using Lemon and Baking Soda

    How to Clean Stove Top Burners using Lemon and Baking Soda

    Lemon consists of natural grease cutting features while the baking soda consists natural antibacterial and antiseptic characteristics. Baked on grease and stains can be removed with the help of baking soda as it is comprised of tremendously fine particles. You just need to scatter some amount of baking soda on the stove top burner. After that, take a lemon slice and rub the surface. Wipe away the area to eradicate any leftover particles of baking soda and pulp of lemon, using a wet cloth.

  • HOW TO CLEAN OVEN WITH LEMON

    Is your oven smelling like shit while you are preparing your meal? Well, this is a sign of danger. You should become cautious now. Strong burning smell is caused by the accumulation of dirt and grease in the oven. You should clean your oven before the situation becomes complicated. Stay with us to learn how to clean oven with lemon.

    How to Clean oven with lemon

    IMPORTANCE OF CLEANING THE OVEN

    It is of great importance to clean the oven otherwise it will have an effect on the flavor of food especially baked items. Carbon based fumes will be produced by burning of dirt and grime every time and as a result of the taste of cakes, bread will change.

    IMPORTANCE OF CLEANING THE OVEN

    Further, the heating of grime will also produce an unpleasant smell in the kitchen and this is a sign that oven needs a good clean.

    Below are the completely secure, natural and effective ways to clean oven. There is no need for any injurious chemicals and no high-heat auto-cleaning with a smoke sensor. It takes a little time and required some lemons, but the payoff is well worth it. Addition, you probably likely have everything you need to take on this project.

    IMPORTANCE OF CLEANING THE OVEN

    It is a simple idea, just squeeze some lemons juice into water, drop the rinds into the water, and microwave. As the liquid spots, it shortens on the sides of the microwave, undoing mess and dissolving food splatters. The lemon juice is a natural cleaning agent, and so all you have to do is use a clean towel to wipe everything clean.

    How to Clean Oven with Lemon

    Follow the below method step by step and make your oven clean.

    How to Clean oven with lemon

    Yes, Of course, cleaning the oven is a messy task but using lemon will make your cleaning process a bit easier. Lemon is a great natural degreaser. Lemons are the natural disinfectants that are the kitchen helpers. Lemon has a low PH and has antibacterial properties and therefore is the best cleaner. A little effort is required for this process. It’s an environment-friendly process and will not cause damage to your oven like the dangerous chemicals as they might release dangerous fumes during the self-cleaning cycle.

    MATERIAL REQUIRED

    Following things you will need:

    •2 Lemons
    •Small microwave safe bowl

    MATERIAL REQUIRED

    PROCESS

    Step 1

    WATER IN THE BOWL

    First and foremost pour a half cup of water in the bowl.

    Step 2

    SQUEEZE LEMON

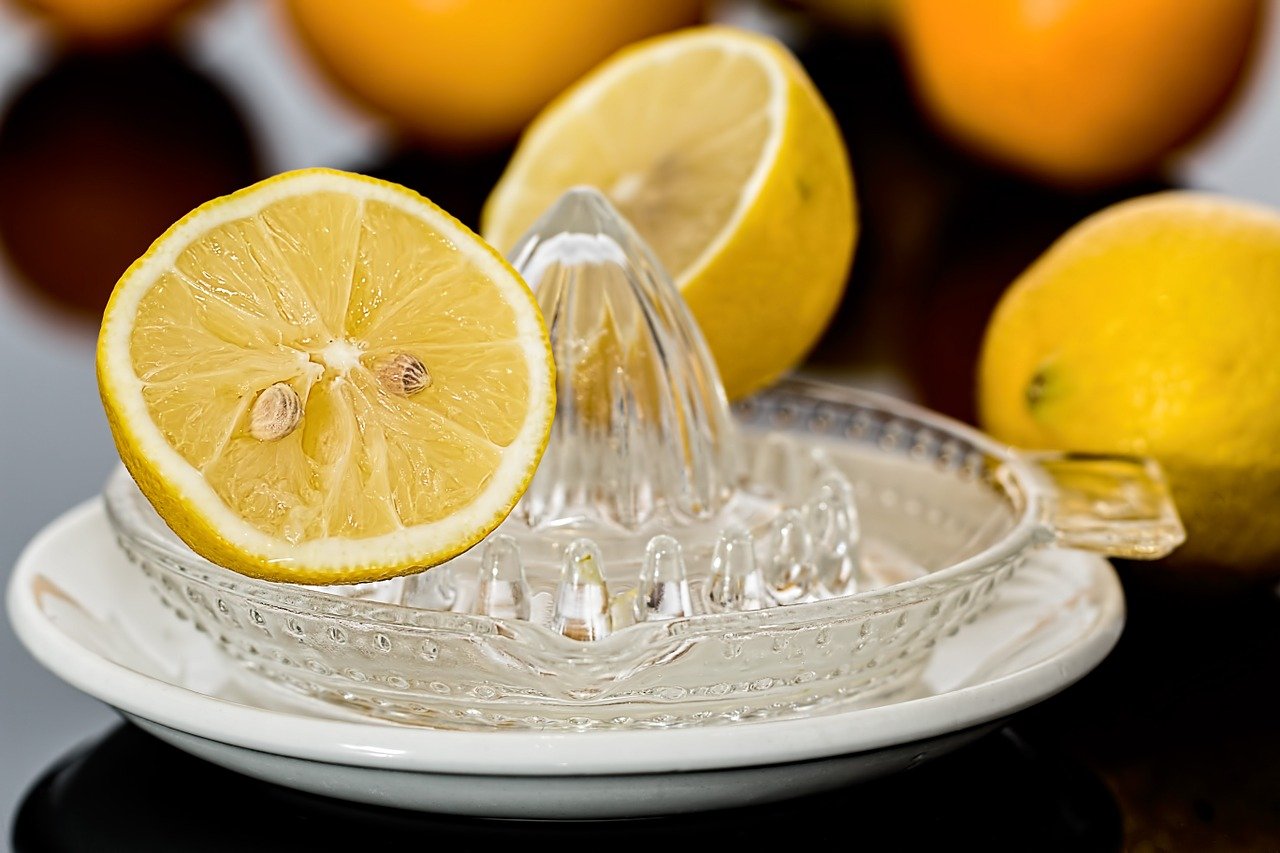
    Next, take 2 lemons and cut the lemons in half and squeeze the juice into the bowl. Also, drop the lemons halves in the bowl.

    Step 3

    PLACE THE BOWL IN OVEN

    Place the bowl in the oven and bake it at 250 degrees for about 30 minutes. You can leave it for a longer time if the buildup is really bad.

    Step 4

    DON’T OPEN THE DOOR

    Don’t open the microwave door. The water and lemon juice will heat up and the vapors will help to loose food gunk.

    Step 5

    FINAL CLEANING

    Next, open the door and carefully remove the bowl along with the lemons and let the oven cool. When the oven has cooled off then remove any residue using a scouring pad. For inside cleaning of a stove and stubborn spots, use lemon water as a rinse aid. Then use the towel to dry it off.

    AN EFFICIENT AND EFFECTIVE METHOD

    AN EFFICIENT AND EFFECTIVE METHOD

    This method is efficient and effective as compared to the method which involves chemical cleaners. Chemical cleaners are dangerous if breathed in or touched and will cause indoor pollution. Using of lemon is a safer and easier process. It will not only remove dirt and grease from your microwave oven but will also produce a lovely lemony scent throughout the kitchen.