Tag: home cleaning

  • How to Remove Wax from Walls- Three Simple Ways

    Candle wax is stubborn and hard to remove sometimes. It is better to deal with it before it gets harder. Candles are essential and parcel of any interior design concept these days. We can’t just simply ignore the value of candles in home decoration. The house with candles in it must experiences the wax spots and stains on the floor, carpets and especially on the walls. No matter how busy your routine schedule is, makes sure whenever you see the droplets and lines of candle wax on the walls, just remove it with useful methods. There are different methods for how to remove wax from walls by simple and easy steps.

    The wax has property to mold in any shape if heated again. So here is a weakness of candle wax and we are going to deal wit the exactly same procedure. To defend the stains from the walls and floors, one must have essential tools to remove the wax from the walls and carpet or wherever you found them.

    Have you tried to remove it without even reading the instructions and watching the online tutorials to clean the candle wax from the wall and other? Did nothing work at all? Here we have quick and instant cleaning methods for how to remove wax from walls. You can easily get rid of those stains with a little effort.

    How to Remove Wax from Walls
    How to Remove Wax from Walls

    The most common and simplest method to clean the wax is to use anything warmer in your home and it can be a ‘Hair dryer’ for sure.

    1. How to Remove Wax from Walls Using Hair Dryer
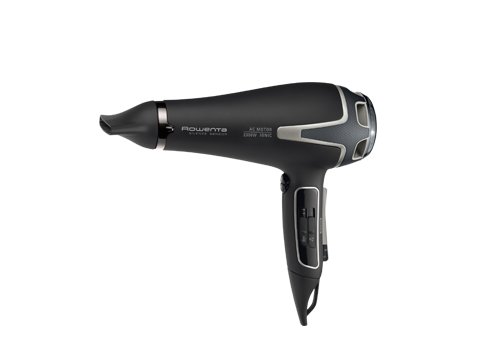
    How to Remove Wax from Walls Using Hair Dryer

    By something warmer doesn’t mean to splash the warm water on the walls. However, hair dryer can be the best player to play in this mission of cleaning. You can heat the wax with hair dryer and let it melt a bit. Once the wax starts melting, use a plastic spatula to remove it.

    Try to pull off the candle wax from the wall as much as you can using plastic blade or scrubber. Apply tender weight to abstain from harming the walls.

    2. How to Remove Wax from Walls with Warm Iron
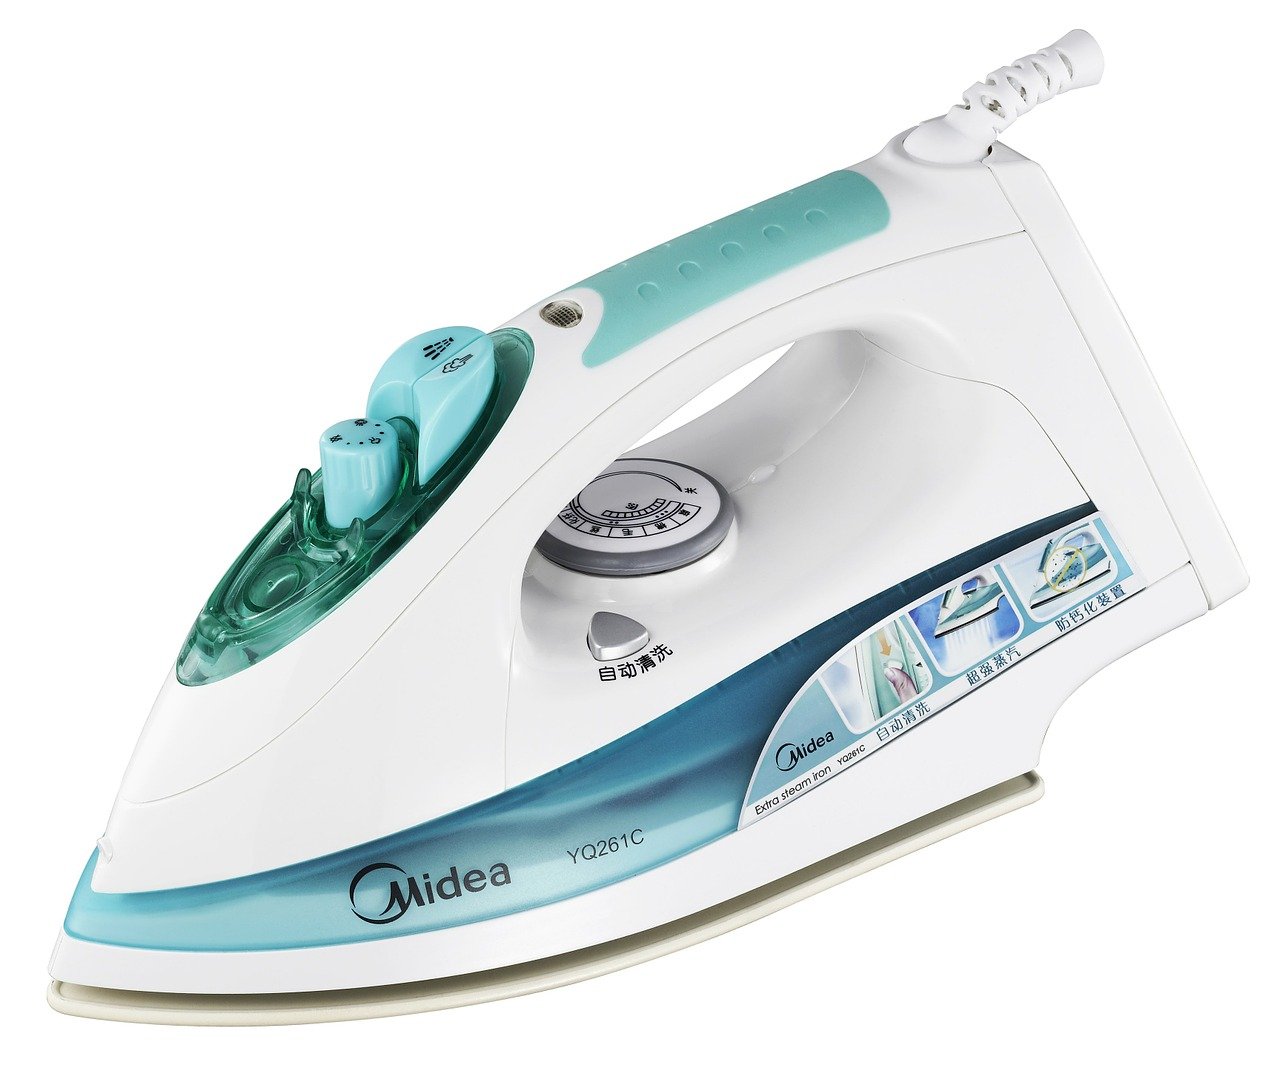
    How to Remove Wax from Walls with Warm Iron

    Put paper towels over the light wax. Now run the iron over the wall for few seconds until the wax starts to soften and transfer to the paper towels. Repeat the procedure with clean paper towels until the majority of the wax is removed properly. Wipe away any remaining wax stains with a wax eraser.

    Things You Will Need

    • Plastic scraper
    • Iron
    • Paper towels
    • Melamine Eraser wipe

    Make sure you carefully save your hands and body while holding a hot iron and melted wax at the same time.

    3. How to Remove Candle Wax of Wallpaper

    Rub away the stuck wax on the wall, then give some heat with a blow dryer set to MEDIUM, wiping off the wax with a cloth as it cool. Wash the area with a hot and leathery water to dispose of the deposits. Apply medium warmth air with a help of a hair dryer again and wipe away the wax as it mellows. Expel build up with a mix of 1 section vinegar to 3 sections water.

    How to Remove Light Wax from Textured Wall?

    While it can be hard to get off, it’s conceivable with the correct strategy and tools.

    • Step 1 – Let the Wax Dry. Before you attempt to expel it, let the wax dry.
    • Step 2 – Apply Heat. When dry, apply warm over the wax by utilizing a little paper pack and a hair dryer.
    • Step 3 – Wipe the wall with plain cloth

    How to Remove Wax from Glass?

    Lighting candles in glass votives can somehow bother us with a wax buildup on the base and sides when the flame is totally used up. Getting rid of this stubborn wax is as simple as ABC. You may not need any special tools and list of items to remove the wax from the glass. All you will need a cold region and which could be your freezer and a knife to scratch it.

    Solidify the Wax in the Freezer

    If you have found terrible old wax stuck on your beautiful glass vase or candle holder, you can start by removing the candle from the candle case and place that jar or case in your freezer. Let it completely and rigidly solidify. You never need to make a tremendous effort to remove that wax out of glass.

    Pull out the Wax from the Jar with a Knife

    Pull out the Wax from the Jar with a Knife

    When the wax is fully contracted, scratch it with a help of a knife. You will see the big parts of wax will come out easily without leaving stains and blurred marks on the glass. This is one of the easiest ways to remove the wax from the glass.

    You can try these affordable and risk-free remedies for how to remove the wax from walls and any other surfaces. These methods are useful to remove the wax. However, you can simply choose off the rack products to remove this problematic wax.
  • Air Conditioner not Blowing Cold Air- Causes and Solutions

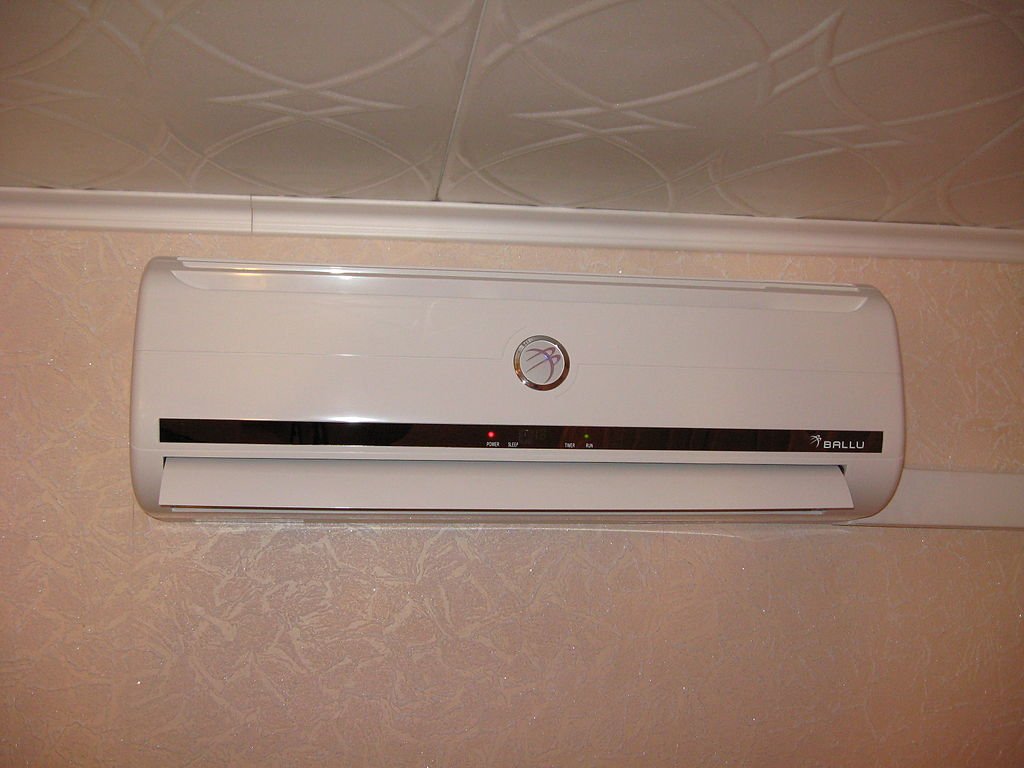
    During the hot summer days, Air Conditioners are mostly used to serve as a relieving agent, getting a cool air for a fresh environment. In case air conditioner not blowing cold air, you should try to figure out the problem as soon as possible.Extreme heating conditions can make you feel dehydrated and can cause illness. One can get a heat stroke if the body temperature is not maintained properly. So maintain a cool temperature during summers and make you feel comfortable and healthy.

    Air Conditioner not Blowing Cold Air

    Common Air Conditioner parts need to be fixed when the Air conditioner not blowing cold air. It can be either due to lack of sufficient air flow, as the air is not re-circulated properly as in normal working air conditioner. Commonly asked a question by the home consumers is why their Air conditioner not blowing cold air, instead of giving inside warm air. First, you need to know the basic information about an AC unit and the functionality.

    Reasons for Air Conditioner not Blowing Cold Air

    There can be several possible reasons for the malfunctioning of the air conditioner. Especially during hot summer days when it reaches about 40ºC temperature.

    MAIN Parts Malfunctioning

    If the air-conditioner isn’t blowing cold air, there could be some fault in the condenser or the compressor (OUTSIDE UNIT). The condenser works as the main part for removing the heat from the air, blowing warm air outside and returning cool air back into the home. Maybe the return ducts are broken or disconnected and some unconditioned air can be pulled inside instead of cool air.

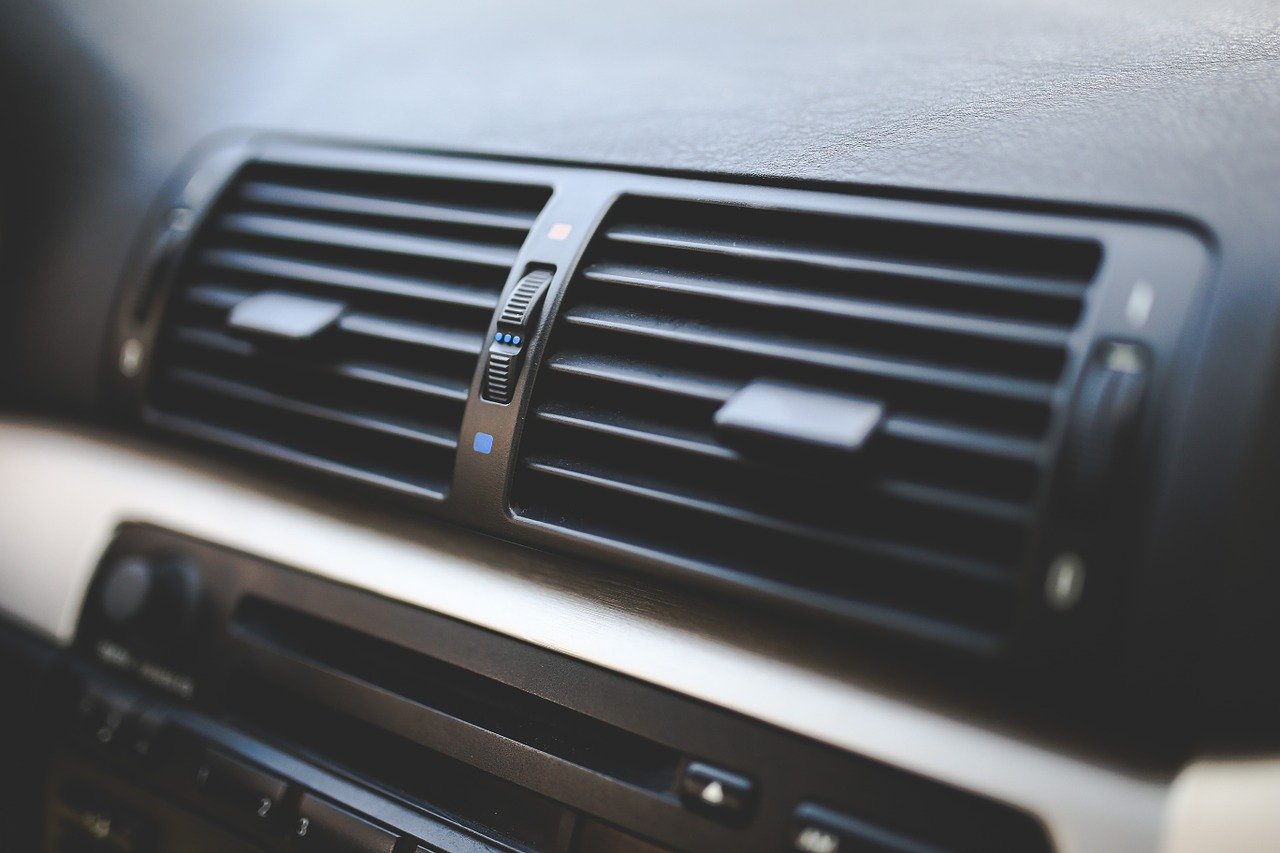
    Same is the case in your cars, if the air-conditioning system goes wrong you get stuck in a miserable situation. Few things need to be fixed and some common issues can be solved if you know the reason behind this.

    In cars the Air-conditioning system needs recharging, the refrigerant can be recharged on your own or you can get help from some certified mechanic. Make yourself comfortable by fixing this problem and getting cold air flow quickly.

    Check the Leakage

    There can be a leakage in the system. Freon chemical helps to cool the air, and it can cause the sensitive issue to the A/C systems. Proper volume of Freon in the system can help you retain the cold air condition back.

    The problem can occur due to various conditions, there can be some electrical fault in the compressor circuit also. The malfunctioning parts need to be repaired or replaced on urgent basis.

    The ventilation system inside the car called the ‘blend air door’ if not working properly can draw heat from the engine and blow it inside instead of cold air. So a qualified mechanic will do this job for you. The cold air can sometimes not blow properly as your A/C fan can stop working, so you may need a new fan unit to be replaced with the help of a car mechanic.

    Other Issues related to A/C unit can occur, but usually, a regular maintenance can prevent you from severe issues and further inconvenience.

    Common Reasons Why an Air Conditioner not Blowing Cold Air

    Extreme heat conditions can make you feel low and uncomfortable; it can even result in health risks. In some situations, you can handle the A/C situation yourself. But sometimes you need a professionally trained mechanic for fixing the problem.

    Common Reasons Why an Air Conditioner not Blowing Cold Air

    Check your Thermostat

    The first thing you can check is the thermostat settings. Set the thermostat under normal conditions to ‘Auto’ and this will allow blowing cool air.

    Air Filter

    The air filter needs to be disposed of waste with proper instructions. The dirt inside air will contaminate the air filter and can cause blockage, since resulting into weak air flow or inadequate supply of air. Replacing the filter can be a helpful trick in saving you from serious air conditioner air flow issues before time.

    Condenser

    The condenser is located outside the home; it may be dirty or can resist the A/C from cooling inside your home. Remove any debris or dirt and see if the system works properly. A qualified technician can inspect the trouble being occurred during a normal routine, cleaning the main parts can prevent from problems.

    Refrigerant

    There may be some leakage in the system, which if properly checked by a HVAC professional can work out better. Adding some refrigerant and repairing any leakage in the system can bring the A/C back to its normal capacity.

    Why won’t AC blow cold air (Car system)?

    Why won’t AC blow cold air (Car system)?

    While turning on the AC in the car, one expects to have a fresh cool air. But it may not happen sometimes. Some serious problems can occur in the car AC which needs to be fixed earliest.

    Warm air can blow inside the car instead of cool air. Some serious causes include:

    • Malfunctioning Condenser: The condenser is the main part of an air conditioning system. If due to some reason it gets blocked with some dirt or debris, cool air can’t blow inside the car.
    • Low Refrigerant: The car AC cannot operate efficiently with a low refrigerant. It is actually most common problem for an AC not blowing cold air. It can be due to leakage and faulty parts in the system.
    • Air compressor: If there is bad clutch with failed cycling switch, then electromagnetic clutch on the air compressor won’t work out, the refrigerant will not get pressurized and the system will not work.

    The AC needs to be service immediately with the help of a mechanic for HVAC (Heating, ventilation and Air conditioning work).You should know the basics while operating an AC system and be must able to utilize the methods to cool your home.

    Make a smart maintenance of your AC and check out how fine it will work then! Make yourself feel pleasant inside your home or workplace and get the cold air blowing inside with perfect results.

  • How to Remove Paint from Plastic

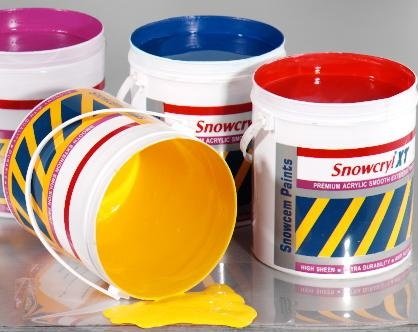
    Paint provides a new look to homes and provides with a perfect interior and exterior space. It is an important component in giving a tip-top look to the rooms and even plastic furniture if looks dull. Giving a shine and enhanced environment to space, paint can be used to renew any product or material. While doing home improvement tasks, if the paint drips off the walls and covers the plastic switchboards, chairs, tables or other plastic surfaces, don’t feel panic. Spray paints can even spoil the outdoor patio furniture with its splattering and might seem hard to wipe off. Using simple ways to achieve the cleaning task can provide you with ease and comfort. Here are some easy ways for how to remove paint from plastic.

    How to Remove Paint from Plastic

    The tricks for how to remove paint from plastic seems easier if you choose the right chemical for that. The method used to remove paint depends on the plastic item, either too big or small. When the paint job is done at home it drips down on the plastic surfaces and switchboards. It may even spoil the outdoor furniture if the spray paint splashes on the sides, don’t feel despair in this situation. Some simple tricks can remove the paint from plastics; it may take longer to remove if the paint has been dried. DIY home tricks can be applied which will leave your plastic in a pristine condition. The home improvement techniques when applied and paint coverage made, it can be banished with the help of tricky tasks.

    It is a bit tricky to remove paint from plastic as compared to stripping paint from wood, ceramic, metal or other materials. Plastic cleaning requires more care and attention as scratching it can discolor the material or easily damage it. Make sure to use those products on the plastic which are safe to use and can easily be used as paint removals. Some solution can be effective for wood or metal surfaces but do not work easily on plastic. They can even damage or worse off the plastic by melting it or damaging the product. Some plastic-safe solvents need to be used in the paint removal process so it will not cause damage to the product.

    how to remove paint from plastic
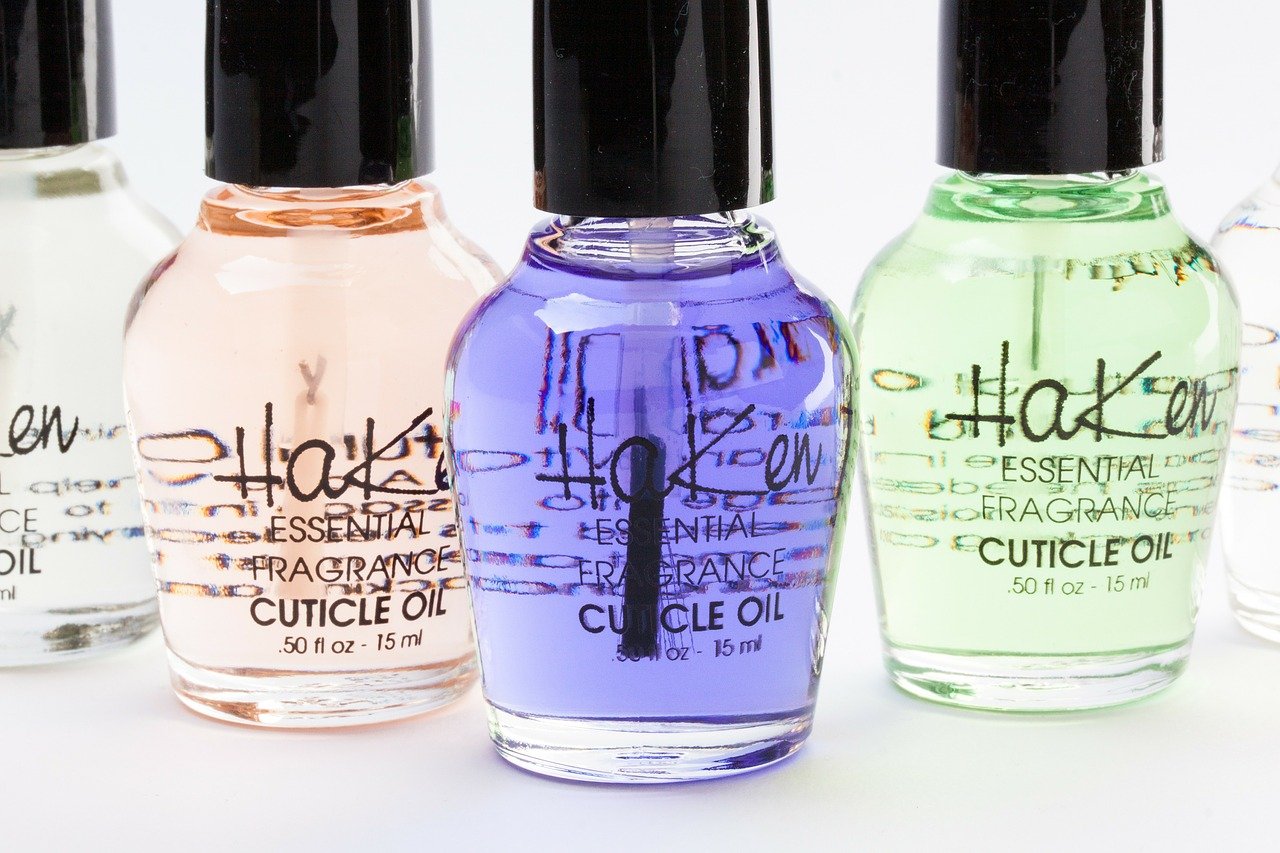
    In a case of removing an excessive spray paint from any plastic surface, one can treat it with a nail polish remover, apply it wet a towel and wash the surface thoroughly and then apply a coat of wax to restore the shine of plastic.

    How to Remove Paint from Plastic

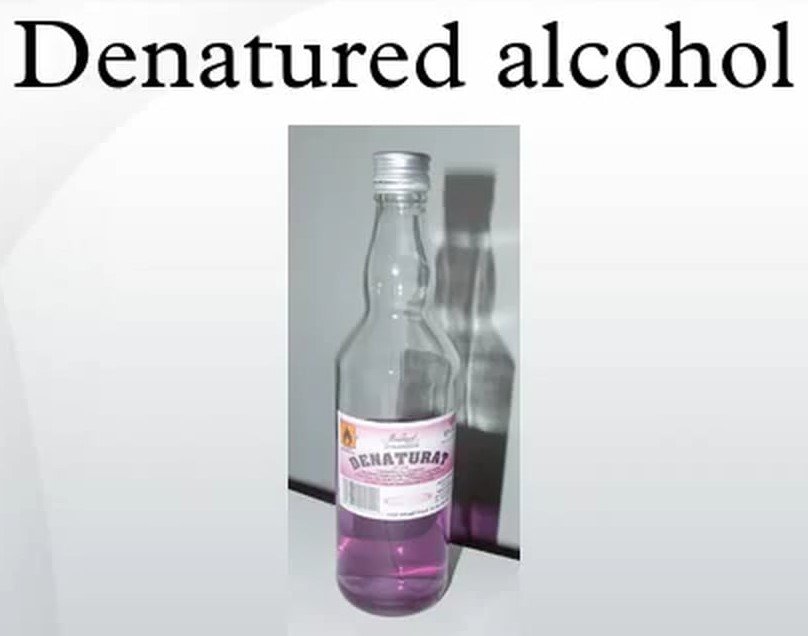
    Treat the plastic surfaces by gently scraping away the drips of paint with a scraper. Vegetable oil can soften the paint and help to remove it effectively. For tough spots try out denatured alcohol or nail polish remover but make sure to do a patch test before applying. Some solvents can damage the plastic, avoid using such chemicals. Dishwashing soap can be used with warm water to rinse off the traces of any solvent on the plastic surfaces.

    Gather your supplies and bring your gadgets to treat the plastics carefully without causing any damage to them. Some necessary tools and required materials are as follows.

    • Paint scraper
    • Paper towel
    • Water
    • Bucket
    • Work gloves
    • Nail polish remover
    • Vegetable oil
    • Rubbing alcohol
    • Razor blade
    • Dish washing soap (mild)

    How to Remove Paint from Plastic Using a Paint Scraper

    Sometimes a paint scraper can be used to remove the paint from plastic, but this may not be the condition every time. For this purpose, a plastic putty knife or razor blade can be suitable. Make sure not to scratch the surface hard, it will cause the risk of damage to the plastic. When removing a thick dried paint coat, it is recommendable to use razor blade otherwise avoid it. Remember safety while doing any cleaning method or scrapping process.

    How to Remove Paint from Plastic Using a Nail Polish Remover

    How to Remove Paint from Plastic Using a Nail Polish Remover

    Use a nail polish remover to remove paint from the plastic materials. Pour a sufficient amount of nail polish remover on the paint. Use a paper towel to rub it gently. In case if the paint can’t be removed easily from the plastic surface, use more solvent and then rub it.

    How to Remove Paint from Plastic with Scrubbing

    How to Remove Paint from Plastic with Scrubbing

    Scrubbing the area where paint has been splattered can even remove the paint easily. Using a detergent on a sponge with warm water can wipe off the remaining residue chemical or paint from the plastic.

    How to Remove Paint from Plastic Using Vegetable Oil

    How to Remove Paint from Plastic Using Vegetable Oil

    Vegetable oil is one of the recommended ingredients to remove the paint, as it is a skin-safe substance. It will help moisten or may loosen the paint on the plastic and will help to remove splashed paint stains on the surface. Place a small amount of oil on the rubbing towel and apply on the affected area, this will allow paint to come away. If this method doesn’t work effectively after several attempts, try using another stronger solvent for this. Be persistent while doing the cleaning task and it will reward you at the end of the task.

    How to Remove Paint from Plastic Using Denatured Alcohol

    How to Remove Paint from Plastic Using Denatured Alcohol

    When paints are hard to remove with a nail polish remover or vegetable oil, go for a stronger solution for this and use denatured alcohol for effective paint removal. It only works for latex-based paints and not oil-based. It involves some health risks while using alcohol as a solvent.

    Before applying this solvent protect your hands with rubber gloves and face with a face mask. Work in a ventilated area to allow sufficient air movement inside the workspace. Try to do a small patch test before applying it thoroughly and make sure it will not damage the plastic. Once applied, the paint will start to scrap off, since using a putty knife can remove it easily then. Scrub the area afterward to remove any residue material left behind. You can add more alcohol if it does not work at the first attempt until it comes off into the rag.

    Using chemicals is bit risky and cautious too, but you can avoid this inconvenience with careful considerations while performing this task. Just keep doing the methods and you will get a paint-free surface without doing much effort.

  • How to Clean Vertical Blinds

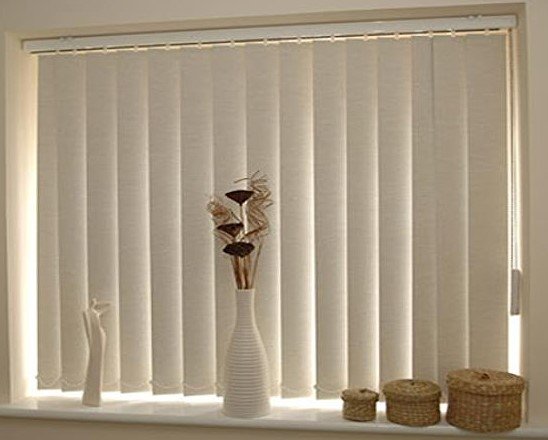
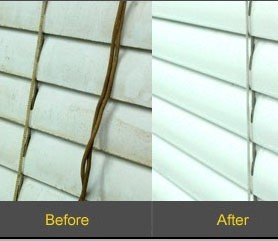
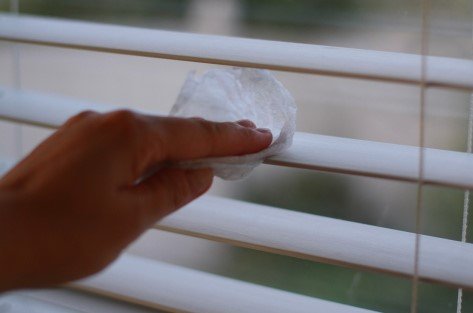
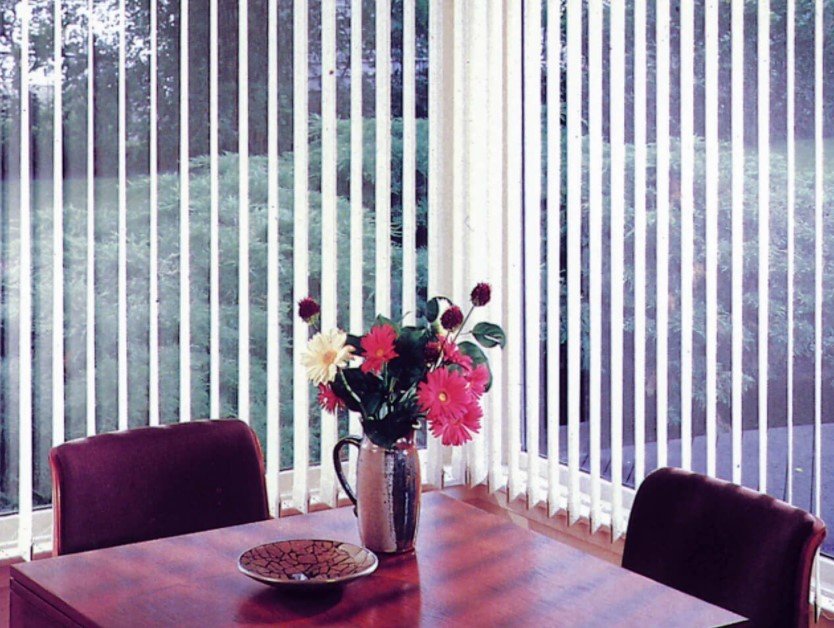
    Vertical blinds are long, narrow strips that hang from the head rail used to serve a purpose to control light. But they are also used as decor and lavish lifestyles. Vertical blinds are used in the offices and homes nowadays but it’s mostly seen in the office conference rooms or in the officer’s rooms. Vertical blinds have its own pros and cons but it mainly depends on your preferences. Some people assume that vertical blinds are not easy to clean and it’s also less suitable for the wide windows. While some people prefer vertical blind as an ideal solution. Because they provide a large view from the windows and doors and also controls lights. So, let us find best solutions on how to clean vertical blinds easily at home.

    Vertical blinds are available in the market in a variety of colors. It can be either fabric or wood or hard vinyl. It’s available at an affordable cost but investing little more than the low cost of the buying of vertical blinds will provide long terms relief need to buy a new one. Because of higher the price you pay higher the quality you get but keeping in mind that vertical blinds are not made for every window.

    How to Clean Vertical Blinds

    The most difficult task after purchasing is how to clean vertical blinds in the best way. There are numerous best ways to clean vertical blinds which are necessary to follow by one because cleaning represents them inside and outside and if these are neat and clean so your house looks marvelous and sophisticated and your house represents you. Best ways how to clean vertical blinds are as follows.

    How to Clean Vertical Blinds
    • Do not use hot water to clean fabrics vanes because it loosens the size of blinds or shrinks after drying. Many people use clothing dryer but it’s also not the best way tp clean vertical blinds. You need to handle it more carefully and soft towel is effective for cleaning the moisture gently. Later on, let them dry by air completely by re-hanging them.
    • Make your habit to dust vertical blinds on the daily basis because it is the best way to make it cleaner on the long term basis. Use a duster by moving it around the vertical blinds from the upside till downside for each slat. It is also preferred to use dusting detergent spray to remove the dust completely if required. The requirement to clean the vertical blinds also depends on its intensity of dirt level, if blinds are much dirtier so clean it with vacuum firstly then perform dusting and washing steps further.
    How to Clean Vertical Blinds
    • After dusting clean the vertical blinds through different means such as vacuum cleaner with side brush attached to it, lamb’s wool duster, a rubber dry sponge and a soft cloth. Clean it by using vacuum cleaner brush from the top to bottom gently and the best way to clean vertical blinds are suggested to clean it while it hanging because this is the easiest way and less effort. Then again use lamb’s wool duster to clean it from the top till bottom for each slat. Rubber dyer sponge is highly recommended for the wood or hard vinyl to clean out debris or stubborn dirt on it.
    • After performing above mentioned steps wash the vertical blinds but there are various items required in the washing process. These items are buckets, vertical blind washing tool, soap or detergent, water, and towels. Washing vertical blind is not an easy task, place clothes under the vertical blind to absorb all dirt without making a messy floor.
    How to Clean Vertical Blinds
    • 5- You need to fill two buckets. Fill one bucket with warm water by adding pieces of soap or drops of detergent to clean the vertical blinds. Fill another bucket with cool and fresh water if you fear about the color fastness of the blinds. Dip cleaning tool in the soapy water and place the blinds slat between two sides of the cleaning tool. Now gently clean from the top to bottom. Use a sponge for the cleaning and squeeze it out. Repeat this process as many times as it is required to remove any stain or dirt on the vertical blinds. Wash each slut in the soapy water then dry each slat with a soft towel.
    • 6- Then leave the vertical blinds to dry in the air fully after the washing step. To avoid any water spots on the vertical blinds, use a fan to speed up the drying process.
    How to Clean Vertical Blinds
    • The easiest way to wash vertical blinds is not to remove from the windows. Because stiff fabric can be difficult to wash in the bathtub. Secondly marking the front side and giving the number to blinds are also a difficult and time-consuming task to reinstall them like before.
    • The last step is reinstalling the vertical blinds after cleaning it in the best way. Reinstalling also requires care to handle. After opening the blinds lift each vane up and off the hook and bend down.
    How to Clean Vertical Blinds

    CONCLUSION

    So these are the best ways on how to clean vertical blinds easily at home. If you perform dusting on daily basis or cleaning on the weekly basis by vacuum, it will help you to prevent damage and dirt from the blinds.

  • How to Clean Wooden Doors

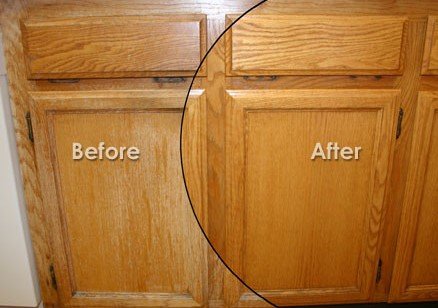
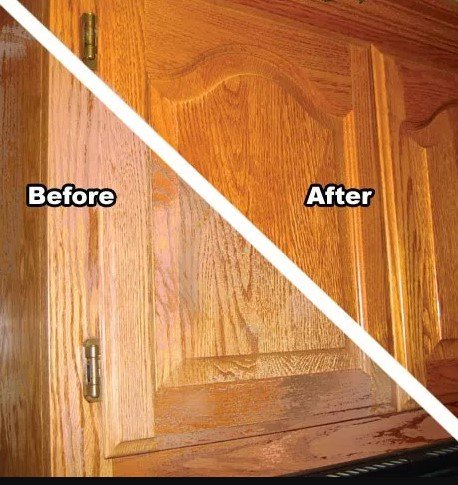
    Cleaning wooden doors in your home might not be included in your regular housework routine. But cleaning the wooden doors in house is really a great idea. Bottom of the door and the zones around the handle are that part of the wooden doors which are mostly used. Scuff marks are basically created from shoes at the bottom of the door. In order to clean the scuff marks, greasy and oily fingerprints at times, you need to take a solvent. But make sure that finish of the door should not be damaged. All you need is just a weak soap solution and for the tough stains, you can use the mineral spirits. Here are three simple ways on how to clean wooden doors.

    How to Clean Wooden Doors

    How to Clean Wooden Doors with Dish Soap

    Material Required

    • Dish soap
    • Cloths
    • Liquid furniture polish
    • Mineral spirits
    • Clean paintbrush

    How to Clean Wooden Doors with Dish Soap

    Stage 1

    Open the door completly and take a damp cloth to clean the top edge of the door. Use same cloth along the side edge of the wooden door. If all the stains and grime are not removed with the cloth, you need to repeat the same process with the help of a cleaning solution. The cleaning solution consists of 1-ounce dish soap with one gallon of warm water.

    Stage 2

    Cleanse the dust from the molding and trim on both side of doors using a clean paintbrush. This paint brush spreads and ranges into the cracks. It is better as compared to a rag or a feather duster. Then, take a dry cloth and wipe out the surfaces.

    Stage 3

    At this stage, with the help of the prepared dish soap solution, you need to wipe out all the around and near the handle of the wooden door. Scuff marks will also be removed from the door’s bottom by using the same dish soap solution. The areas that you actually cleaned with the rag, you need to go over them to dry.

    Step 4

    All the stubborn stains and marks will be removed from round the handle of the wooden door. Use mineral spirits to moist and damp the cloth that will be used to rub all the stains on the door.

    Step 5

    After cleaning the wooden door, use liquid furniture polish to wipe and rub the door, particularly if mineral spirits are used. The shine and gloss of the wooden door might get dull by using mineral spirits, but using the liquid furniture polish will reinstate it.

    How to Clean Wooden Doors with Dry and Moist Cloth

    How to Clean Wooden Doors with Dry and Moist Cloth

    Things Required

    • Soft dry cloth
    • Furniture polish
    • Moist cloth

    First Step

    For the purpose of general maintenance and care, you need to take a soft, dry cloth in order to wipe polished and varnished wood to remove dust.

    Second Step

    Take a moist cloth to remove the hard and the sticky spots on the wooden doors. Immediately wipe the door with the dry cloth. Dont use wet clothes for long time period. Sometimes the paint and glaze of the areor is not water-resistant, thus, it absorbs all the water if the wet cloth is used for lont time period. It can seriously damage the finishing of the door.

    Third Step

    In order to reinstate the shine and gloss of the wooden , oor you need to put on the furniture polish with the solvent base with the help of the soft dry cloth.

    How to Clean Wooden Doors- The Simple Way

    How to Clean Wooden Doors- The Simple Way

    Step 1

    Remove all the dust from the top of the wooden doors. Soft rag works best as compared to a feather duster.

    Step 2

    You need to wipe out from the frame of the wooden door and to all over the place with the help of a rag or a feather duster.

    Step 3

    Using oil soap along with a soft rag, the full surface of a polished and varnished wooden door can be wiped out. Make sure that, to wipe out the door in the direction and the way of the grain.

    Step 4

    In order to dry the surface and to remove all the excess, you need to buff the door.

    Step 5

    Use sponge or scrubber for the painted wooden doors, in order to put on the home-based or commercial multipurpose cleaner. Use soft, clean cloth or rag wipe it dry.

    Step 6

    Use multipurpose cleaner to clean handle or the door knobs. Remove the dirt and grime, you need to wipe it well and after that dry it.

    Step 6
    Step 7

    If there are brass fixtures on the door, you have to use the commercial brass cleaner or homemade brass cleaner.

    Step 8

    If a glass or a window inserts in you wooden door, then, a glass cleaner should be used in both insides and outside to make it shiny and glossy.

  • How to Remove Water Stains From Wood

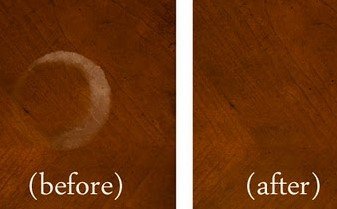
    Different stains remain on wood due to various reasons like steam or liquid. They generally appear in light colored or white. It proves that it is not able to penetrate more deeply and intensely rather than through the polished or waxed surfaces. When the stains become dark then, it basically indicates that liquid penetrates and enters into the finished wood and even it can penetrate through the wood itself. So the question is how to remove water stains from wood.

    how to remove water stains from wood

    How to Remove Water Stains From Wood

    How to Remove Water Stains From Wood

    The most common mixtures and cures that need less money and less time are followings.

    How to Remove Water Stains From Wood with Baking Soda

    How to Remove Water Stains From Wood with Baking Soda
    Most of the white marks on the coffee table and on additional wooden tables are caused by sweating glasses and hot cups. Such marks can be removed by taking one tablespoon of baking soda and one tablespoon of water. Make a paste of the two ingredients. Then you need to softly rub that specific affected area in a circular manner till it vanishes. Always remember there is no need to use much water.

    How to Remove Water Stains From Wood with Petroleum Jelly

    How to Remove Water Stains From Wood with Petroleum Jelly

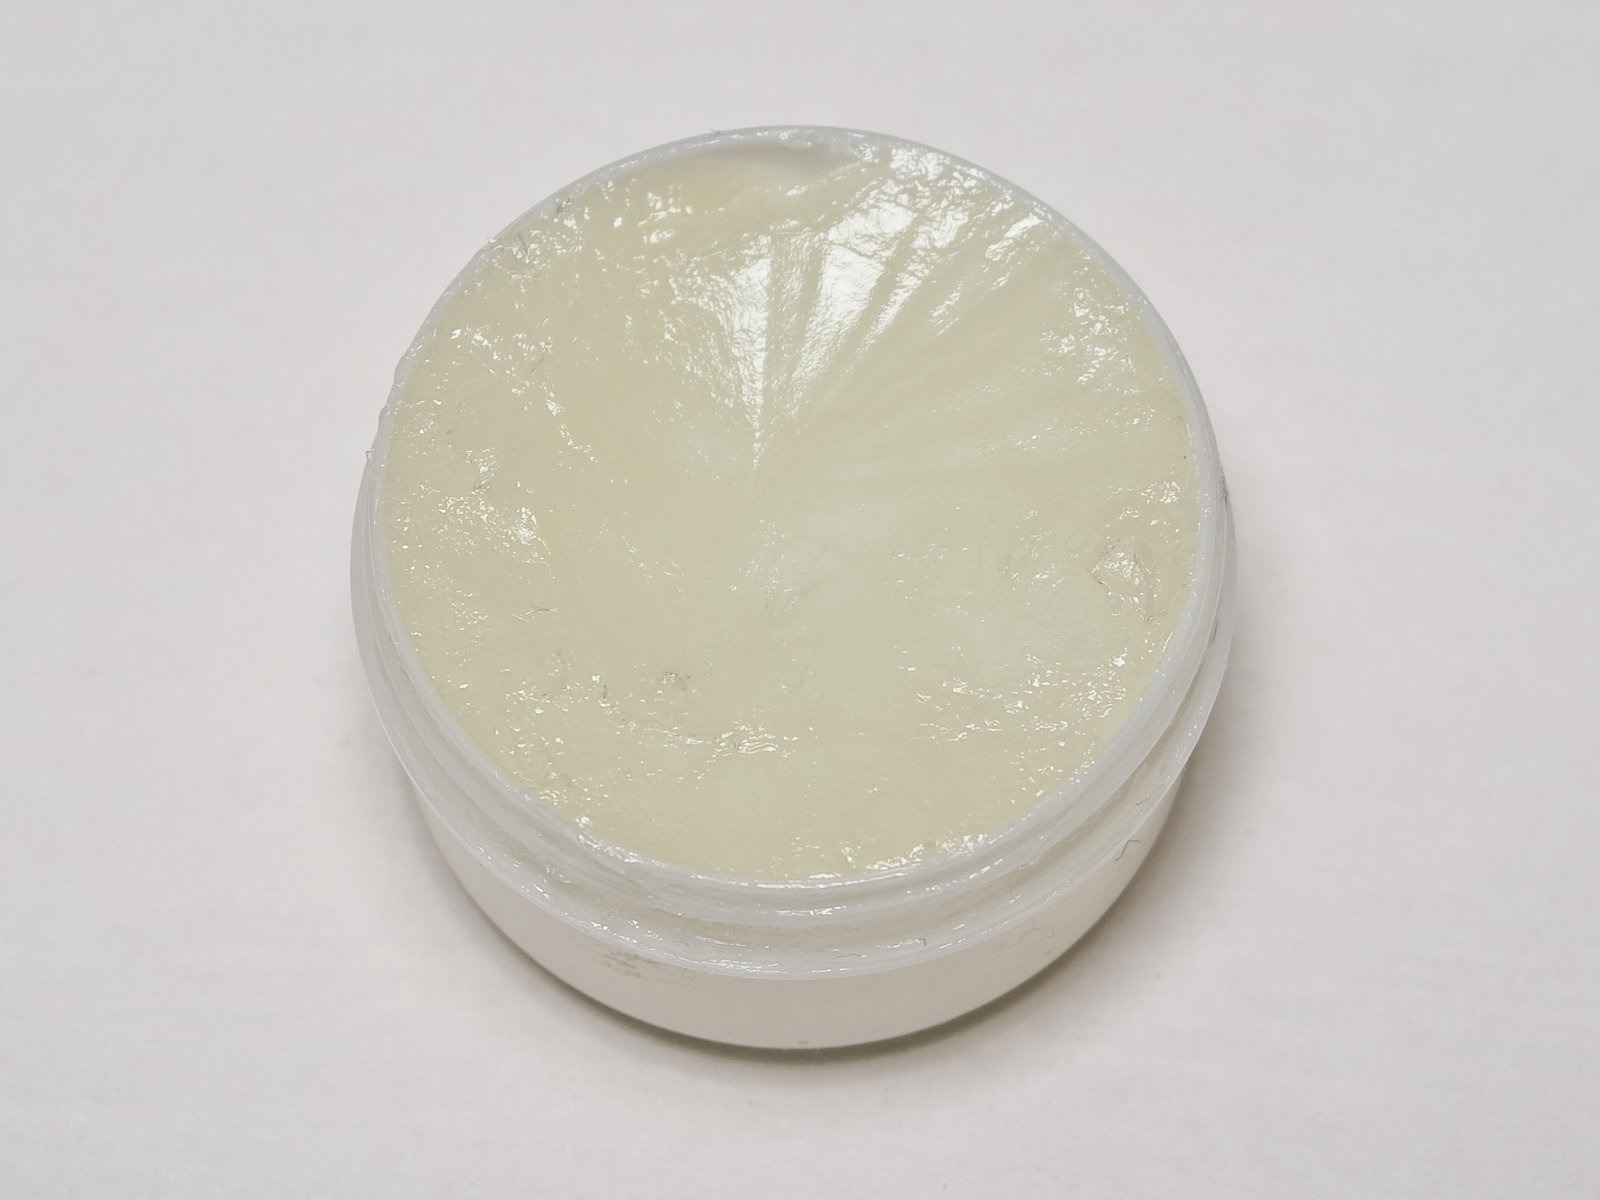
    Many of the watermark rings can be created on the wood furniture due to different reasons. In order to remove all the stains and rings, you need to put on the petroleum jelly and left it all the night. Then, in the next morning, you need to wipe out all the watermark stains with the jelly and with the help of a soft cloth.

    How to Remove Water Stains From Wood with Salt

    How to Remove Water Stains From Wood with Salt

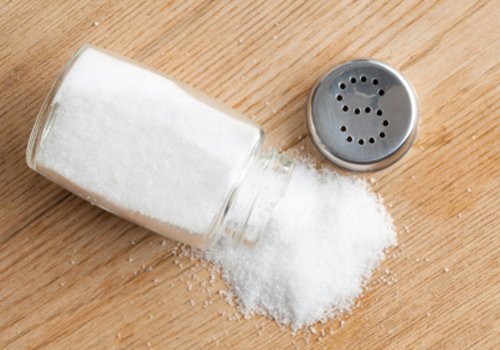
    Watermark stains that are created with the bottles and glasses can be removed by making a mixture or a paste of one tablespoon of salt and few drops of water. Take a soft cloth or a sponge and softly rub that paste on the watermark rings and rub till all the water stains disappear. It will also reinstate the glow and shine of the wood.

    How to Remove Water Stains From Wood with Toothpaste

    How to Remove Water Stains From Wood with Toothpaste

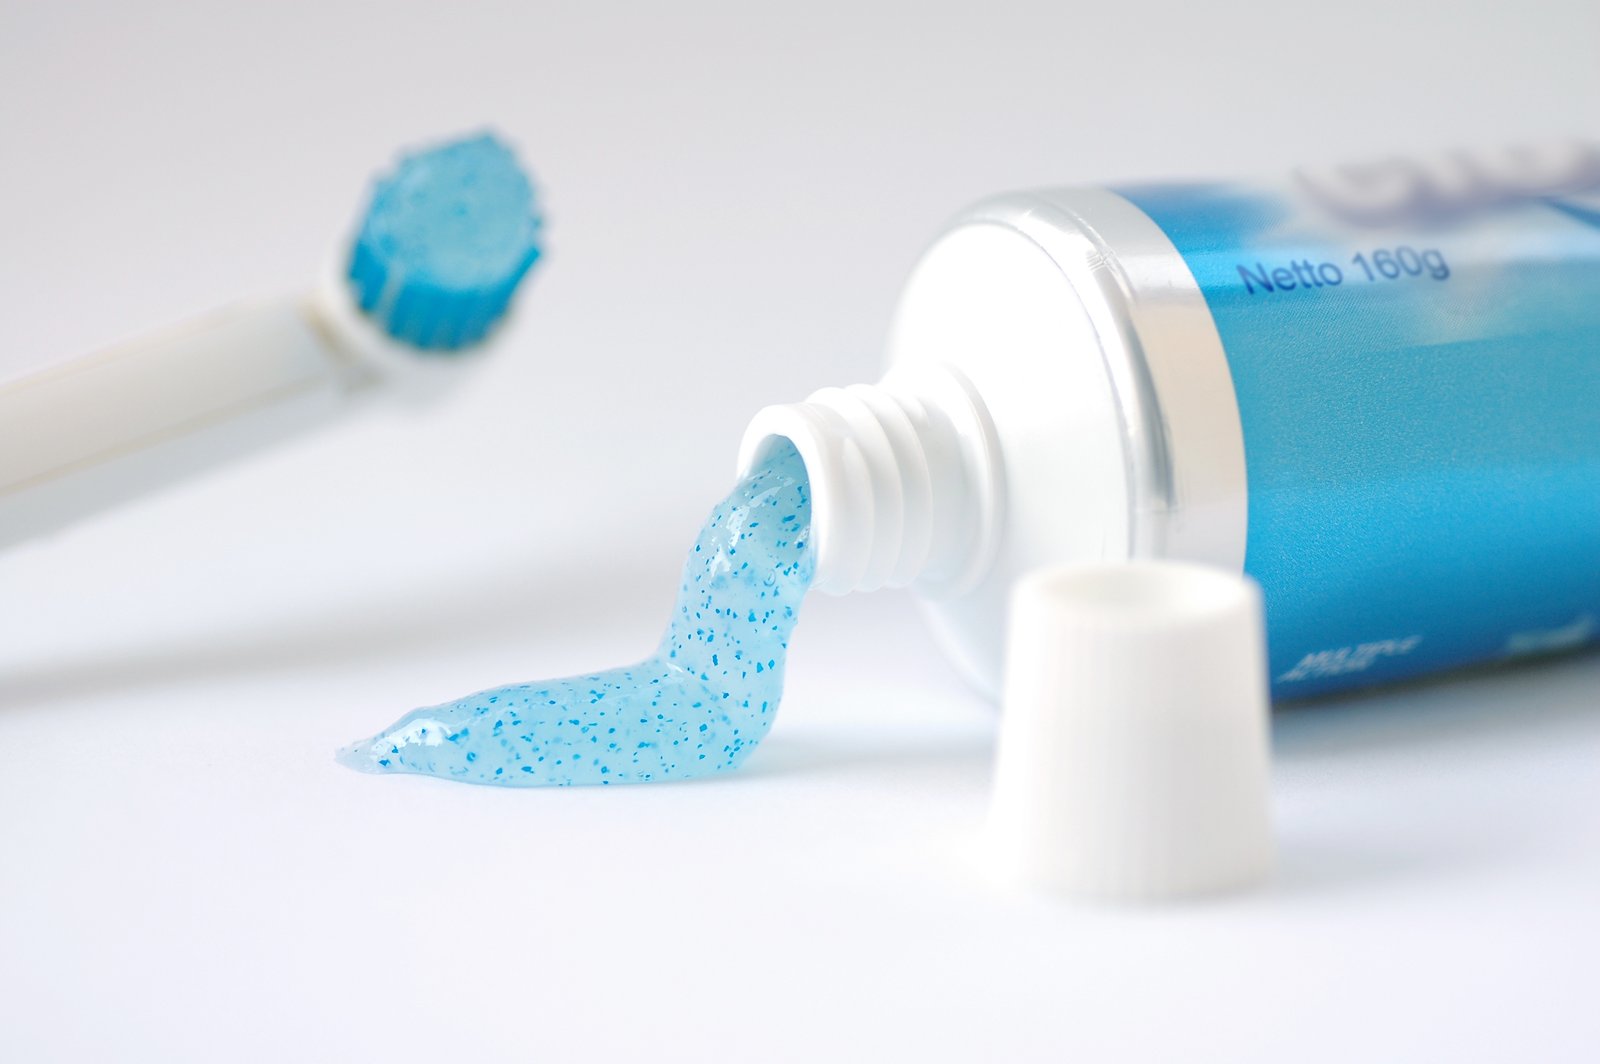
    To get rid of all the watermark stains and rings created by sweating drinks and beverages, you need to take a soft cloth and a non-gel toothpaste. Apply the non-gel paste on the soft cloth and gently rub that soft cloth on the affected area. After that, take a damp cloth and wipe it off and let it for some time to dry. For better and stronger results, you can mix baking soda with the white toothpaste in equal quantity. Now, you need to rub that mixture in the parallel direction of the wood. Wipe it off and after that polish it with the help of lemon oil.

    How to Remove Water Stains From Wood with Vinegar

    How to Remove Water Stains From Wood with Vinegar

    Wet glasses leave ugly white watermark rings on the wood. In order to remove them, you need to mix olive oil with the vinegar in equal quantity. Take a soft cloth and apply the mixture with that cloth, however, moving through the grains of wood. Take another soft cloth to add extra shine to the wood.

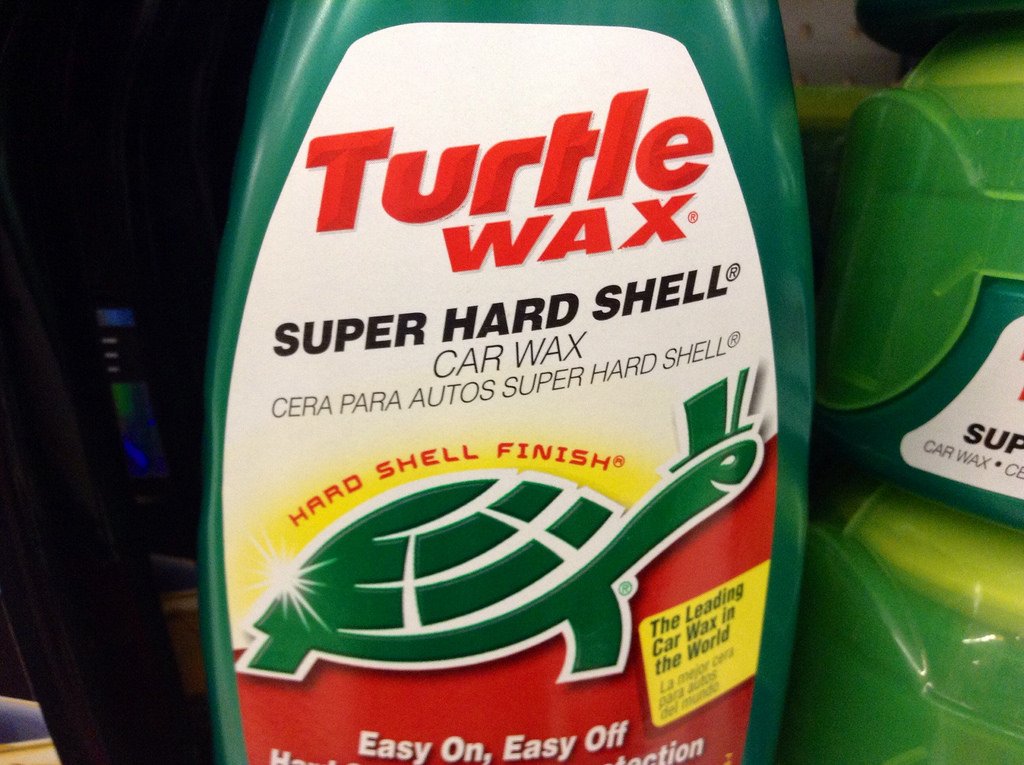
    How to Remove Water Stains From Wood with Car Wax

    How to Remove Water Stains From Wood with Vinegar

    Car wax can also be used to remove the nasty white watermark rings. Whenever regular and normal polish does not work well, then, you can use a dab of car wax. Use your finger to put on the wax in order to trace the ring. Then leave it to dry and after that, use a soft cloth in order to buff it.

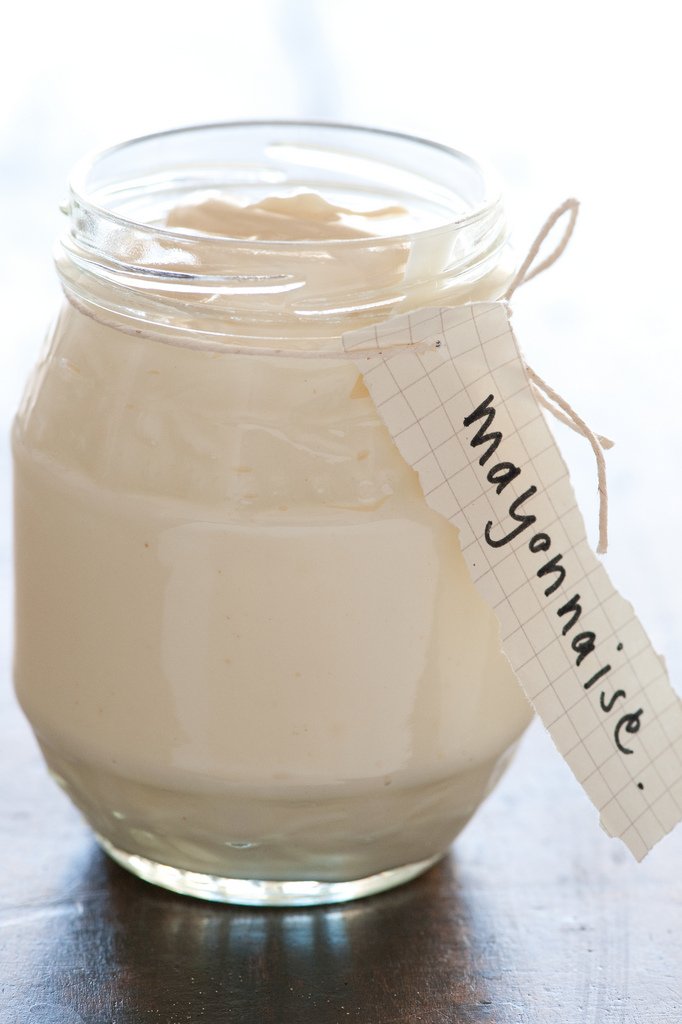
    How to Remove Water Stains From Wood with Mayonnaise

    How to Remove Water Stains From Wood with Mayonnaise

    Watermark stains can also be removed with the help of mayonnaise. You need to put on the mayonnaise onto the watermark stains. Let it sit for the whole night. Next morning, take a thick cotton cloth in order to wipe it away.

    How to Remove Water Stains From Wood with Ashes

    How to Remove Water Stains From Wood with Ashes

    Cigarette ash or cigar ash can be also used to remove the water stains from the wood. These ashes will buff in the watermark stains with the help of a soft cloth.

    How to Remove Water Stains From Wood with Ashes

  • Wood Floor Cleaning- Cleaning wood floors with Vinegar

    Whenever someone considers getting hardwood floors in their home, the first thing that comes to their mind is their maintenance. Hardwood floors are very difficult to maintain, or so everyone believes. This is however not entirely true. Hardwood floors are actually much easier to maintain than what everyone thinks. But if the maintenance is not done right, then it can be an issue and cause the wood floors to deteriorate in quality. Cleaning wood floors with vinegar is one of the most effective and easiest ways.

    Why use Vinegar for Cleaning Wood Floors?

    There are a number of ways to maintain the shine on the wood floors but special cleaners might cost a bit more than you are willing to spend on a floor cleaner, which is justified obviously. So, there is a perfect substitute, which costs a lot less and is available in almost every house. What might that be, you ask? Well, what other than vinegar? Vinegar is a great disinfectant and antibacterial. It has a pH of 2.0, and the high acidity helps to break down dirt, rust and other stubborn marks that cannot be cleaned with any other cleaner. It is biodegradable and contains no harmful chemicals that could affect anyone adversely and is also safe for the environment.

    Cleaning Wood Floors with Vinegar

    Cleaning Wood Floors with Vinegar

    The key to using vinegar for cleaning wood floors is to use the right proportion. Since vinegar is quite acidic, it has to be diluted with water. But since you are using the solution to clean wood floors, you need to take care of not using too much water since that will ruin the wood floors and make the wood swell. In order to easily clean wood floors, follow these few steps and it will be as good as new.
    1. Sweep the floor with a dry broom in order to get rid of the excess dirt.

    2. Mix one gallon of water with one cup of vinegar (take extra care of being very precise with the ratio).

    3. Dip the mop in the solution and wring until it is only damp and not completely wet.

    4. Mop the floor with the solution and rinse if mop gets dirty or use a new solution if the current solution is getting dirty.

    Once you are done with the process, you can arrange the room to the way it was before since the floor needs no extra steps to clean the vinegar and water solution from it as it is a non-toxic solution. You will notice a gorgeous shine to your floor once you are done cleaning it.

    Benefits of Cleaning Wood Floors with Vinegar

    Benefits of Cleaning Wood Floors with Vinegar

    The most important and obvious reason is that it is very cheap and even easier to find since it is a staple in almost every household. Many household cleaning items have very harsh and toxic chemicals that may do the job at the moment but can be incredibly harmful to your family (especially if you have children) and for the environment as well. Some chemicals emit harmful fumes, which, if inhaled, can be quite dangerous.

    Moreover, using the basic vinegar and water solution is easier than going through the hassle of finding a floor cleaner, which ends up not even being effective. Vinegar is a tried and tested item to help clean floors. It removes dirt very effectively and gives a shiny finish to the floors. Vinegar kills bacteria and mold, and an added benefit is that it has an indefinite shelf life.

    Disadvantages of Cleaning Wood Floors with Vinegar

    Even though it may be a cheaper way to clean your floors, it may also be damaging them. Using the solution is some tricky business. You have to be extra careful of the ratio you are using because if not, it could go from a clean, shiny wood floor to a ruined, rippled wood floor. Most people do just that. They use more water than necessary, which ruins the wood floors. Some people mop the floor with too much water soaked in the mop, which again causes damage to the wood.

    The shine of the wood floor is basically a layer of chemical finish used on the wood and since vinegar is acidic, it can dissolve or remove that chemical from the wood surface, which, in turn, could make the floor dull or cause discoloration. So if you want to prevent the risk, you can use a recommended cleaner by the wood floor installing company.

    Other Ways to Clean Wood Floors

    Other Ways to Clean Wood Floors

    Use a broom to regularly sweep the floors to prevent any dirt accumulating in the first place. If you like how vinegar cleans your floors, then instead of mopping and taking the risk of using too much water, you can store the solution in a spray bottle. Use that spray bottle to spray a very thin layer of the mixture on the wood and clean with a cloth.

    Another alternative is that if you want to avoid using the mixture of water and vinegar altogether, you can make use of microfiber cloths; they are not rough so they will not damage your floors. They have hundreds of tiny fibers, which are very effective at cleaning dirt and removing particles from the surface. Most importantly, they are hypoallergenic and will cause no reaction of any sort, so it is even safer than vinegar since vinegar can have a strong smell and it may cause irritation among infants.
    The only reason because of which vinegar could harm your wood floors is if you use the wrong proportion of water and vinegar in the mixture. So all you need is to measure the mentioned ratio and you will be good to go. However, if you are still unsure of how it will work. Just do a patch test on the floor, that is, use the mixture on a small area of the wooden floor. You could also, for comparison purposes, use a proper wood floor cleaner on another area and check, which works better. That way you can choose easily which method you would prefer to use.