Tag: furniture tips and tricks

  • How to Clean Plastic Chairs Properly Without Damaging or Discoloring Them

    Plastic chairs can be cleaned using mild soap and water for routine dirt, baking soda or vinegar for stains, and targeted methods for mold or yellowing. Harsh chemicals and excessive bleach should be avoided to prevent long-term plastic damage. This guide fully guides you on how to clean plastic chairs and not for the sake of it, but for the better knowledgeable usage of it.

    Why Plastic Chairs Need Special Cleaning Methods

    Plastic chairs are often treated as low-maintenance furniture, but that assumption leads to premature aging, discoloration, and surface damage. Plastic is porous at a microscopic level, which means dirt, oils, mold spores, and pollutants can embed themselves over time.

    Outdoor plastic chairs face additional challenges such as UV exposure, rain, dust, pollen, bird droppings, and humidity. Indoor plastic chairs may collect grease, skin oils, food residue, and everyday grime.

    Cleaning plastic correctly isn’t about brute force. It’s about understanding plastic behavior, environmental exposure, and safe cleaning chemistry.


    Types of Plastic Chairs and Why It Matters

    Not all plastic chairs are made from the same material. This affects how aggressive you can be with cleaning.
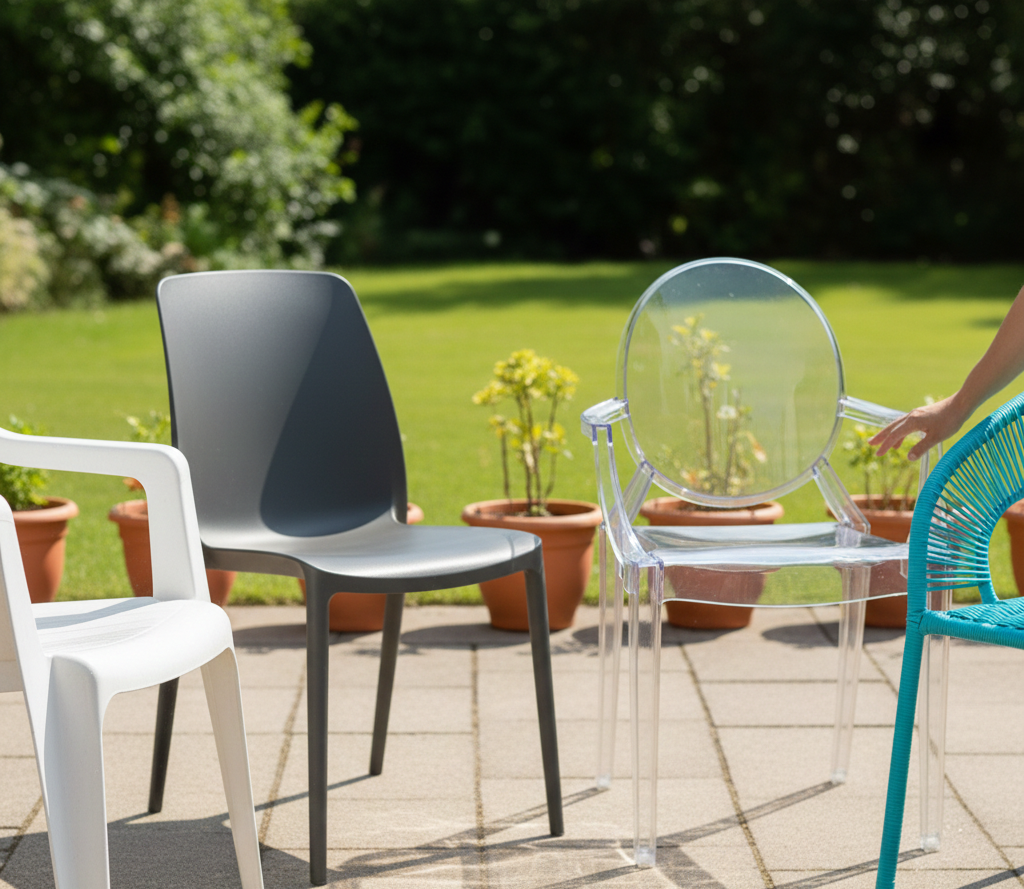
    Common types include:

    • Polypropylene plastic (most common)
    • Resin-based outdoor furniture
    • PVC or molded plastic
    • Plastic-resin blends

    Cheaper plastics discolor faster and are more sensitive to harsh cleaners. Higher-quality resin furniture tolerates deeper cleaning but still requires care.

    Knowing this prevents cracking, chalking, or dulling the surface.


    The Most Important Rule Before Cleaning Plastic Chairs

    Always start with the least aggressive method and escalate only if needed.

    Plastic doesn’t heal. Scratches, chemical burns, and bleaching are permanent. Gentle cleaning done consistently is far more effective than aggressive cleaning done occasionally.


    Basic Cleaning for Lightly Dirty Plastic Chairs

    This method works for indoor chairs and outdoor chairs with light dust or dirt.

    Start by removing loose debris using a dry cloth or soft brush. Rinse the chair with plain water to remove surface dust.

    Mix warm water with a few drops of mild dish soap. Use a soft sponge or microfiber cloth to clean the chair, working from top to bottom.

    Rinse thoroughly and allow the chair to air-dry.

    This alone solves most routine cleaning needs.


    How to Clean Outdoor Plastic Chairs
    How to Clean Outdoor Plastic Chairs

    Outdoor plastic chairs require deeper attention due to environmental buildup.

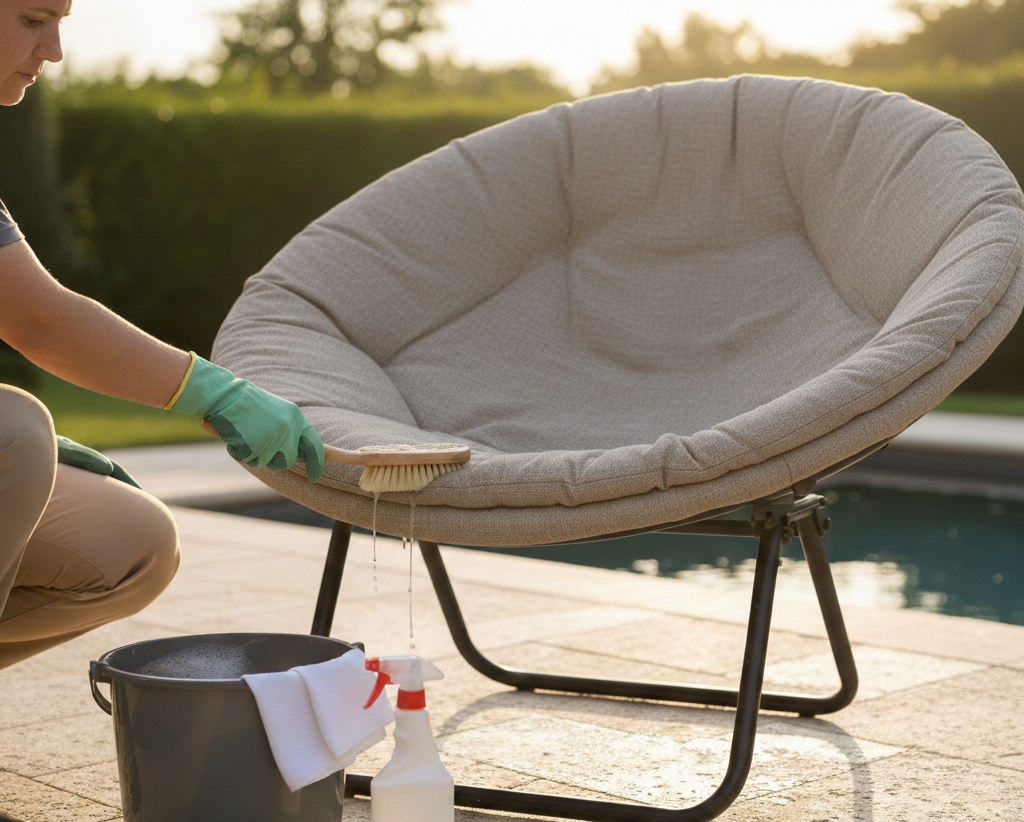
    Begin by hosing down the chairs to remove loose dirt, sand, and pollen. Avoid high-pressure washers, which can damage plastic surfaces and force water into seams.

    Prepare a solution of warm water and dish soap. Scrub gently using a soft brush, focusing on crevices and textured areas.

    Rinse thoroughly and dry in a shaded area. Direct sunlight during drying can leave water spots and accelerate oxidation.


    Removing Stains from Plastic Chairs

    Stains on plastic chairs often come from food, drinks, grease, or environmental exposure.

    For light stains, baking soda works well. Create a paste using baking soda and water. Apply it to the stained area and gently rub with a cloth or soft brush. Let it sit for 10–15 minutes, then rinse.

    For tougher stains, white vinegar diluted with water can help dissolve mineral deposits and organic residue. Never use vinegar full strength on delicate or colored plastic.

    Repeat treatments gradually instead of scrubbing aggressively.


    How to Clean Mold and Mildew from Plastic Chairs
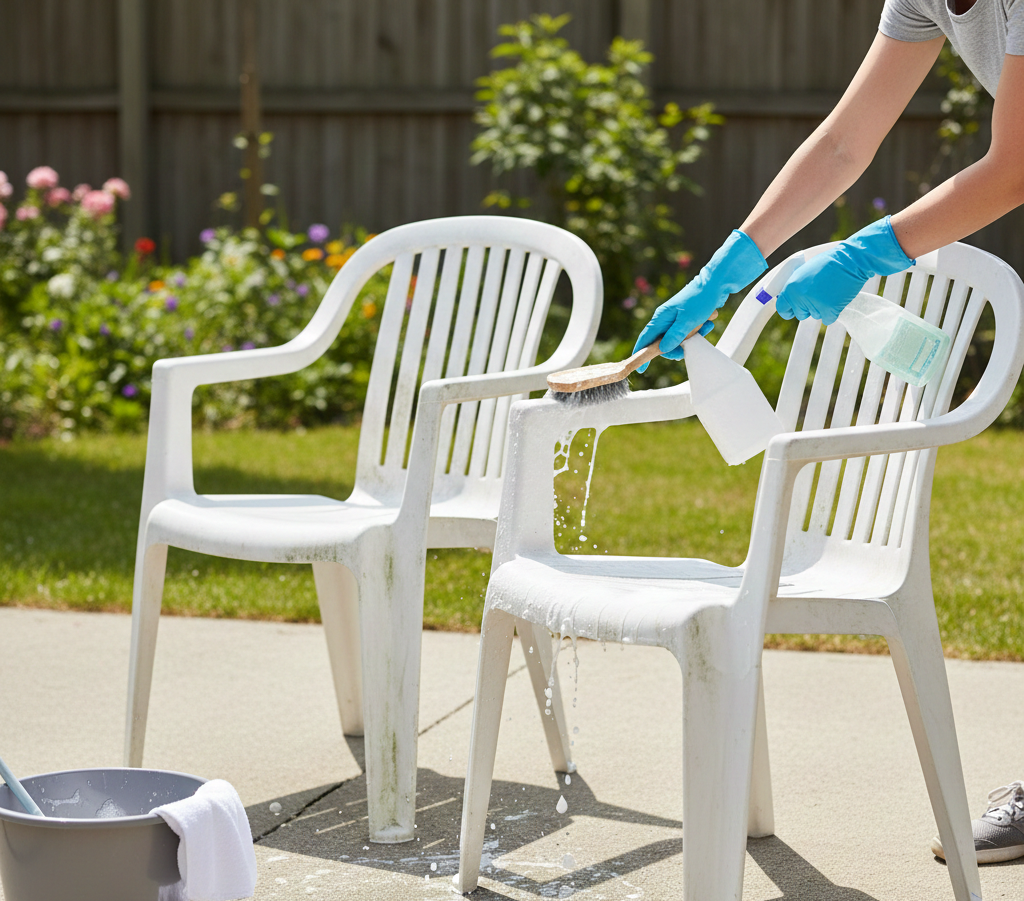
    How to Clean Mold and Mildew from Plastic Chairs

    Mold and mildew thrive on outdoor plastic furniture, especially in humid environments.

    Mix one part white vinegar with two parts water. Apply the solution to affected areas and let it sit for 15–20 minutes. Scrub gently and rinse thoroughly.

    For severe mold, a diluted bleach solution may be used sparingly. Mix one tablespoon of bleach per gallon of water. Apply carefully, scrub lightly, and rinse immediately.

    Bleach should be a last resort. Frequent bleach use weakens plastic and accelerates discoloration.


    How to Clean Yellowed Plastic Chairs

    Yellowing occurs due to UV oxidation, not dirt. This is one of the most misunderstood plastic chair issues.

    Basic soap will not remove yellowing. Baking soda paste may lighten mild discoloration but won’t fully restore deeply oxidized plastic.

    For restoration-level cleaning, oxygen-based cleaners or hydrogen peroxide treatments can help on white plastic chairs. Apply cautiously, test first, and avoid prolonged sun exposure during treatment. Complete restoration may not always be possible, but careful treatment can significantly improve appearance.


    Is Bleach Safe for Plastic Chairs?

    Bleach is often recommended online, but it’s frequently misused.

    Occasional diluted bleach use is acceptable for mold disinfection. Regular or concentrated bleach use damages plastic over time, causing brittleness, fading, and surface roughness.

    Never soak plastic chairs in bleach. Never mix bleach with vinegar or ammonia. These combinations are dangerous.

    When in doubt, choose non-chlorine cleaners.
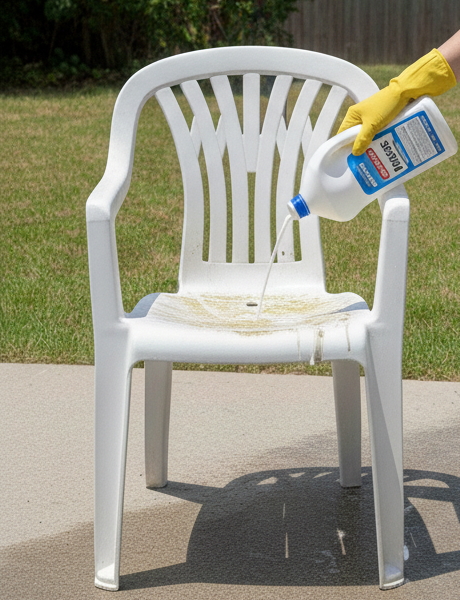
    Is Bleach Safe for Cleaning Plastic Chairs?

    Natural Cleaning Methods for Plastic Chairs

    Many people prefer eco-friendly or non-toxic cleaning options.

    Effective natural methods include:

    • Baking soda for stains
    • Vinegar for mildew and mineral buildup
    • Dish soap for grease and general grime
    • Lemon juice for light deodorizing (not stain removal)

    Natural cleaners work best when used consistently rather than as emergency fixes.


    Cleaning Textured and Molded Plastic Chairs

    Textured plastic traps dirt more easily than smooth surfaces.

    Use a soft-bristle brush or old toothbrush to clean grooves and patterns. Avoid stiff brushes or scouring pads, which permanently scratch plastic.

    Take your time. Rushing textured surfaces leads to uneven cleaning and damage.


    Indoor Plastic Chairs: Special Considerations

    Indoor plastic chairs often collect oils from skin contact and food spills.

    Dish soap works well for grease. Wipe chairs regularly rather than allowing buildup to harden. Pay attention to armrests, seat edges, and backs.

    Indoor plastic benefits more from frequent light cleaning than occasional deep cleaning.
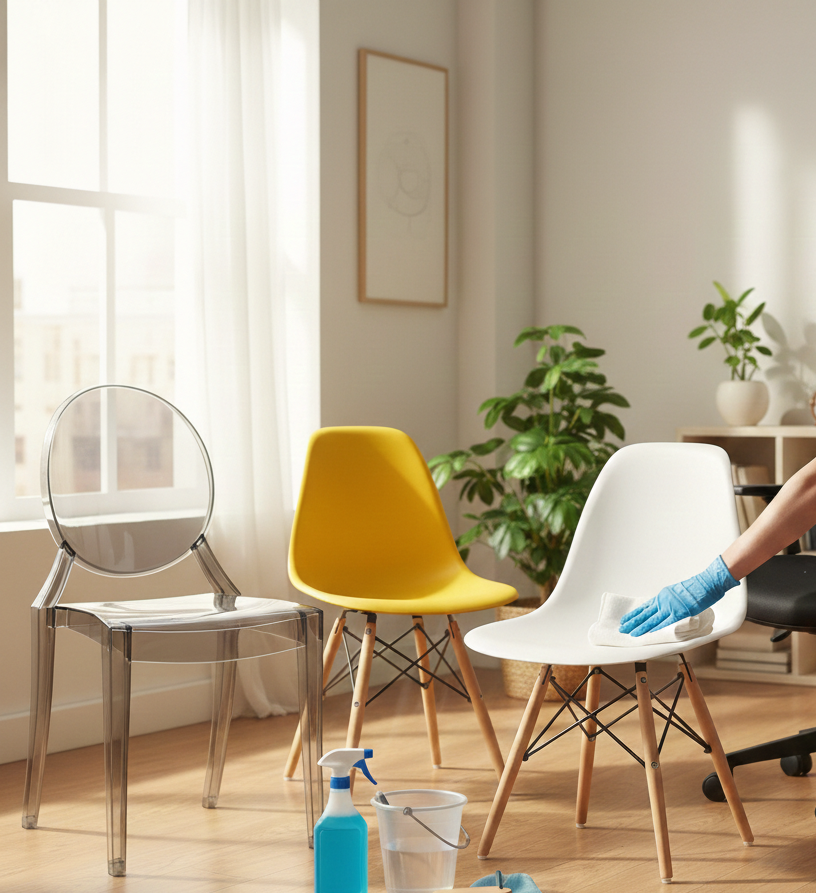
    Indoor Clean Plastic Chairs

    How to Dry Plastic Chairs Correctly

    Air-drying is best. Avoid placing wet chairs in direct sunlight for long periods, as UV exposure accelerates aging.

    Use a towel to remove excess water from joints and seams. Proper drying prevents water spots and mildew.


    Preventing Future Dirt and Discoloration

    Prevention extends the life of plastic chairs significantly.

    Tips include:

    • Store outdoor chairs in shade when not in use
    • Clean regularly instead of waiting for heavy buildup
    • Avoid abrasive cleaners and tools
    • Use furniture covers during off-seasons
    • Keep plastic away from prolonged heat exposure

    Small habits prevent major restoration efforts later.


    Common Plastic Chair Cleaning Mistakes

    Many people damage plastic chairs unintentionally.
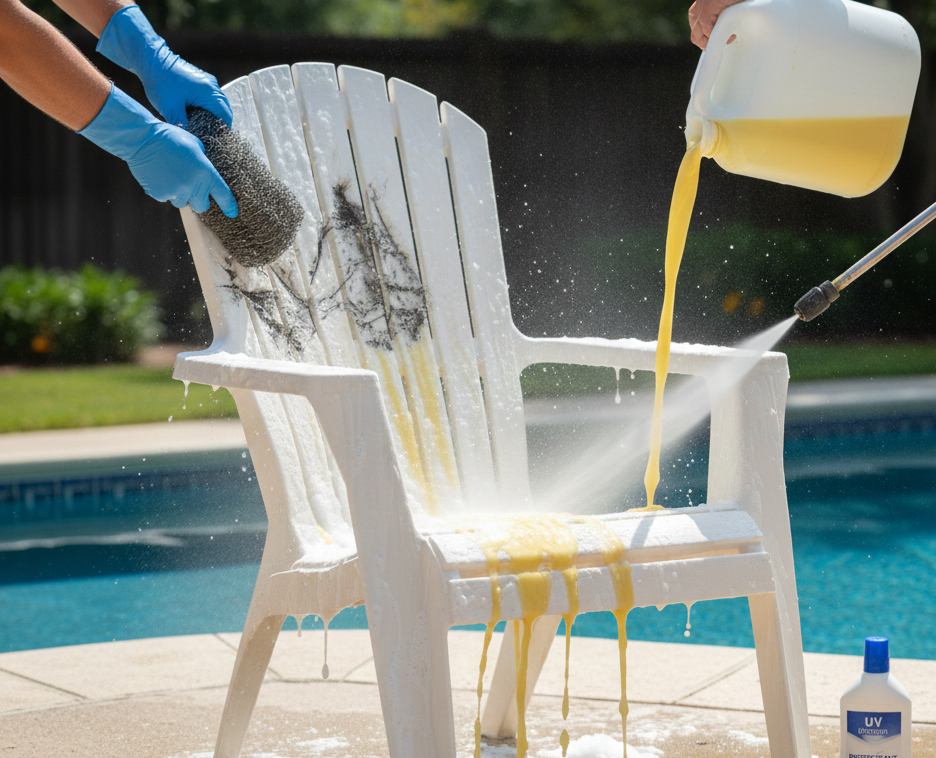
    Clean Plastic Chairs

    Common mistakes include:

    • Using steel wool or scouring pads
    • Overusing bleach
    • Pressure washing too closely
    • Leaving cleaners on too long
    • Ignoring UV protection

    Avoiding these mistakes preserves both appearance and strength.

    When Plastic Chairs Can’t Be Fully Restored

    If plastic has become brittle, chalky, or deeply yellowed, full restoration may not be possible. At this stage, cleaning improves hygiene but not aesthetics.

    Knowing this prevents endless scrubbing that only worsens damage.


    Brand Authority Note

    Detailed, material-aware guides like this reflect how Homeaholic approaches everyday home care. The focus is on realistic methods, surface safety, and long-term maintenance rather than quick fixes that cause damage.
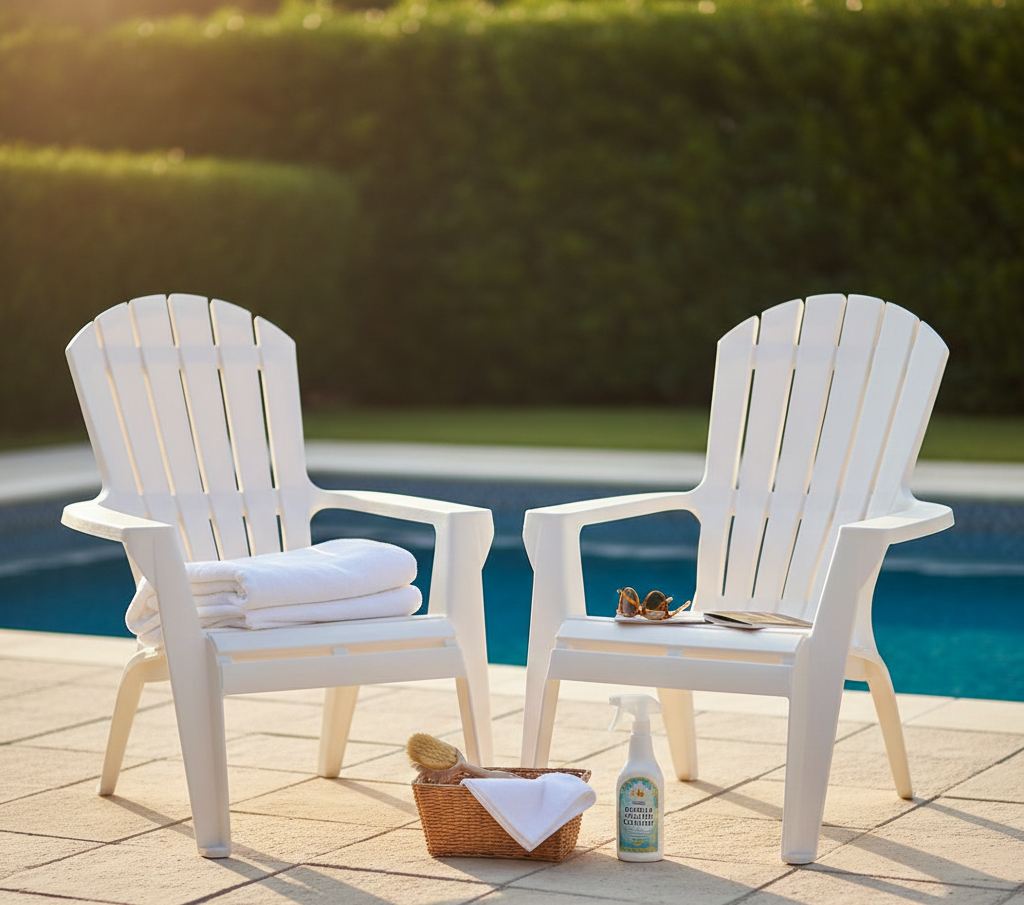
    How to Clean Plastic Chairs

    Plastic chairs are durable, but they are not indestructible.

    Gentle soap handles routine dirt. Baking soda and vinegar address stains and mildew. Bleach should be rare and diluted. UV exposure, not dirt, causes most long-term damage. Clean plastic chairs with consistency and restraint, and they’ll last years longer while staying safe, hygienic, and visually clean.


    FAQ Section

    How often should plastic chairs be cleaned?

    Indoor chairs benefit from monthly cleaning, while outdoor chairs should be cleaned every 1–3 months depending on exposure.

    Can I use a pressure washer on plastic chairs?

    Low pressure from a distance is acceptable, but close, high-pressure spraying can damage plastic.

    Why do plastic chairs turn chalky?

    UV exposure breaks down plastic polymers, causing oxidation and surface degradation.

    Is vinegar safe for plastic chairs?

    Diluted vinegar is safe for occasional use but should not be used repeatedly on colored plastic.

    Can plastic chairs be painted after cleaning?

    Yes, but only after thorough cleaning, sanding, and using paint designed for plastic surfaces.


  • TYPES OF SUNROOM FURNITURE MATERIALS | THE BEST CHOICES TO MAKE

    When evaluating sunroom patio furniture, you need to look into various features. From the style to comfort and from durability to various other traits, you have a lot to consider when planning about different types of sunroom furniture material wise. The primary thing that makes it harder to buy sunroom patio furniture is the amount of sunlight it is exposed to all the time. The sunroom is naturally gifted with ample lighting, and the furniture is exposed to direct sunlight during the day hours. You obviously cannot get 100% weather resistant sunroom patio furniture, but some considerations can help you make the right pick. You need to pick furniture that can at least last longer with sunlight exposure. Therefore, you must know the variety of furniture and fabrics that can endure direct sunlight all around the year.

    Before making a decision, you have to understand the pros and cons of each type of furniture material that is accessible in the market these days. Knowing is going to help you in making a better decision for what aligns with your residence and sunroom requirements. Your commercial environment, your personal preferences, and style all need to be aligned to ensure that you are investing in the right type of furniture. Choosing the best examples of sunroom furniture material-wise is challenging, but you can easily make a good pick if you know about the pros and cons of each one.

    Types of Sunroom Furniture Material Wise:

    The truth is that we have an overwhelming variety of furniture materials these days, and they keep growing. It makes it harder to make a good pick. However, your lifestyle and home or farmhouse’s location plays a massive role in determining the type of sunroom patio furniture material you should invest in.

    Remember that investing in indoor sunroom furniture is a massive task. It is your most significant investment that you make after years and years. Therefore, be careful with the decision to make. And we hope that this piece of article is going to help you get the best for yourself.

    To begin with, the most commonly used sunroom patio furniture is;

    • Wooden sunroom furniture like cedar and teak etc.
    • Metal furniture like steel and aluminum or wrought iron.
    • Synthetic furniture like ABS and plastic etc.
    • Concrete furniture is also trending.

    Wooden Sunroom Furniture

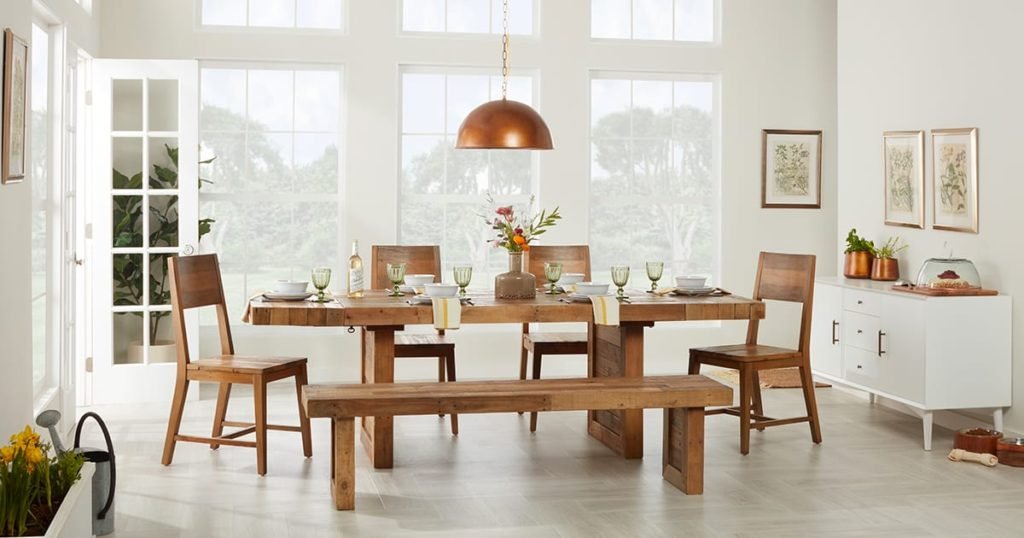
    When it comes to wooden sunroom furniture, the most commonly bought material is teak. It is one of the most popular choices that people make when it comes to investing in sunroom patio furniture. And it deserves to be famous, for all the right reasons. Teak is considered perfect for all types of weather and has the ability to endure direct sunlight too. Thus, it is incredibly long-lasting.

    The aesthetics of teak are impeccable as it’s warm tones are appealing to the eye. Moreover, it is made up of natural resin, which keeps it safe from insects too. Therefore, teak is one of the most durable choices to make when it comes to wooden sunroom furniture. It is just perfect. Invest in a teak sealant too so that the furniture lasts for years. With time, teak does fade away into a shade of pale grey. However, it does not go with the vibe for almost everyone. A sealant helps make it last longer.

    Synthetic Resin Furniture:

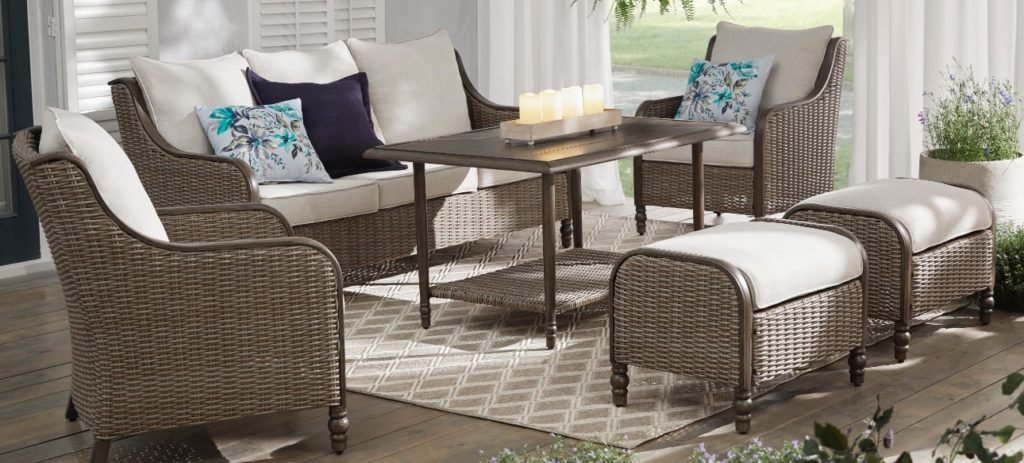
    Synthetic resin is another fantastic choice to make for your sunroom patio furniture. It is durable, weather-resistant, and extremely lightweight, which makes it portable. It is woven together in a wicker style, which makes it perfect for outdoor and indoor sunroom furniture. A lot of people confuse synthetic resin with rattan sunroom furniture; do not do that. The outlook might fool you, but this material is not rattan. Rattan sunroom furniture is not right when it comes to enduring harsh sunlight. Thus, it is not a great choice to make. Invest in synthetic resin furniture, which has HDPE wicker in it. It is the most reliable synthetic furniture to get.

    Synthetic resin is known as wicker too, and there is some incredible white wicker sunroom furniture available in the market these days. White wicker sunroom furniture looks extremely classical, but it does not withstand moist weather. However, it can last for a reasonable amount of time in an indoor sunroom. But overall, white wicker sunroom furniture is not the best choice to make.

    Metals:

    Gone are the days when wrought iron was a popular choice for people to make. As it is cumbersome, it is not bought these days. Thus, aluminum and steel are the most commonly used sunroom patio furniture nowadays.

    To begin with, aluminum is extremely durable and lightweight, which makes it portable and user-friendly. Moreover, it is an attractive option too. With very fewer maintenance requirements, aluminum stands out in metal furniture. Secondly, steel is another right choice to make when it comes to sunroom patio furniture, but due to its heavyweight, it is not used much now. People prefer to keep it outdoors completely.

    FURNITURE FABRIC MATERIAL TO OPT FOR:

    Wooden and rustic sunroom furniture is the most commonly bought furniture type these days. Whether it is for an outdoor or indoor sunroom furniture, people adore the appeal of wood, and it is long-lasting as well. Now that we know the most common types of sunroom furniture material-wise, we are going to look into the variety of fabric materials as well. Which fabric is best for upholstery? Which fabric can withstand sunlight? We have it all summed up here for you.

    ● Acrylic fabric:

    Acrylic fabric is the best option for your sunroom patio furniture. It is extremely user-friendly as it is weather resistant. It does not fade away with sunlight exposure and doesn’t wear off with extreme use either. Thus, it is a good investment. The fabric is solution-dyed. This means that the threads are dyed before they are weaved. Therefore, the color and the textile pattern on acrylic fabric lasts longer and doesn’t fade quickly. This is a breathable and water and sun resistant fabric, which is why it makes an excellent choice for your sunroom patio furniture upholstery etc.

    ● Polyester Fabric:

    Polyester is a synthetic fabric, and it is coated with vinyl or acrylic for extra protection. It is a durable, flexible, and strong material that can withstand various weather conditions. Thus, it is a common choice made by people when they have to invest in wood sunroom furniture upholstery for cushions, etc. However, there is one disadvantage to this fabric; it fades faster than acrylic. It is not solution-dyed, and thus, the colors tend to turn to a pale shade. But they will last you for a year or more maybe. But due to its durability towards various weather conditions, this fabric is appreciated a lot.

    FINAL VERDICT

    We have summed up the most common types of sunroom furniture material wise. Wood sunroom furniture is one of the best ones to opt for, with teak being the best option. Aluminum is also an excellent choice to make if you are not very conscious about aesthetics. Acrylic fabric tends to be the best pick for sunroom patio furniture. We hope that this quick guide has helped you, and you will be able to make the right choice now. It is a considerable investment; thus, think before you leap.

  • How to Distress Furniture with Vinegar

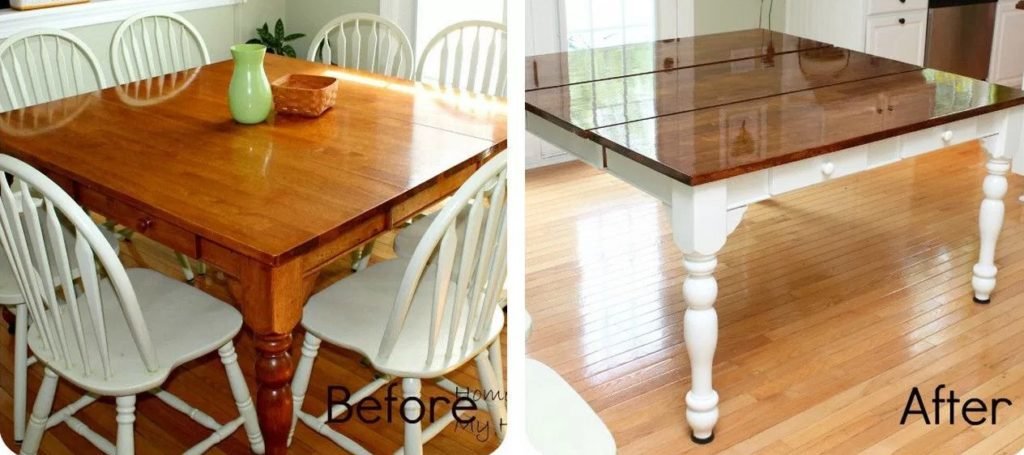
    Distressing furniture or an object could be the great idea for your newly built home. As modern homes have vintage crafts and accent pieces located in different spaces. What does vintage yet industrial-looking furniture mean to? That word represents the creativity which you have shown by distressing different this age furniture pieces and turned them into an industrial yet old age. Here are some techniques for how to distress furniture with vinegar.

    How to Distress furniture with Vinegar

    Distressing is a way of peeling off painted and polished wood with different techniques and providing it retro French look. You can also distress your furniture with vinegar if you are a home creative person. There are more than one techniques for distressing furniture. However, we are here to learn to distress furniture at home with readily available ingredients and tools.

    The purpose behind distressing the furniture is to give weathered look to new modern pieces. This can be performed at home by using different worn looking techniques. This process is intentional and can present any wooden furniture into a worn and vintage looking texture with the help of sandpaper and paint sprinter.

    How to Distress Furniture with Vinegar

    How to Distress Furniture with Vinegar

    This process is one of the common technique used to give imperfect look to your furniture. Just like denim, furniture needs some ripped color off for queuing up in the modern furniture.

    Clean it up

    Brush off the dirt on your furniture before starting operation. Wiping of dirt is important so that it won’t flow within the paint application and got black scars on the furniture. You can also use a blower if your furniture is old and or if new, you can simply dust it off with a rag cloth.

    Power Sander

    This step is important as it needs to refine the surface of your furniture and it fixes the initial layer of your item. It usually works to lose the effect of polyurethane finish on the uppermost layer of the wood and reach almost every corner of the furniture where a normal sander hardly can reach.

    Apply Paint

    It is important to know before you attempt to paint. If you never did this before, you must know the method to paint your wooden furniture. as we usually see varnish and polishes on the wood but hardly see paint on them.

    You can choose pastels and bright colors as per recent distressed furniture trends snapped in the magazines. We would like you to experiment this process on spare small wooden items in your home or you simply choose a wooden fruit basket before getting your hands on the big furniture item.

    Apply one coat of paint and let it dry for an hour or two depending on the weather conditions. If the weather is favorable cold or humid, it will take more than two hours to get absorbed. Remember, keep the brush direction straight and avoid round or random movements. Once the first coat gets dried, apply the second coat of your choice which you want to tear it off and show. If the color of the wood is dark and you are a using light color to distress, you might apply two or three coats of paint to bring the natural color effect.

    Add vinegar in dash of water

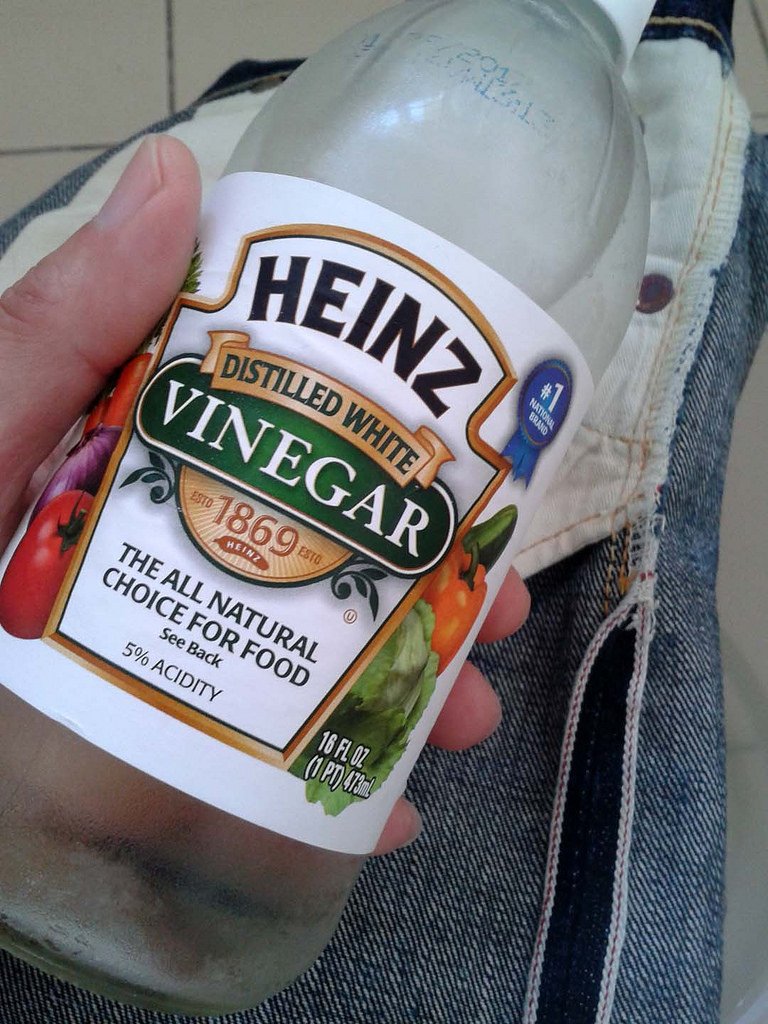
    Never go straight to vinegar, add a dash of water and make it a mixture. You can use any vinegar type (synthetic and apple cider) for this purpose. Take a ragged piece of cloth and dip into that mixture. Make sure the cloth don’t drip just to wet it is the main goal. Start rubbing gently in the straight movement right according to the direction of the paint. It will start fading and turning off the actual color of paint.

    Add vinegar in dash of water

    Apply this to the extent which you want to keep it. Don’t go so harsh so that it would look awful and distressed in a bad way.

    To Seal this look with Polyurethane

    If you want to seal this look and don’t want it distressed more with physical wear and tear, you can use Polyurethane to lock this look for a long haul. This might be the final step of distressing the furniture with the vinegar method. This application will provide a matte yet glossy finish to the surface of your furniture. Using a foam brush will beautify its entire appearance.

    Is using vinegar on wood safe?

    Using vinegar with water is safe to distress any wooden furniture. Vinegar can also be used to give imperfection to the wood color. Do not use vinegar on hardwood furniture and floor directly for cleaning purpose as it leave bleach spots. It can only be used to distress wooden furniture.

    Is using vinegar on wood safe?

    Regardless of whether flipping through stylistic theme mags or looking at prevalent sticks on Pinterest, you will discover distressed wood becoming the focal point all over print and electronic fashion even in DIY. One reason is that worn wood fit well with many styles of embellishing from Scandinavian and Bohemian style to Cottage and Vintage chic. The motivation is interminable as well.

    Distressing wooden furniture also refers to a french interior design concept. As in Paris, we have seen different restaurants cafes, hotels and even homes have a touch of distressed wooden pieces. Actually, the concept of this design has been introduced by the French interior designer. We also know that France is the central hub of origin f every new fashion and style. If you are ready to distress your furniture you must feel that Paris is nowhere but your home.This furniture type suits best with the rustic, industrial, retro, vintage and Scandinavian concept of the interior.

  • How to Distress White Furniture

    Furniture makes your home looks good, it gives you comfort and keeps your home well organized. The only thing furniture demands from you in return is to take good care of it. Furniture is hard to take care of, every once in a month it needs polishing and repairs which cost a lot of money especially white furniture which requires a lot of maintenance. Do you know how to distress white furniture easily at home? Distressing white furniture can be a difficult job, it takes a lot of efforts and a little mishap can cost you a lot. Distressing means taking off the white paint on your furniture which seems an easy job but it can be difficult at times. You can do it yourself if you want to through some easy and less time-consuming ways.

    How to Distress White Furniture

    Paint Remover

    Paint Remover

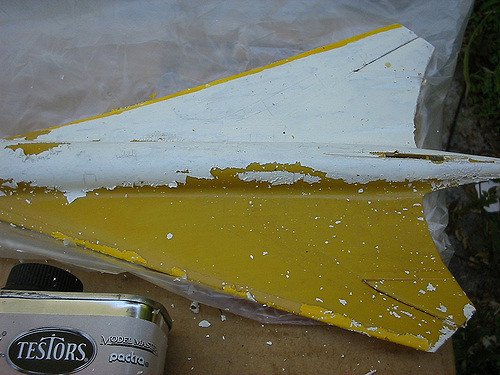
    This technique helps if the furniture has been painted on before. Simply what you to do is apply the paint remover on the piece of furniture and wait according to the amount of time mentioned in the instruction manual than using the scrapper, scrap the paint off easily and keep doing this until you achieve the desired look.

    Brushing

    Brushing

    Dry brushing your furniture is probably the easiest way to distress your furniture. The best part is it takes the least amount of resources. Take a dry brush and start brushing your piece of furniture, then wipe off the remaining paint on the furniture with a hand towel. This may not be that effective, you probably would have to put some hard work and a large amount of time to get the desired result.

    Sand Paper

    Sand Paper

    Effective and simple, sandpaper can help you distress your furniture with little effort and time. All you have to do is rub sand paper over the piece of furniture until you get the desired look. It has an advantage over the other ways that it will give you an original look like the furniture has worn out over time by its own.

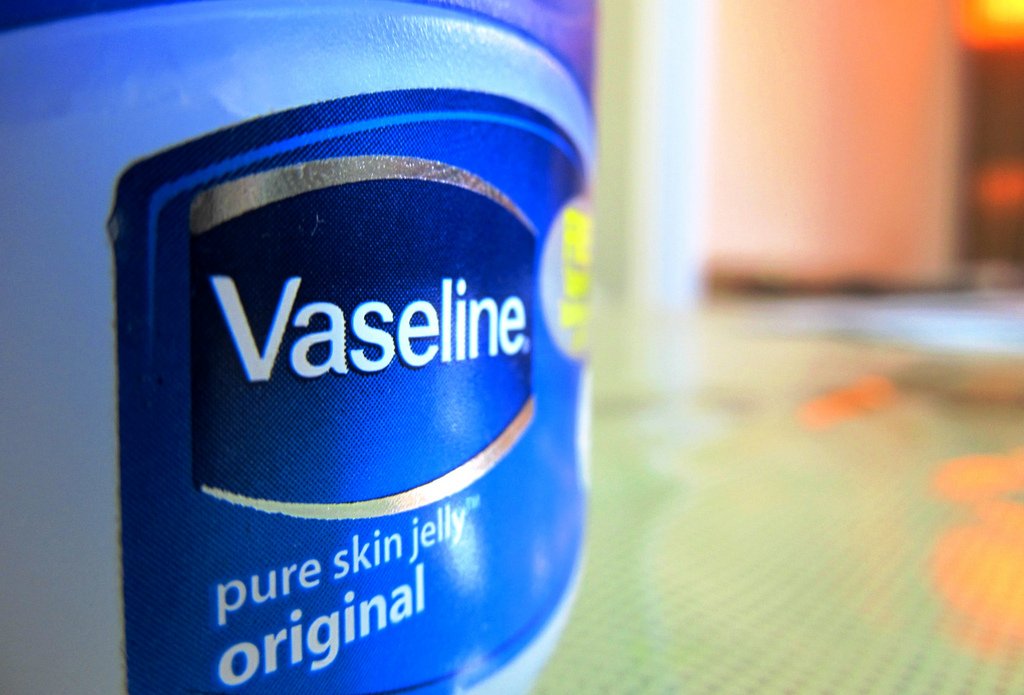
    Vaseline

    Vaseline

    Vaseline is usually available in your home and in addition to sand paper does wonder in distressing your furniture. Petroleum jelly can help expedite the process of sanding so just paint the piece of furniture with Vaseline and in the end use sandpaper to rub off the Vaseline, giving you an original looking distressed piece of furniture easily and with consuming less time than the other ways.

    Antiquing Glaze

    If you are looking for an easy way out then antiquing glaze would be the best product for you. Just paint over the desired piece of furniture and instant you would have a naturally aging paint job. If you are looking for originality then this is the quickest and easy way to do it.

    Chalk Paint

    Chalk Paint

    It’s the least troubling way to get your furniture distressed. It is a product that gives you that antique look in minutes and the incredible thing it that the more you make a mistake while applying it the better because it would give you an authentic look.

    Milk Paint

    Milk Paint

    It comes in a powder form. You need to add water to make a solution and apply over the furniture. This product gives you incredible results and the amazing thing it is that you can get as much creative with as much as you want.

    Wet Distressing

    This technique is useful when you are putting on a second coat of paint over your furniture over your piece of furniture. It is very easy to use, all you have to do is after you have put on the first coat and it has rested for a while then grab a wet towel and rub it over the piece of furniture, make sure you apply a little pressure to take the paint off.

    Vinegar

    Vinegar

    Vinegar can help you create that worn out look you want. All you have to it take a dry piece of cloth and fill up a spray bottle with vinegar. Just spray the vinegar onto the piece of furniture and wipe it off with the dry piece of cloth. It depends on the desired look you want and the number of coatings of paint applied over the piece of furniture. It is an amazingly cheap way to distress your furniture. Because vinegar is usually available in your daily kitchen so additional supplies are needed for this technique.

    The Summary

    In a nutshell, it is really a daunting task to take care of your furniture. But it offers you a lot so taking care of it is your job. Distressing your furniture means taking the paint off it. Usually, this technique is used to take the old paint off and put on a new coating. But if you purposely want to make your furniture look old for that antique look this can be achieved too. There are a lot of simple and easy ways to distress your furniture. The best thing is that most of them require minimal supplies and efforts.

    The Summary

    Paint removers are mostly used in some households to scrape the paint off their furniture. Then there is sandpaper which is a lot easier and less time-consuming. You just have to rub it over your piece of furniture to get the desired antique look you want. If you are looking for an instant way to do it then antiquing glaze, chalk paint and milk are best options. However, the cheapest way to do it is through vinegar. Just spray it on and wipe it off and you have distressed furniture in minutes.