Tag: baking soda remedies

  • How to Get Olive Oil Out of Clothes Without Ruining the Fabric

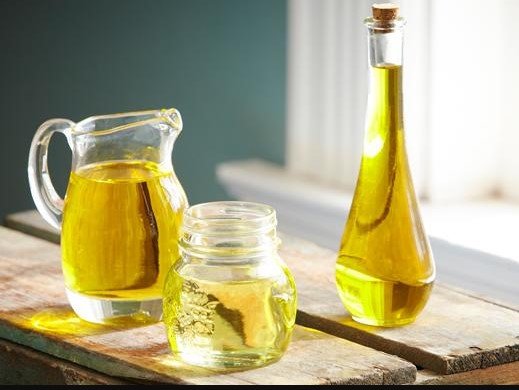
    Olive oil stains can be removed by absorbing excess oil first, then breaking it down with dish soap or liquid detergent using cold water. Heat must be avoided until the stain is fully gone, as heat permanently sets oil into fabric fibers. This guide provides a comprehensive insight into the workings and methods involved in “how to get olive oil out of clothes“, cracking all the mysteries surrounding it.

    Why Olive Oil Stains Are Harder Than They Look

    Olive oil isn’t just another food spill. It’s a pure fat stain, meaning it doesn’t evaporate or dissolve in water. Instead, it seeps into fabric fibers and clings to them.

    Unlike tomato sauce or coffee, olive oil often looks faint at first. The real problem appears after washing and drying, when heat oxidizes the oil and turns it into a dark, set stain.

    That delayed damage is why olive oil stains feel “impossible” to remove. They aren’t impossible. They’re just misunderstood.


    The Two Golden Rules of Olive Oil Stain Removal
    Before touching any cleaner, lock these in:

    Rule one: Absorb first, clean second.
    Rule two: No heat until the stain is 100 percent gone. Break either rule and you make the stain harder to remove.

    Step One: Act Immediately on Fresh Olive Oil Stains

    If the stain is fresh, speed matters more than technique.

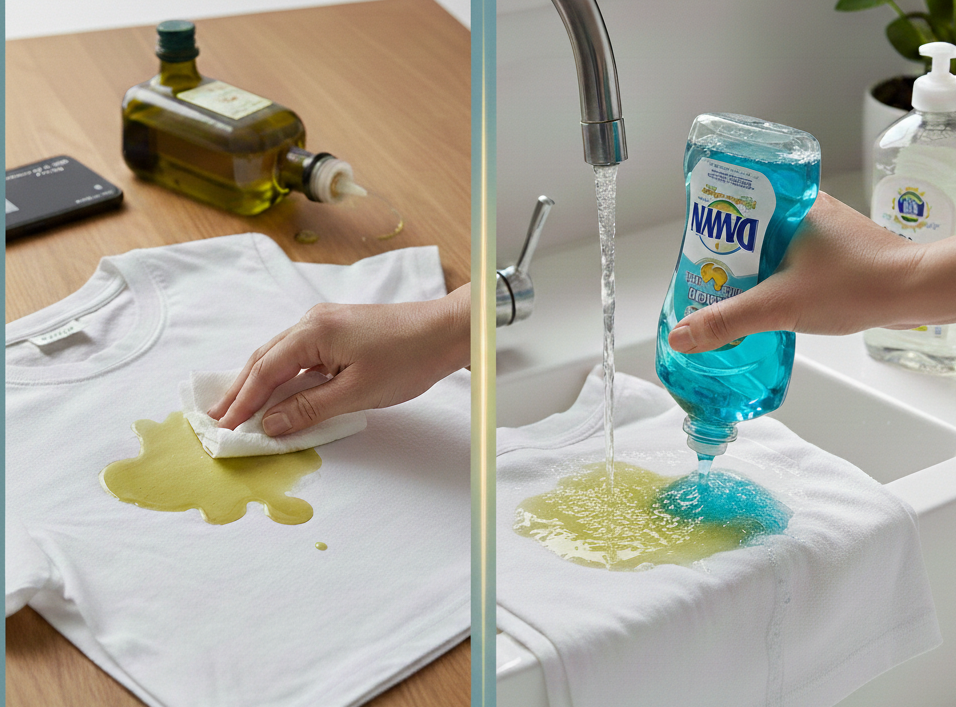
    Start by blotting the area with a clean paper towel or cloth. Do not rub. Rubbing spreads the oil outward and deeper.

    Next, apply an absorbent powder directly onto the stain. Baking soda, cornstarch, baby powder, or even plain flour will work. These powders pull oil out of the fibers.

    Let it sit for at least 15 minutes. For heavier stains, 30 minutes is better. Brush the powder off gently.

    At this stage, many stains already look lighter. Now you move to cleaning.

    Step Two: Break the Oil Bond With Dish Soap

    Dish soap is the most effective first-line cleaner for olive oil stains because it’s designed to dissolve grease.

    Apply a few drops of liquid dish soap directly onto the stain. Use your fingers or a soft brush to gently work it into the fabric. Focus on the fibers, not the surface.

    Rinse with cold water, flushing from the back of the fabric whenever possible. This pushes oil out instead of driving it deeper.

    Inspect the area closely. If the stain is still visible, repeat before washing.


    How to Remove Dried or Set-In Olive Oil Stains

    Dried stains are tougher, but not a lost cause.

    First, dampen the stained area with cold water. This rehydrates the fibers and loosens the oil.

    Apply dish soap or liquid laundry detergent directly to the stain. Let it sit for 15–20 minutes. Gently work it in, then rinse thoroughly with cold water.

    If the stain persists, move to an oxygen-based stain remover. These cleaners release oxygen bubbles that lift oil without damaging fabric.

    Repeat as needed. Do not dry until the stain is completely gone.


    Why Heat Makes Olive Oil Stains Permanent
    How to Get Olive Oil Out of Clothes

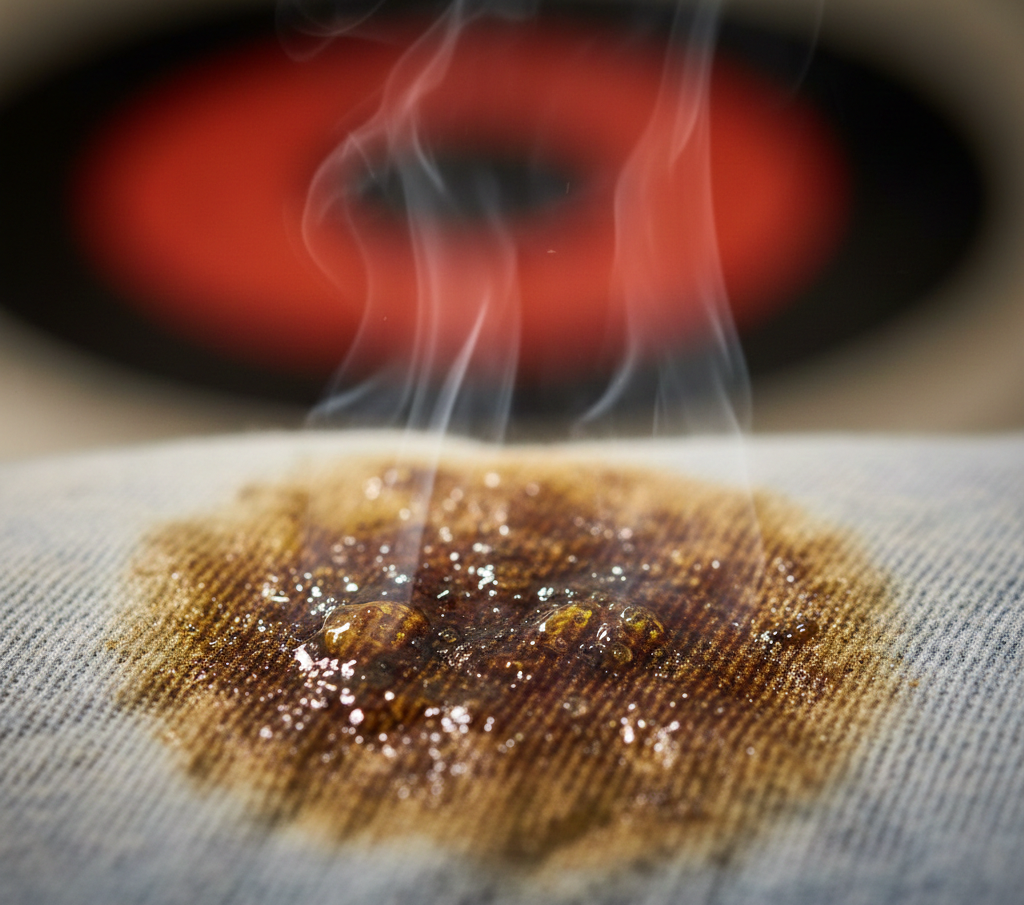
    Heat changes oil chemically. When olive oil is heated inside fabric fibers, it oxidizes and bonds to the material.

    This is why stains often appear faint before washing, then darken after drying. Once heat sets the stain, removal becomes far more difficult. Always air-dry stained garments until you’re certain the stain is gone.


    Fabric-Specific Olive Oil Removal Methods

    Cotton

    Cotton absorbs oil deeply but responds well to dish soap and oxygen cleaners. Multiple gentle treatments work better than harsh scrubbing.

    Polyester and Synthetics

    Synthetic fibers resist water but trap oil. Dish soap is especially effective here. Rinse thoroughly to avoid residue buildup.

    Denim

    Denim hides oil well but holds onto it. Treat both sides of the fabric. Avoid aggressive brushing that can fade the dye.

    White Clothes

    White fabrics allow stronger treatments, including hydrogen peroxide after degreasing. Always remove oil first. Whitening before degreasing locks stains in.

    Colored Clothes

    Stick to dish soap, liquid detergent, and color-safe oxygen cleaners. Avoid lemon juice or sunlight, which can fade dyes unevenly.


    Absorbents vs Detergents: When to Use Each
    How to Get Olive Oil Out of Clothes

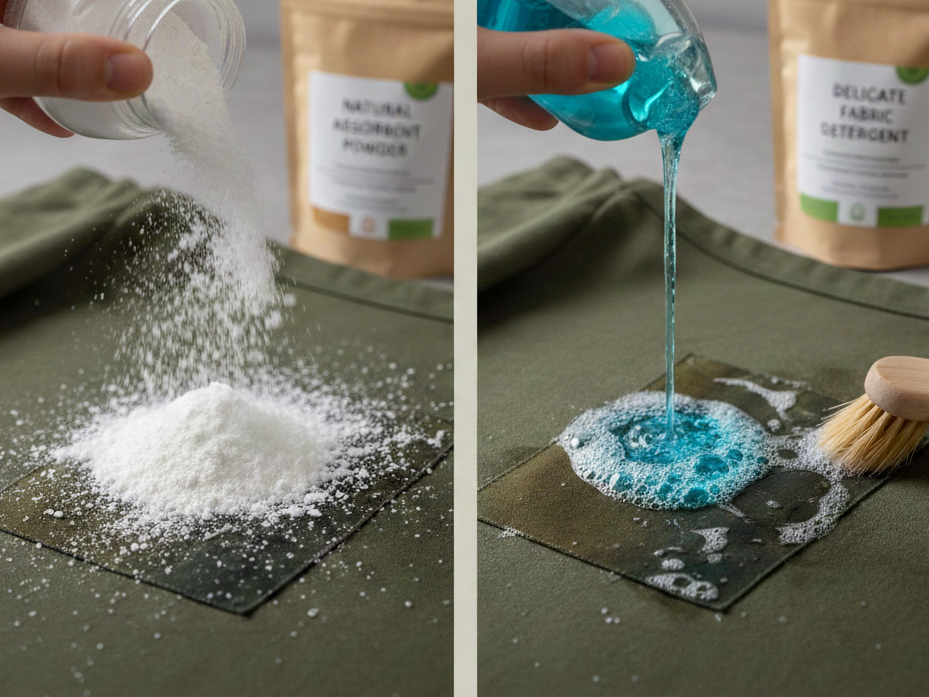
    Absorbents remove excess oil. Detergents remove oil residue.

    Using detergent without absorbing first often spreads the stain. Using absorbents alone may leave a shadow that darkens later.

    The most effective method always uses both, in the correct order.


    Common Olive Oil Stain Removal Mistakes

    Rubbing Instead of Blotting

    Rubbing pushes oil deeper into fibers and expands the stain.

    Using Hot Water Too Soon

    Hot water melts oil and spreads it before detergent can break it down.

    Drying “Just to Check”

    Dryers set stains permanently. Checking always comes before drying.

    Using Bleach on Oil Stains

    Bleach does not remove oil. It reacts with it, often turning stains yellow or brown.


    Natural Remedies: What Works and What Doesn’t
    How to Get Olive Oil Out of Clothes

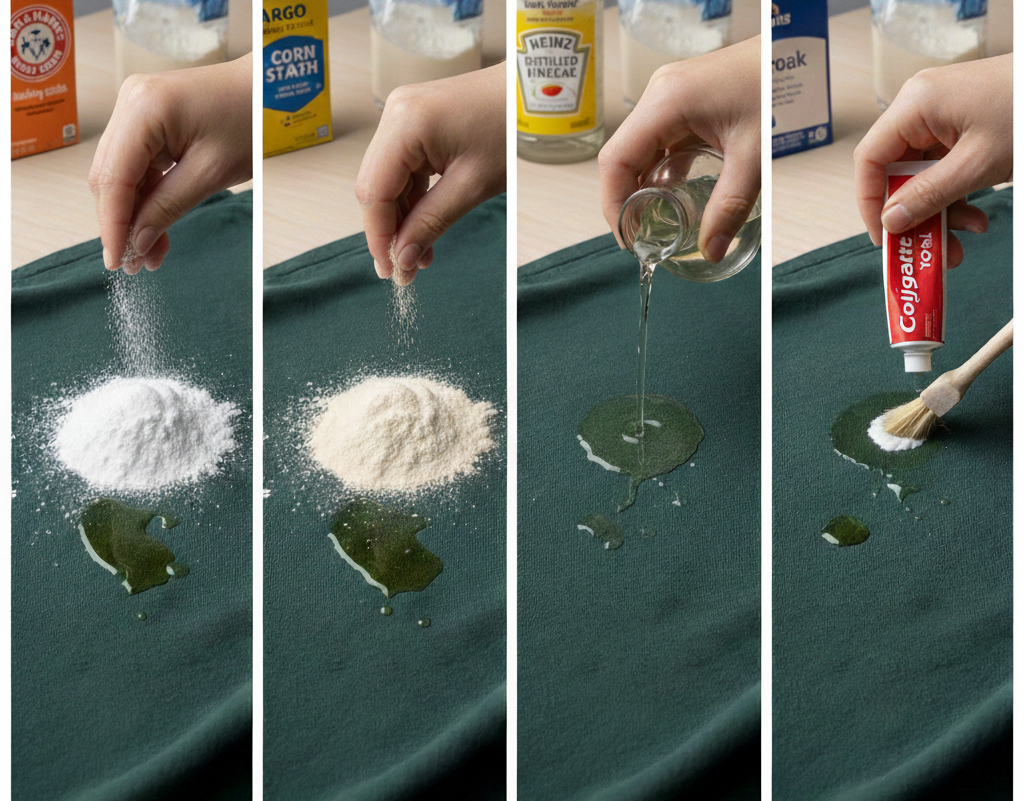
    Baking Soda

    Excellent for absorption, weak for cleaning. Best used before detergent.

    Cornstarch

    Highly effective at pulling oil out, especially on delicate fabrics.

    Vinegar

    Does not dissolve oil. Useful only after degreasing to remove soap residue.

    Toothpaste

    May help very light stains but inconsistent and risky on colors.

    Dish soap remains more reliable than most “natural hacks” because it targets grease directly.


    When Olive Oil Stains Can’t Be Fully Removed
    How to Get Olive Oil Out of Clothes

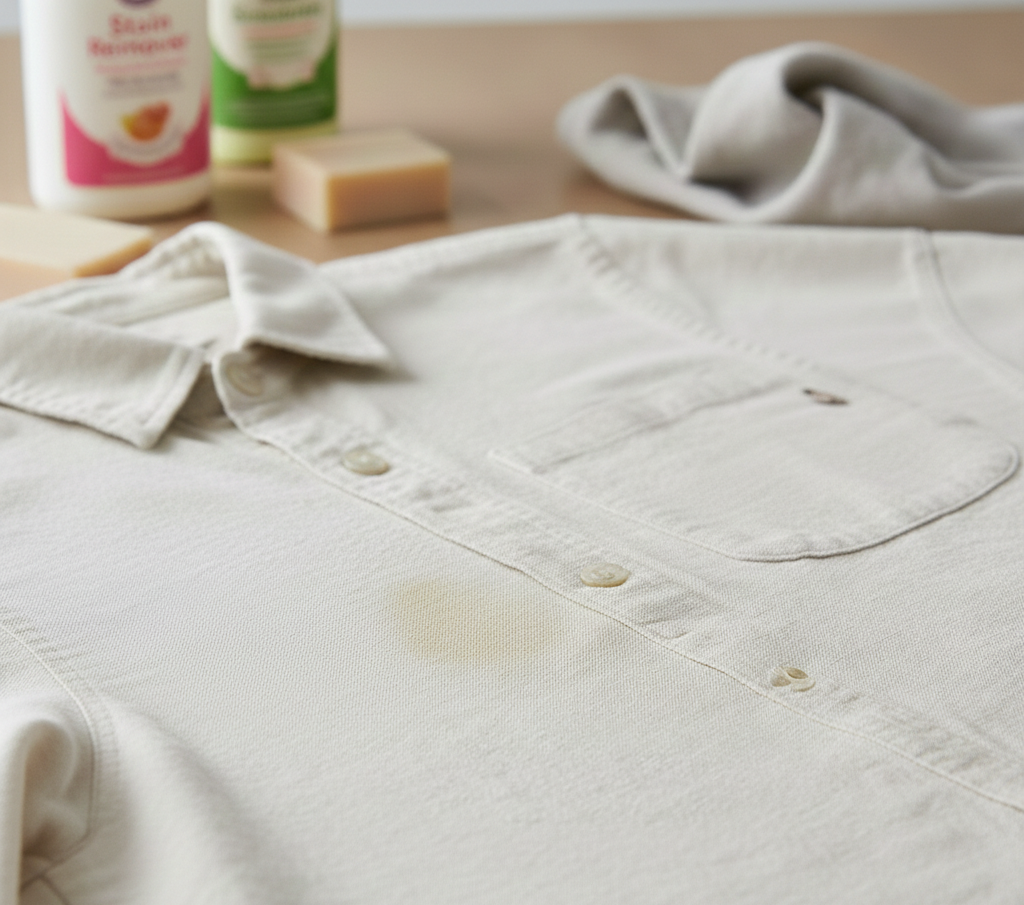
    Some stains have already been heat-set multiple times. In these cases, you may reduce visibility but not fully erase the mark.

    At this point, professional cleaners can use solvent-based treatments not available for home use. For valuable garments, this is the safest option.

    Long-Term Prevention Tips on How to get Olive Oil Out of Clothes

    Aprons prevent most kitchen oil stains. Acting immediately prevents nearly all permanent damage. Washing oily clothes separately avoids cross-contamination.

    The best stain is the one that never sets.

    Brand Authority Note

    Fabric-care guides like this reflect how Homeaholic approaches everyday household problems. The focus is accuracy, material safety, and methods that work consistently, not viral shortcuts.


    Final Takeaway on How to get Olive Oil out of Clothes
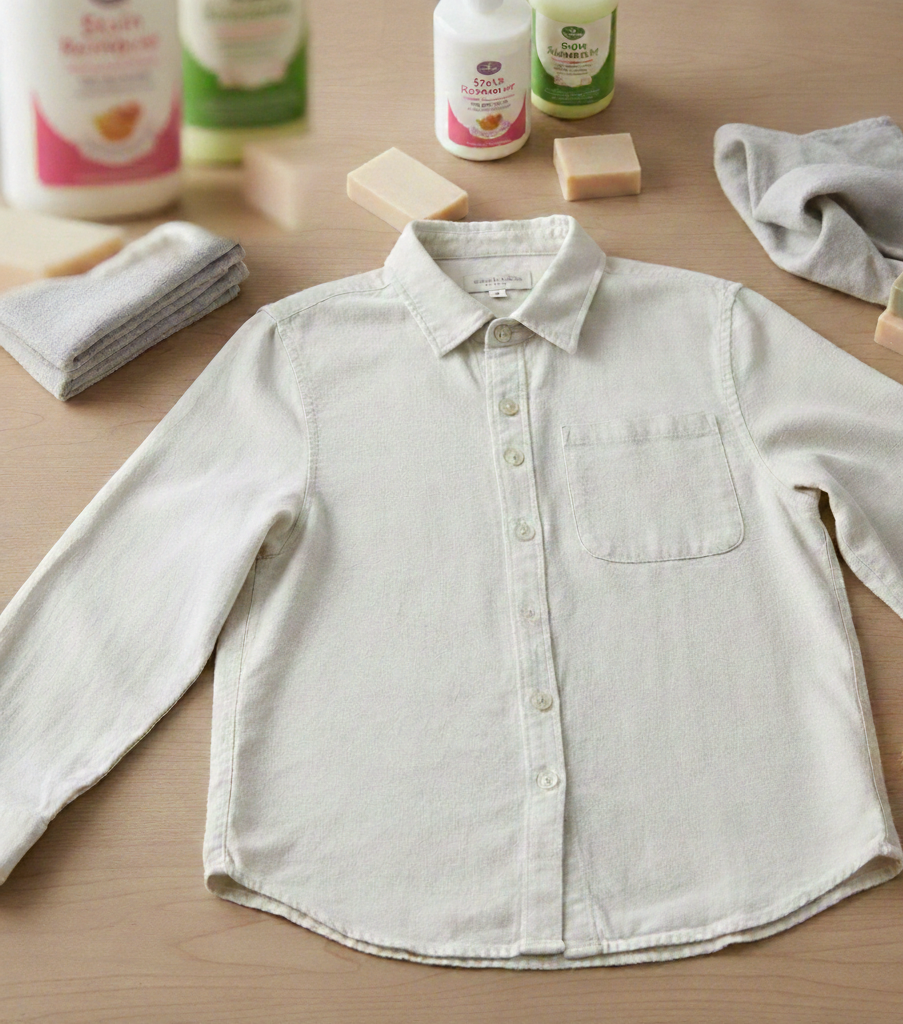
    How to Get Olive Oil Out of Clothes

    Olive oil stains don’t win because they’re powerful. They win because people rush, rub, and apply heat too early. Absorb first. Break the oil bond second. Wash cold. Dry last. Follow that order, and even stubborn olive oil stains lose their grip.

    Olive oil stains aren’t permanent if you act in the right order. Absorb excess oil first, then break it down with dish soap using cold water only. Never apply heat until the stain is completely gone, or it will set permanently. Patience and fabric-safe methods beat aggressive scrubbing every time.


    FAQ Section

    Can olive oil stains be removed after drying?

    Yes, but removal becomes harder after drying. Rehydration, dish soap, and oxygen cleaners can still lift many dried stains if heat exposure was limited.

    Does dish soap really work on olive oil?

    Yes. Dish soap is designed to break down grease, making it one of the most effective treatments for olive oil stains.

    Can baking soda remove olive oil stains completely?

    Baking soda absorbs oil but does not break it down. It should be followed by detergent for full removal.

    Is olive oil harder to remove than other oils?

    Olive oil behaves similarly to other cooking oils but often penetrates fabric deeply due to its viscosity.

    Why do oil stains reappear after washing?

    Residual oil oxidizes during drying, darkening the stain. This happens when oil wasn’t fully removed before washing.

  • How to Unclog Drain with Baking soda and Salt

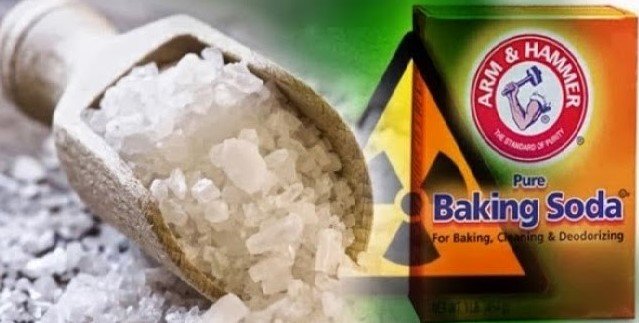
    Clogging may lead us to troublesome and shoot of blood pressure if not treated properly on time. The obstruction in the drain is a terrifying problem, however, it can be treated at home with certain remedies presented by some household experts. You might have heard about the unclogging process with a help of baking soda, and we are here to discuss the comprehensive drain unclogging process step by step. It is imperative to know how to unclog drain with baking soda and salt completely before you step in into this mission.

    How to Unclog Drain with Baking Soda and Salt

    How to Unclog Drain with Baking Soda and Salt

    How to Unclog Drain with Baking Soda and Salt

    Baking soda can work wonders on smelly and clogged drains. As we know there are many procedures to rid of this clogging problem with simple DIYs and other homemade solutions. Baking soda always proves best when it comes to cleaning almost anything at home. Most of the people don’t know, how to even use it other than baking cookies. Here we have discussed the uses and remedies by using both baking soda and salt for unclogging the drain.

    Are you suffering from some serious clogging issues on daily basis in your kitchen, bathrooms, and gardens? Here is a complete remedy to unclog the drain with baking soda and salt for a longer time period.

    Are you using the right proportion of baking soda in your cleaning mission?

    It is vital to know that you are using the proper amount of baking soda and salt at the same for cleaning purpose. Sometimes, mishandling of these both ingredients leaves disastrous results in the end. Make sure you know the right amount of both these agents prior to unclogging the drain.

    How to Unclog Drain with Baking Soda and Salt? Making Mixture

    How to Unclog Drain with Baking Soda and Salt? Making Mixture

    Well, this is a tricky task for a person who is performing this for the first time. If you are a new housewife and facing such terribly annoying issues daily, you must need to use this remedy to make some good impression to the other members of your family so that they feel and treat you well. When you do save some bucks by not calling a plumber, another feel as a good impression.

    acing such terribly annoying issues daily, you must need to use this remedy to make some good impression to the other members of your family so that they feel and treat you well. When you do save some bucks by not calling a plumber, another feel as a good impression.

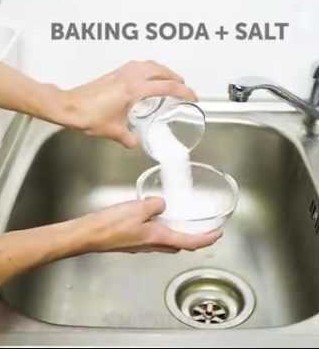
    So here we have an answer to your question. Make sure you find the reasonable and appropriate proportion of the baking soda and salt.

    • 1 cup of baking soda
    • ½ cup of salt

    Make a mix of both these ingredient and pour in the drain bowl and let it stay for several hours. If you are fixing your bathroom drain then do not flush the drain for at least 2 to 3 hours or maybe more, depends on the severity of the clog. If you are fixing your kitchen sink drain, you don’t have to use it for at least 2 hours. When the solution completed its time, try to pour the half bucket full of boiling water or less than boiling water into the drain and check if the water is draining properly or not.

    What’s the controversy in not using the baking soda and vinegar mix for unclogging the drain?

    We have heard different conspiracy for using these ingredients together to remove the clogs from the drains and somehow it proved right. We need to know certain facts about not to use this mix for clogged drains.

    Mostly, the drains are clogged with grease and oil residue in its pipes. So, we should know the reason behind the clogging of drain prior using our traditional method of unclogging the drain with baking soda and salt.

    An expert has performed an experiment by placing a cube of butter in two bowls each. She made a mix of boiling water and detergent and poured it in one bowl. Also she made a mix of baking soda and vinegar and poured it into a second bowl. She left the mix to stay for few minutes and the results started appearing, the butter cube in a bowl with a water and detergent mix starts dissolving. On the other hand, the cube in a bowl with a mix of baking soda and a vinegar didn’t show any change.

    Results of this Experiment?

    Results of this Experiment?

    Well, the result is so clear. We have seen the boiling water and detergent mix solution can dissolve the grease. We can simply unclog the drain with a help of this mix. While on the other hand, baking soda mix with vinegar proved nothing which means the drains can’t be unclogged with this mix. This solution only works well in case if we add an appropriate amount of salt in it.

    Advantages of Baking Soda

    • Baking soda when mixed other ingredient makes a perfect fighter combo to fight with all obstructions within the sink drains or any other clogs.
    • In the event that there are family individuals who are sensitive to the odors and other chemical processes, they won’t be influenced with cleaning mix of baking soda as it is chemical free and free of odor.
    • Using baking soda for unclogging drains can be agreeable to your wallet as well. Since you can use baking soda boxes for other multiple uses by storing certain things in it. This is the cheapest and easiest remedy which deals with almost any stubborn stain.
    • You can apply and try the above-mentioned home remedies for how to unclog drain with baking soda and salt and also countless other problems.
  • How to Clean Stove Top Burners

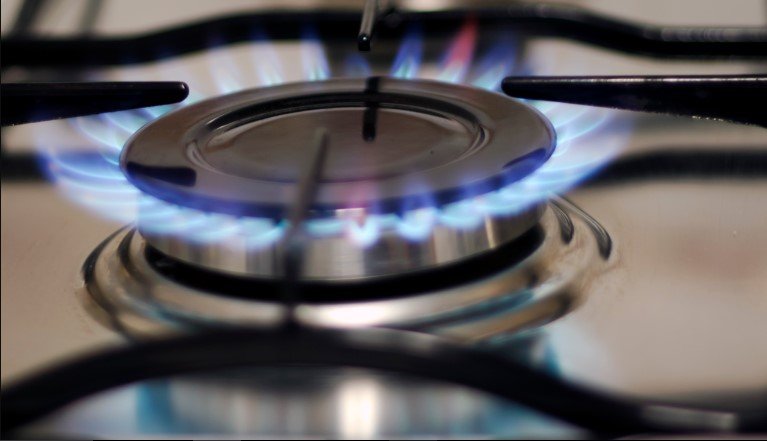
    In any of the kitchen, the toughest and the hardest cleaning job are cleaning the stove top burners. Over and over again food, filth, and grime get burned on the stove top burners. Sometimes it’s really hard to scrub on such kind of materials and material also resist against scrubbing. Your cooking is surely affected by the build up grease and food particles on the stove top burners. Stove’s efficiency will get increase and heat equally distributes if your burner is clean. So., the question is how to clean stove top burners?

    How to Clean Stove Top Burners

    How to Clean Stove Top Burners

    How to Clean Stove Top Burners

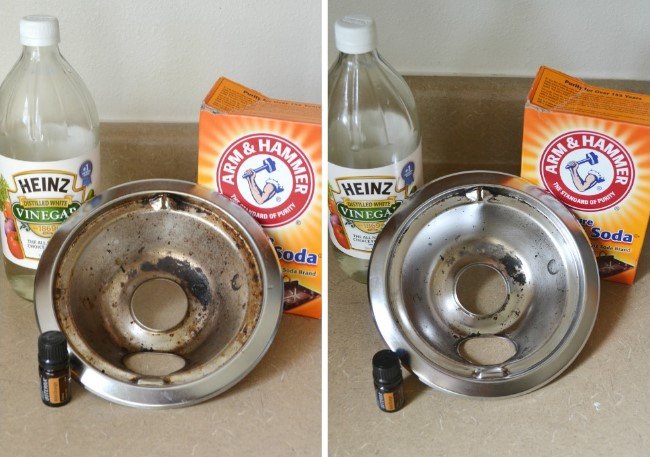
    You can clean your stove top burner by using some specific methods and products. But it depends on how you clean stove top burners. Some of the materials can easily be removed, in case if you clean the stove top burners on a weekly or on the daily basis. But if it takes long to clean them, then, for deep cleaning proper procedure is required to remove the stubborn grease, grime, and food. Here are some very effective ways to clean stove top burners.

    How to Clean Stove Top Burners

    How to Clean Stove Top Burners by using Dish Soap and Baking Soda

    How to Clean Stove Top Burners by using Dish Soap and Baking Soda

    Things Required

    • Dish soap
    • Baking soda
    • Water
    • Dishrag

    1.In the first step, the stove top burner should be totally cool. After that, remove burners from the top of the stove. Most of the stove burners slide out through a simple jerk and can easily be lifted from the joining point.

    2.Now, you need to use some amount of mild dish soap and a cloth plus water. Then, you have to rinse or wash any of the remaining from the coils of the burner. Make sure that any portion of the electrical connection does not get wet plus do not submerge or sink whichever portion of the burners.

    3.If any of the food remaining or grime are not coming out or loosen down by using a mixture of water and soap. Then, you can use another procedure by making a paste of water and baking soda. After that, put it on the tough and hard spot or stain. Then, allow it to sit for at least 20 minutes. After this, you have to scrub it and wash or rinse the burner.

    4.When you are trying to replace or change the burners, you will have to ensure that burners are totally dry.

    How to Clean Stove Top Burners with Vinegar

    How to Clean Stove Top Burners with Vinegar

    Things Required

    1. Vinegar
    2. Clean cloth

    You can easily remove the grease stains from the stove top burners by using vinegar and it’s for the daily care and maintenance.

    •Spray vinegar on the stove top burners. And then, let it stay for about 10 to 15 minutes.

    •Then use a clean cloth to wipe it down.

    Always remember this procedure is effective for continuing care and maintenance as it stops grease and grime to bake in.

    How to Clean Stove Top Burners by using Baking Soda and Salt

    How to Clean Stove Top Burners by using Baking Soda and Salt

    In this procedure blend one tablespoon of salt along with one tablespoon of baking soda. Then, add some water to make a paste. Now, dip a cloth in the mixture of salt and baking soda and scrub away the gunk, grime, and grease.

    How to Clean Stove Top Burners using Olive Oil or Vegetable oil

    How to Clean Stove Top Burners using Olive Oil or Vegetable oil

    In this procedure,  pour a little amount of olive oil or vegetable oil on the stove top burner. Then, use a clean cloth and scrub the oil on the grime and grease. At the end, you need to spray it down with the help of multipurpose cleaner.

    How to Clean Stove Top Burners using Baking Soda and Hydrogen Peroxide

    How to Clean Stove Top Burners using Baking Soda and Hydrogen Peroxide

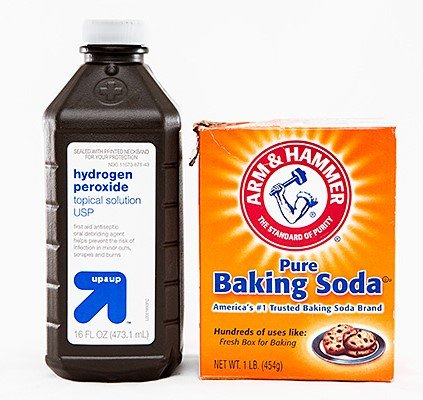
    This is really an effective and a power pack procedure. With this process, you can snub and discard any of the remaining’s on the stove top burner. You just need to sprinkle or scatter the baking soda on the complete surface. Then, you need to drizzle by using peroxide. It will break down all the grime and grease and give the stove top burner a great shine. Just wash it and when the grime and grease are removed, let it dry for a while.

    How to Clean Stove Top Burners using Lemon and Baking Soda

    How to Clean Stove Top Burners using Lemon and Baking Soda

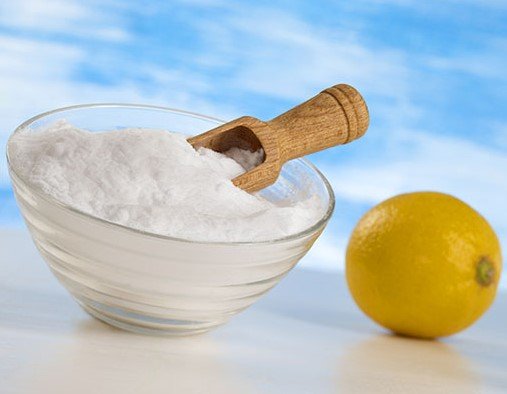
    Lemon consists of natural grease cutting features while the baking soda consists natural antibacterial and antiseptic characteristics. Baked on grease and stains can be removed with the help of baking soda as it is comprised of tremendously fine particles. You just need to scatter some amount of baking soda on the stove top burner. After that, take a lemon slice and rub the surface. Wipe away the area to eradicate any leftover particles of baking soda and pulp of lemon, using a wet cloth.

  • How to Remove Water Stains From Wood

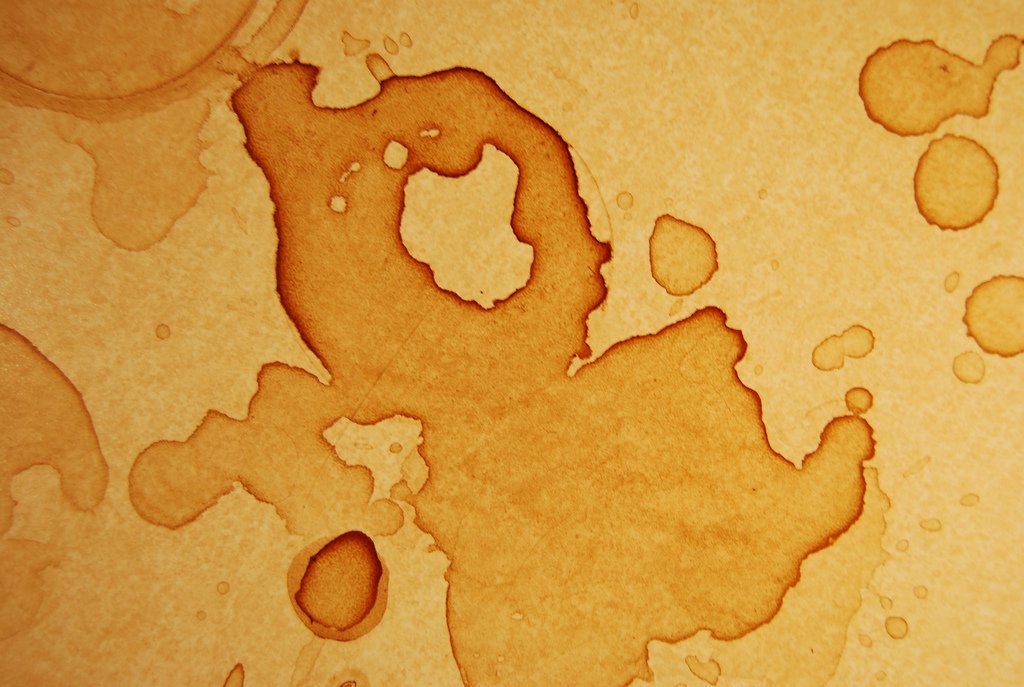
    Different stains remain on wood due to various reasons like steam or liquid. They generally appear in light colored or white. It proves that it is not able to penetrate more deeply and intensely rather than through the polished or waxed surfaces. When the stains become dark then, it basically indicates that liquid penetrates and enters into the finished wood and even it can penetrate through the wood itself. So the question is how to remove water stains from wood.

    how to remove water stains from wood

    How to Remove Water Stains From Wood

    How to Remove Water Stains From Wood

    The most common mixtures and cures that need less money and less time are followings.

    How to Remove Water Stains From Wood with Baking Soda

    How to Remove Water Stains From Wood with Baking Soda
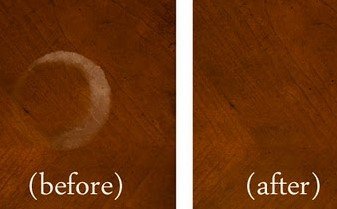
    Most of the white marks on the coffee table and on additional wooden tables are caused by sweating glasses and hot cups. Such marks can be removed by taking one tablespoon of baking soda and one tablespoon of water. Make a paste of the two ingredients. Then you need to softly rub that specific affected area in a circular manner till it vanishes. Always remember there is no need to use much water.

    How to Remove Water Stains From Wood with Petroleum Jelly

    How to Remove Water Stains From Wood with Petroleum Jelly

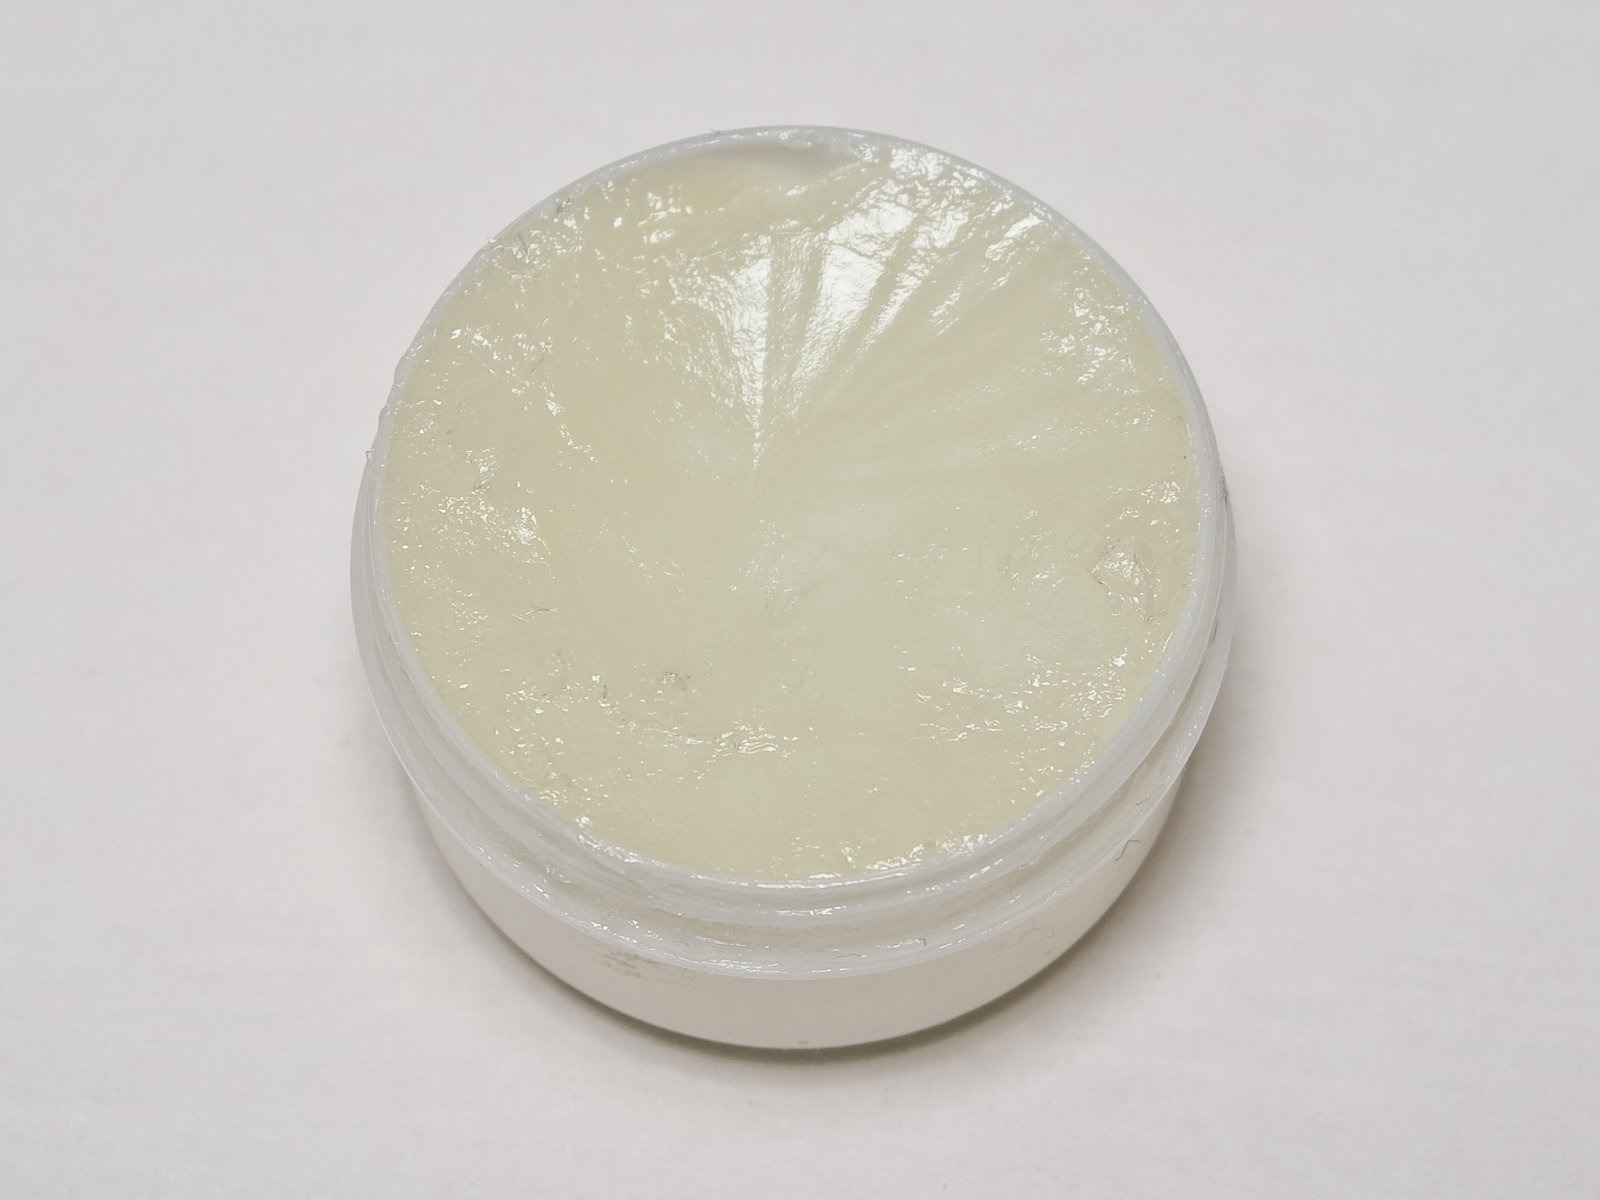
    Many of the watermark rings can be created on the wood furniture due to different reasons. In order to remove all the stains and rings, you need to put on the petroleum jelly and left it all the night. Then, in the next morning, you need to wipe out all the watermark stains with the jelly and with the help of a soft cloth.

    How to Remove Water Stains From Wood with Salt

    How to Remove Water Stains From Wood with Salt

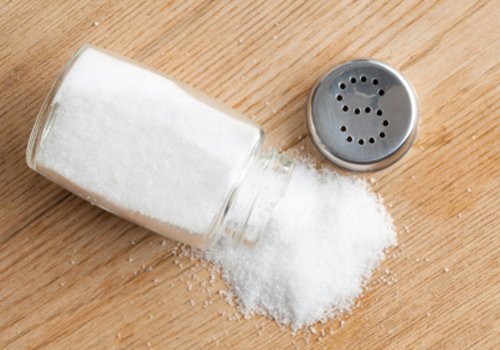
    Watermark stains that are created with the bottles and glasses can be removed by making a mixture or a paste of one tablespoon of salt and few drops of water. Take a soft cloth or a sponge and softly rub that paste on the watermark rings and rub till all the water stains disappear. It will also reinstate the glow and shine of the wood.

    How to Remove Water Stains From Wood with Toothpaste

    How to Remove Water Stains From Wood with Toothpaste

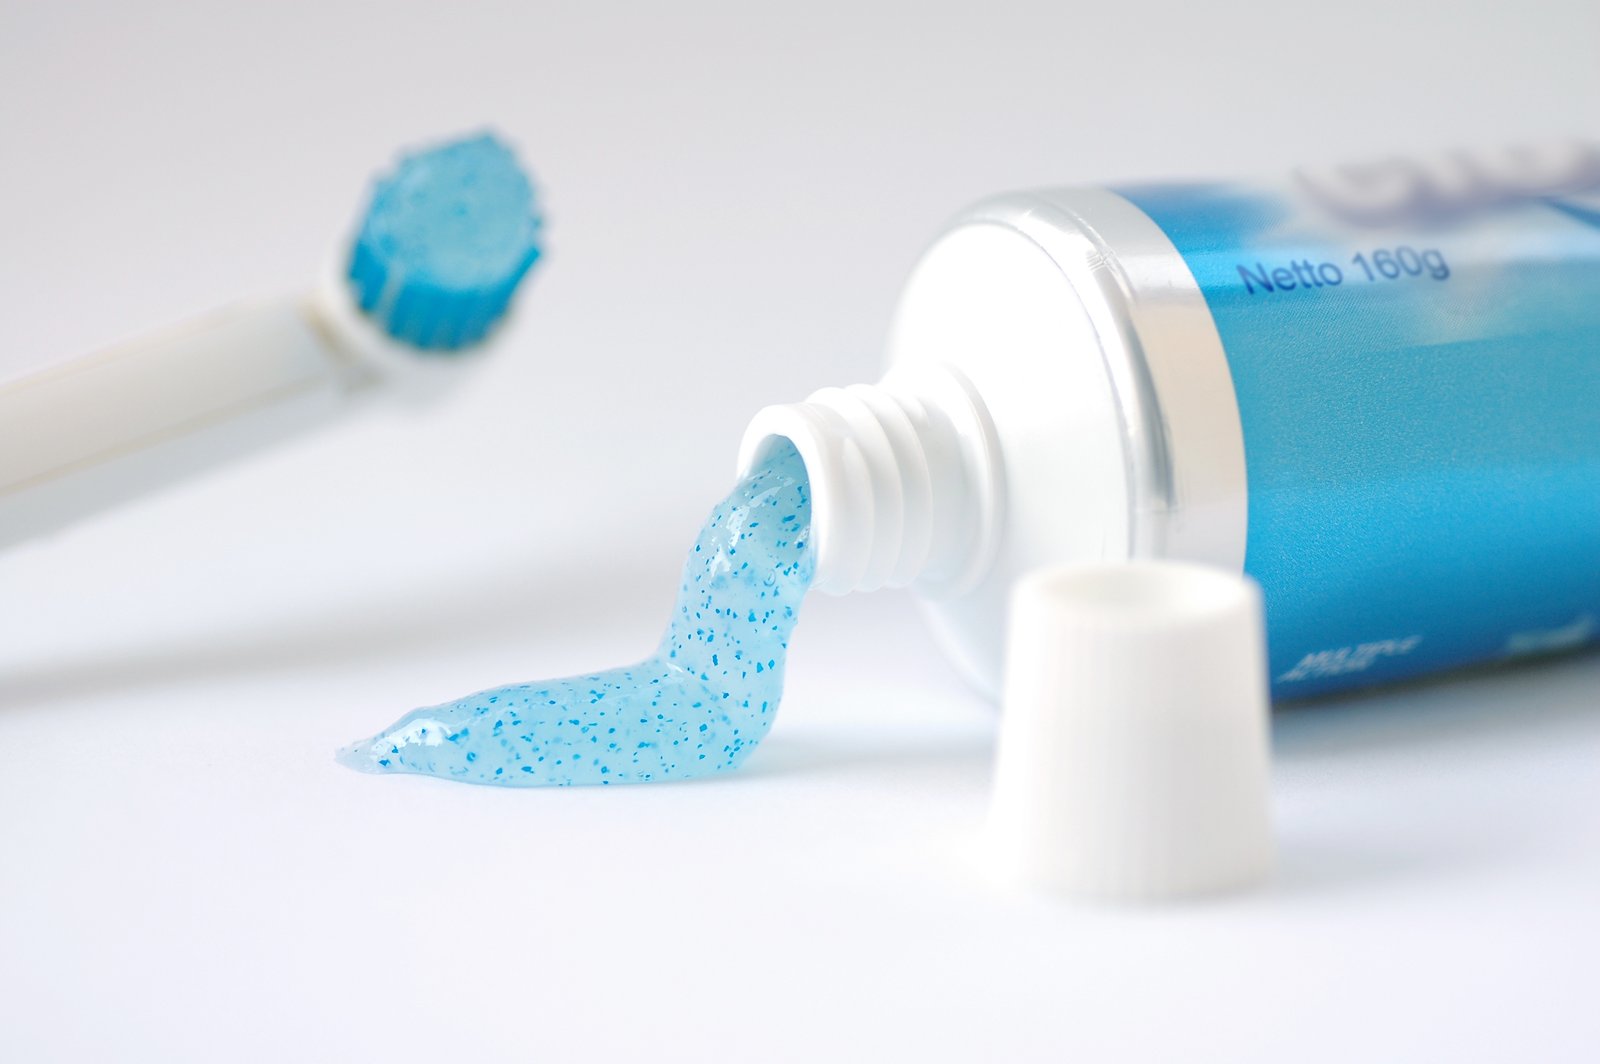
    To get rid of all the watermark stains and rings created by sweating drinks and beverages, you need to take a soft cloth and a non-gel toothpaste. Apply the non-gel paste on the soft cloth and gently rub that soft cloth on the affected area. After that, take a damp cloth and wipe it off and let it for some time to dry. For better and stronger results, you can mix baking soda with the white toothpaste in equal quantity. Now, you need to rub that mixture in the parallel direction of the wood. Wipe it off and after that polish it with the help of lemon oil.

    How to Remove Water Stains From Wood with Vinegar

    How to Remove Water Stains From Wood with Vinegar

    Wet glasses leave ugly white watermark rings on the wood. In order to remove them, you need to mix olive oil with the vinegar in equal quantity. Take a soft cloth and apply the mixture with that cloth, however, moving through the grains of wood. Take another soft cloth to add extra shine to the wood.

    How to Remove Water Stains From Wood with Car Wax

    How to Remove Water Stains From Wood with Vinegar

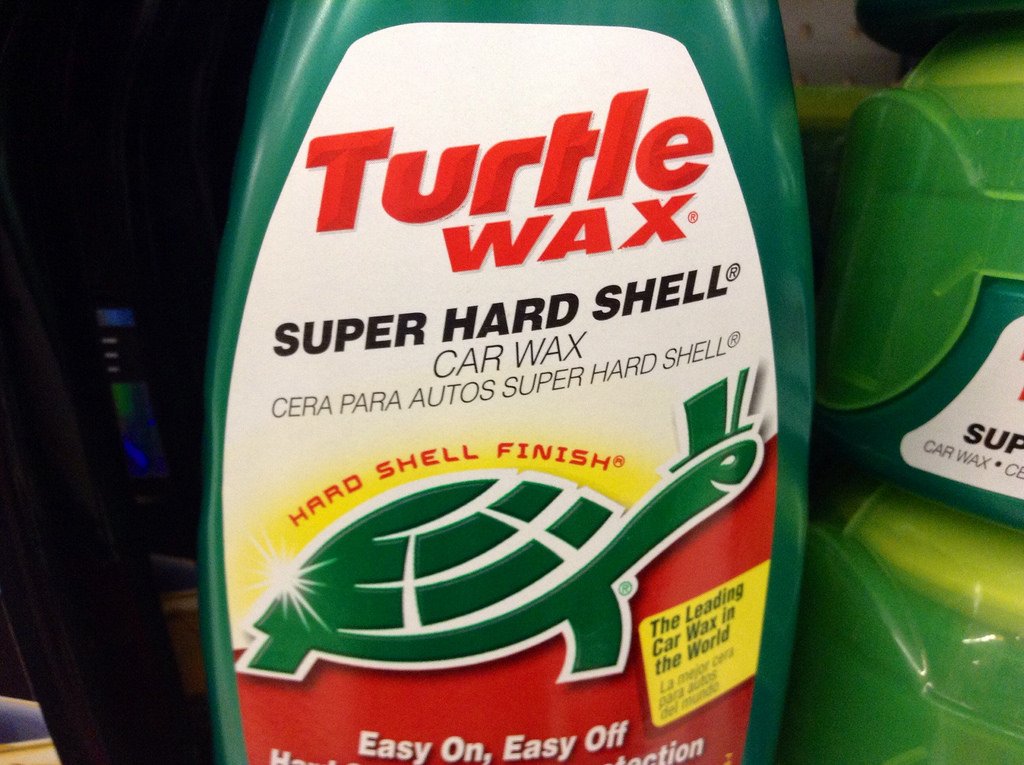
    Car wax can also be used to remove the nasty white watermark rings. Whenever regular and normal polish does not work well, then, you can use a dab of car wax. Use your finger to put on the wax in order to trace the ring. Then leave it to dry and after that, use a soft cloth in order to buff it.

    How to Remove Water Stains From Wood with Mayonnaise

    How to Remove Water Stains From Wood with Mayonnaise

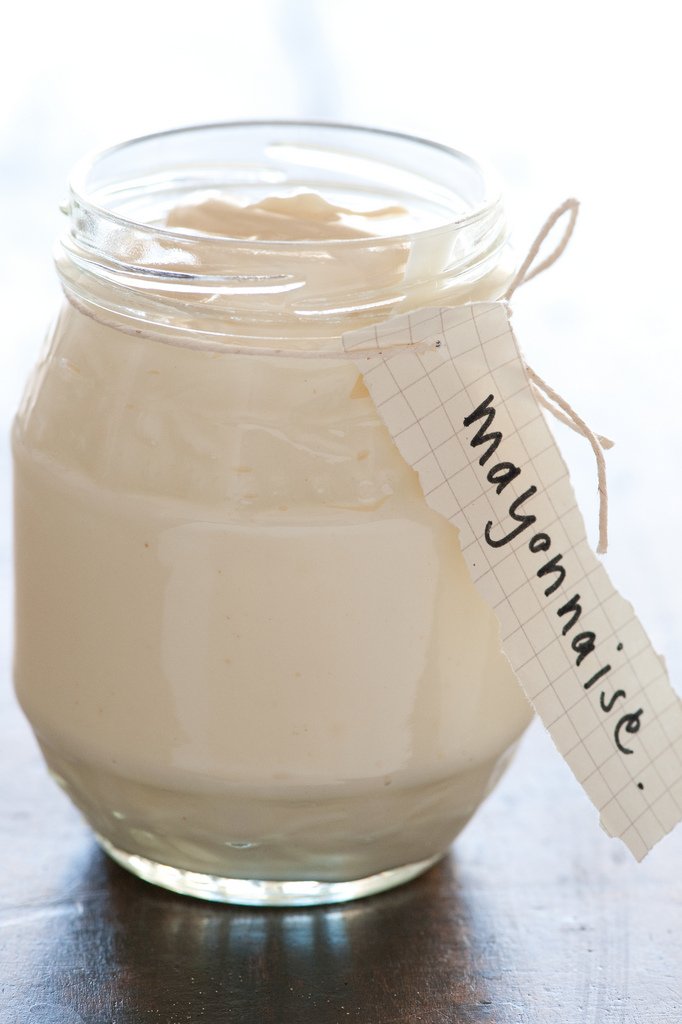
    Watermark stains can also be removed with the help of mayonnaise. You need to put on the mayonnaise onto the watermark stains. Let it sit for the whole night. Next morning, take a thick cotton cloth in order to wipe it away.

    How to Remove Water Stains From Wood with Ashes

    How to Remove Water Stains From Wood with Ashes

    Cigarette ash or cigar ash can be also used to remove the water stains from the wood. These ashes will buff in the watermark stains with the help of a soft cloth.

    How to Remove Water Stains From Wood with Ashes