Blog

  • How to Clean Sticky Iron Plate

    The sticky iron plate is a serious trouble if you are an office going person. Because you need to press your clothes every morning and one simply can’t afford a sticky iron plate. Most of us, starch sprays on our clothes which often cause stains and sticky material on the plate of an iron. You can easily get rid of this problem if you clean your iron plate sole regularly. Without bothering this problem anymore, we have discussed below that how to clean sticky iron plate by using different cleaning techniques.There are different methods involved in wiping off sticky material from the iron plate. Find out home remedies for the best results.

    How to Clean Sticky Iron Plate

    How to Clean Sticky Iron Plate
    Precautionary Measures

    Before you start the cleaning process, make sure you have unplugged every connection of your iron and set it cool if used recently. Iron is hot while using so it is important you set it completely cool before you start this process. Water and electricity has a terrible relation and turns into horrible and deadly outcomes. Precautionary measures need to be applied strictly.

    Remove Sticky or Burned Material First

    Before you land for the cleaning process remove sticky material from the bottom of the iron with the help of tweezer. If you failed to remove every piece from the iron plate, it will not work properly as it should be. Take care to remove all the material and then clean the scorched iron with one of the following techniques.

    How to Clean Sticky Iron Plate With Hydrogen Peroxide

    How to Clean Sticky Iron Plate With Hydrogen Peroxide

    Usually, this strategy used best to clean the sticky iron plate. The process is simple and can be performed easily. You need to dump your rag cloth in hydrogen peroxide and spread it on the affected area of the iron. Let it stay for 15 to 20 minutes until stain marks remove completely.

    How to Clean Sticky Iron Plate With Vinegar mix

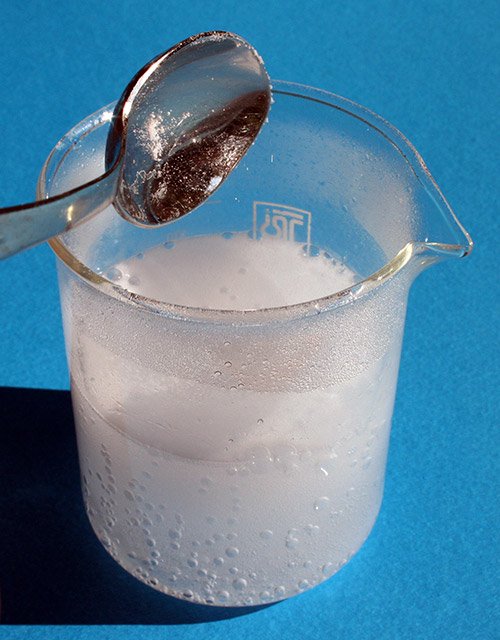
    Vinegar has always been a magical mix to clean almost every residue and grime from different items. This ingredient has a bleaching agent which is helpful to simply clean bowled the stains and different sorted marks. For cleaning sticky iron plate, you will need vinegar and water mix, the amount of vinegar must be quite more than a water so that it affect better.
    How to Clean Sticky Iron Plate With Vinegar mix

    Make a mix and damp a rag cloth in it and simply rub that cloth on the surface of the iron plate. You can apply force wherever necessary. If the stains and the sticky material is stubborn and hard to remove with rag cloth, steel wool works as a substitute and can remove all the unnecessary material from the iron.

    How to Clean Sticky Iron Plate With Glue Remover – Xylene Based

    To get rid of gluey material from your iron plate, it is best you go professional. Glue removers are accessible in different supermarkets and are the best remedy to overcome this problem. Use it as per product’s guide and follow the instructions accordingly. This is quite toxic and highly flammable so it is better you handle it carefully for the stubborn stains.

    How to Clean Sticky Iron Plate With Toothpaste

    How to Clean Sticky Iron Plate With Toothpaste

    Toothpaste is another great source of letting hard stains down and vanish forever. This product has also cleaning agents in it which removes bacteria and stains from the item just like it performs on teeth. Take a strong toothpaste and a brush, make sure the iron plate is cold enough and cause any harm. Apply toothpaste on the affected zone and brush it all over the plate and let it stay for 10- 15 minutes until the stains are removed and sticky material pulled off. Now wipe it off with a help of the newspaper and apply wherever is necessary.

    How to Clean Sticky Iron Plate With Clothing Detergent
    How to Clean Sticky Iron Plate With Clothing Detergent

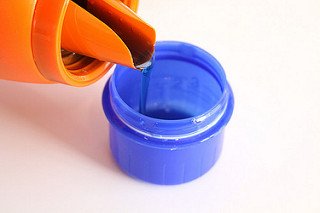
    If your iron has a nonstick soleplate, then you have the choice of cleaning the imprints with somewhat liquid detergent. Just include a drop or two of cleaner in a little bowl with warm water. Next, plunge a colorless fabric into the arrangement and scour the sole plate. At long last, dry the base of the iron with a towel before using the iron.

    How to Clean Sticky Iron Plate With Dish Soap

    How to Clean Sticky Iron Plate With Dish Soap

    if you are using steam based iron, you may experience troublesome as stains and sticky material usually blocks the vents. To overcome this problem, mix water, and some mild dish cleanser, for example, Ivory, to make a foamy blend. Dunk cotton swabs into the cleaning mix and rub on the burned sole plate and in the filthy vents. Once the stains are gone, utilize a spotless fabric to dry the iron.

    Precaution is the Key

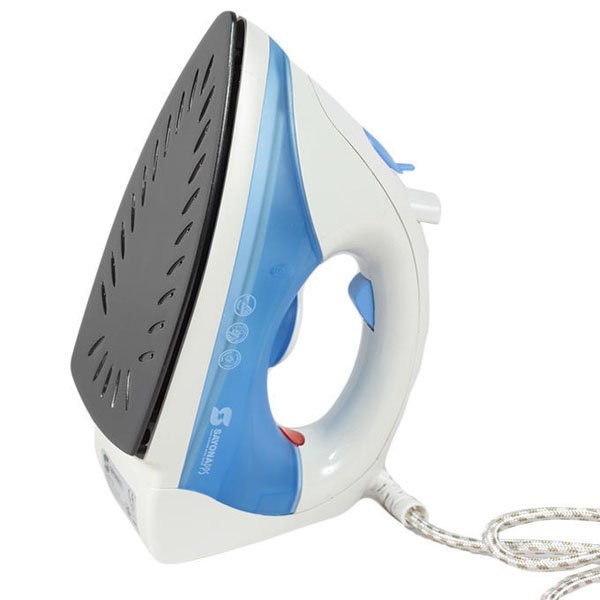
    Preceding trying different things with any of the previously mentioned cleaning procedures, it is a smart thought to peruse the iron’s manufacturer’s manual first. The maker may have extra tips on the best way to expel singe marks. Moreover, the guidelines may likewise highlight a list of the cleaning process and its tools that are not prescribed for use on your iron.
    Precaution is the Key

    One of the ideal approaches to dodge the cleaning process of your iron is to never turn it on and abandon it unattended. Not understanding how hot an iron is the point at which you press the garments, clothes or different materials is a certain heat temperature to inadvertently sing a sole plate. Additionally, to keep your iron fit as a fiddle, make certain to clean it all the time to keep materials from working up and stopping up vents. Try not to go for off the racks cleaner instead make home remedies possible first for natural results.

  • Carpet Cleaning Hacks

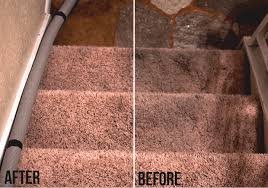
    Carpets are amongst the most used things in our homes. Their elegant appearance adds a lot to the beauty of the house. But they need to be properly cleaned for good appearance and performance. Here are best carpet cleaning hacks that will help you to keep your carpet clean and also improve their lifetime.

    Carpet Cleaning Hacks

    Carpet Cleaning Hacks

    1.Remove Furniture Indentations or Holes with an Ice Cube

    You have surely noticed while reorganizing your furniture that some of the indentations and holes are left behind in the rugs or carpets. You can bring carpet back to life and you can also get rid of such kind of holes and indentations. Just place a single piece of an ice cube in a hole or indentations and let it melt.

    Remove Furniture Indentations or Holes with an Ice Cube

    When the ice cube melts, use your fingers to brush the fibers of the carpet. Don’t use a scrub brush as it can be extremely harmful, damaging and abrasive for your carpet. When the carpet is totally dry, then vacuum and clean the dry area. So, no need to worry about changing the spot of the furniture. Make sure not to drag your furniture across the carpet as it may cause ripples.

    2.Roll up Your Rug to Prevent Color Change

    You should be aware of the fact that if you are using a hardwood flooring so it is constantly going through the color transformation. The natural wood floor’s color will continually be changed if it is constantly exposed to air pollutants, ultraviolet rays, traffic and direct sunlight. Wood floors with darker colors will not show the change of the color as compared to the lighter wood floors. But the change of colors will happen in both kinds of colored natural wood floors.

    Roll up Your Rug to Prevent Color Change

    The colors of the hardwood floor are prevented from sunlight, air and ultraviolet rays when rugs or carpets are used to cover the wood floor. After some time, the color of the wood around the rug will be changed and after removing the rug or carpet,  the wood’s color will be nearer to the original color of the wood.  Thus, when you are away from your home, you can remove the rugs from that area in order to minimize and decrease the effect, for instance when you are going on holidays.

    Curtains and blinders of your room will remain open and you need to roll up the carpet or rug and place it away. In this way, air and light will reach that particular area of the wood floor and by this, the change of the wood color will be decreased and reduced. This idea will help you to keep your hardwood floor area evenly colored whenever you need to remove the rug completely or you want to change it.

    3.Turn Your Carpet or Rug to Avoid Traffic Patterns

    We mostly use the similar pathways to walk in our houses. For instance, most direct and the shortest path will be chosen by us to go from one point to another point and we normally use the hallway’s center to walk down. Thus, it is an obvious thing that there are some specific areas on our carpets or rugs on which we regularly and frequently walk and after some time we can easily see the signs of our footsteps.

    Turn Your Carpet or Rug to Avoid Traffic Patterns

    So, to avoid or reduce this thing, we need to spin our carpet around 180 degrees in every six months. You can also do the similar thing with the mattress. Rotating the carpet will help you to reduce and decrease your traffic paths across the carpet or rug.

    4.Buy Extra Carpet for Your Stairs

    Stairs are the basic point in all the homes with the highest traffic at all the times. Thus, it is obvious that the carpets on the stairs will age quickly than other area carpets and even you need to replace them. On the other hand, no one can guarantee that the new rug or carpet will last for at least five to ten years to match and resemble the remaining areas.

    Turn Your Carpet or Rug to Avoid Traffic Patterns

    Buy at least two rugs or carpets for your staircase and roll up. Reserve the second piece of rug or carpet in a dry and dark area. Buying another carpet for the stairs will not cost more as stairs cover less space and need a small length carpet. So, it will be easy to replace only the stair carpet if it became worn and damaged rather than replacing all the carpets in the home.

    5. Sprinkle Baking Soda to Remove Odors

    This tip is not new and many people be aware of it, but it needs to be mentioned as it is extremely effective. As it’s a common knowledge and we all know that odors or smells can be absorbed by baking soda.

    So, whenever you want to remove the smells or odors (from cooking, pets, and smoke etc.) from your carpet, just sprinkle or scatter a specific amount of the baking soda on the whole carpet. Then leave the carpet or rug for few hours. To remove the baking soda and odors you need to just vacuum the carpet or rug thoroughly.

  • How to Distress White Furniture

    Furniture makes your home looks good, it gives you comfort and keeps your home well organized. The only thing furniture demands from you in return is to take good care of it. Furniture is hard to take care of, every once in a month it needs polishing and repairs which cost a lot of money especially white furniture which requires a lot of maintenance. Do you know how to distress white furniture easily at home? Distressing white furniture can be a difficult job, it takes a lot of efforts and a little mishap can cost you a lot. Distressing means taking off the white paint on your furniture which seems an easy job but it can be difficult at times. You can do it yourself if you want to through some easy and less time-consuming ways.

    How to Distress White Furniture

    Paint Remover

    Paint Remover

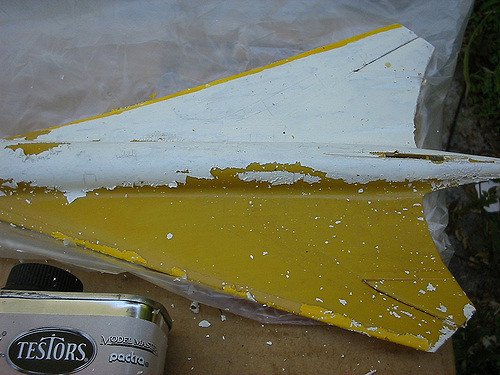
    This technique helps if the furniture has been painted on before. Simply what you to do is apply the paint remover on the piece of furniture and wait according to the amount of time mentioned in the instruction manual than using the scrapper, scrap the paint off easily and keep doing this until you achieve the desired look.

    Brushing

    Brushing

    Dry brushing your furniture is probably the easiest way to distress your furniture. The best part is it takes the least amount of resources. Take a dry brush and start brushing your piece of furniture, then wipe off the remaining paint on the furniture with a hand towel. This may not be that effective, you probably would have to put some hard work and a large amount of time to get the desired result.

    Sand Paper

    Sand Paper

    Effective and simple, sandpaper can help you distress your furniture with little effort and time. All you have to do is rub sand paper over the piece of furniture until you get the desired look. It has an advantage over the other ways that it will give you an original look like the furniture has worn out over time by its own.

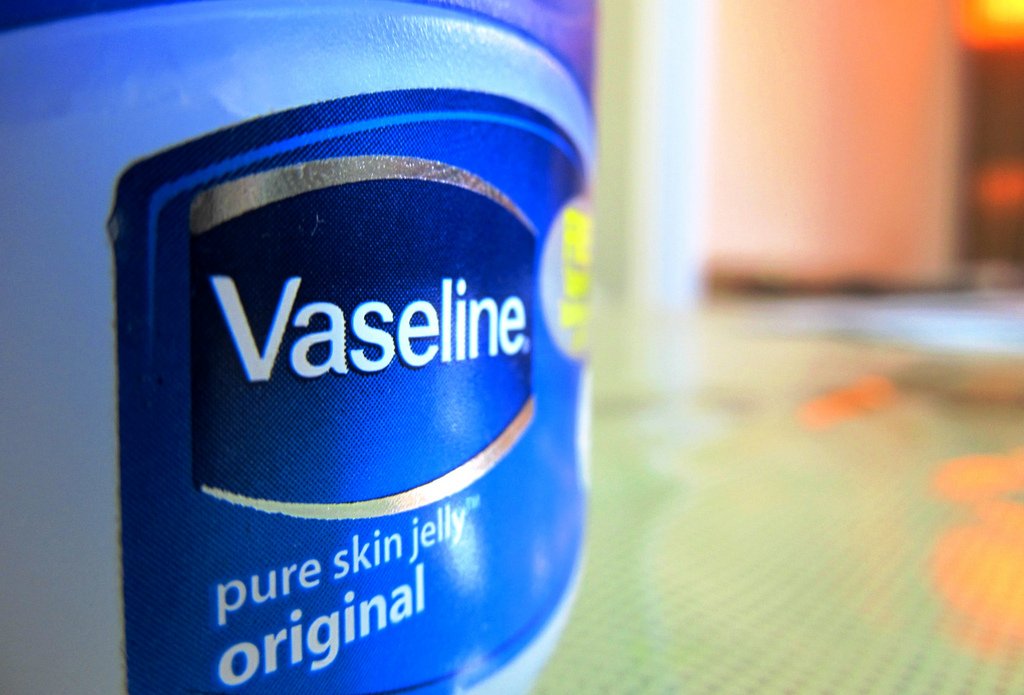
    Vaseline

    Vaseline

    Vaseline is usually available in your home and in addition to sand paper does wonder in distressing your furniture. Petroleum jelly can help expedite the process of sanding so just paint the piece of furniture with Vaseline and in the end use sandpaper to rub off the Vaseline, giving you an original looking distressed piece of furniture easily and with consuming less time than the other ways.

    Antiquing Glaze

    If you are looking for an easy way out then antiquing glaze would be the best product for you. Just paint over the desired piece of furniture and instant you would have a naturally aging paint job. If you are looking for originality then this is the quickest and easy way to do it.

    Chalk Paint

    Chalk Paint

    It’s the least troubling way to get your furniture distressed. It is a product that gives you that antique look in minutes and the incredible thing it that the more you make a mistake while applying it the better because it would give you an authentic look.

    Milk Paint

    Milk Paint

    It comes in a powder form. You need to add water to make a solution and apply over the furniture. This product gives you incredible results and the amazing thing it is that you can get as much creative with as much as you want.

    Wet Distressing

    This technique is useful when you are putting on a second coat of paint over your furniture over your piece of furniture. It is very easy to use, all you have to do is after you have put on the first coat and it has rested for a while then grab a wet towel and rub it over the piece of furniture, make sure you apply a little pressure to take the paint off.

    Vinegar

    Vinegar

    Vinegar can help you create that worn out look you want. All you have to it take a dry piece of cloth and fill up a spray bottle with vinegar. Just spray the vinegar onto the piece of furniture and wipe it off with the dry piece of cloth. It depends on the desired look you want and the number of coatings of paint applied over the piece of furniture. It is an amazingly cheap way to distress your furniture. Because vinegar is usually available in your daily kitchen so additional supplies are needed for this technique.

    The Summary

    In a nutshell, it is really a daunting task to take care of your furniture. But it offers you a lot so taking care of it is your job. Distressing your furniture means taking the paint off it. Usually, this technique is used to take the old paint off and put on a new coating. But if you purposely want to make your furniture look old for that antique look this can be achieved too. There are a lot of simple and easy ways to distress your furniture. The best thing is that most of them require minimal supplies and efforts.

    The Summary

    Paint removers are mostly used in some households to scrape the paint off their furniture. Then there is sandpaper which is a lot easier and less time-consuming. You just have to rub it over your piece of furniture to get the desired antique look you want. If you are looking for an instant way to do it then antiquing glaze, chalk paint and milk are best options. However, the cheapest way to do it is through vinegar. Just spray it on and wipe it off and you have distressed furniture in minutes.

  • HOW TO CLEAN OVEN WITH LEMON

    Is your oven smelling like shit while you are preparing your meal? Well, this is a sign of danger. You should become cautious now. Strong burning smell is caused by the accumulation of dirt and grease in the oven. You should clean your oven before the situation becomes complicated. Stay with us to learn how to clean oven with lemon.

    How to Clean oven with lemon

    IMPORTANCE OF CLEANING THE OVEN

    It is of great importance to clean the oven otherwise it will have an effect on the flavor of food especially baked items. Carbon based fumes will be produced by burning of dirt and grime every time and as a result of the taste of cakes, bread will change.

    IMPORTANCE OF CLEANING THE OVEN

    Further, the heating of grime will also produce an unpleasant smell in the kitchen and this is a sign that oven needs a good clean.

    Below are the completely secure, natural and effective ways to clean oven. There is no need for any injurious chemicals and no high-heat auto-cleaning with a smoke sensor. It takes a little time and required some lemons, but the payoff is well worth it. Addition, you probably likely have everything you need to take on this project.

    IMPORTANCE OF CLEANING THE OVEN

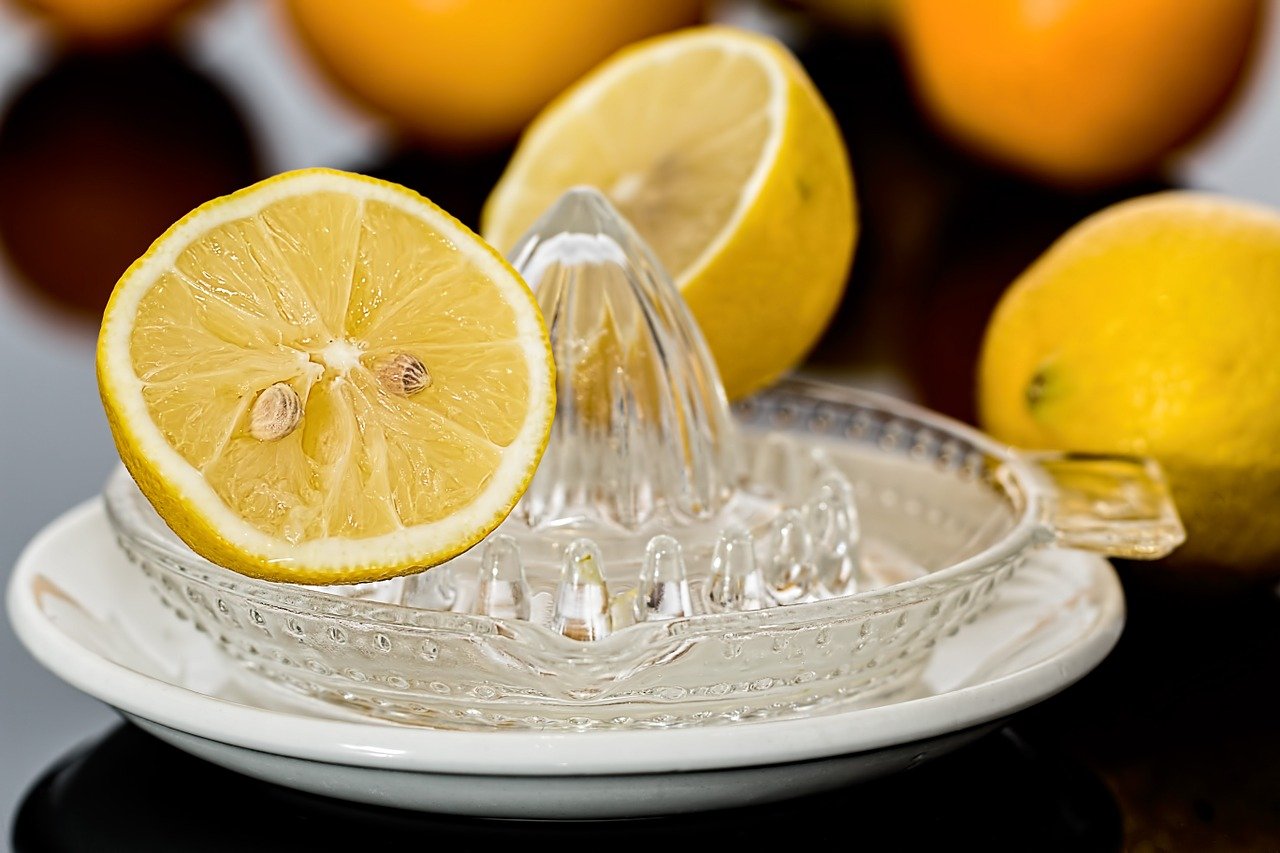
    It is a simple idea, just squeeze some lemons juice into water, drop the rinds into the water, and microwave. As the liquid spots, it shortens on the sides of the microwave, undoing mess and dissolving food splatters. The lemon juice is a natural cleaning agent, and so all you have to do is use a clean towel to wipe everything clean.

    How to Clean Oven with Lemon

    Follow the below method step by step and make your oven clean.

    How to Clean oven with lemon

    Yes, Of course, cleaning the oven is a messy task but using lemon will make your cleaning process a bit easier. Lemon is a great natural degreaser. Lemons are the natural disinfectants that are the kitchen helpers. Lemon has a low PH and has antibacterial properties and therefore is the best cleaner. A little effort is required for this process. It’s an environment-friendly process and will not cause damage to your oven like the dangerous chemicals as they might release dangerous fumes during the self-cleaning cycle.

    MATERIAL REQUIRED

    Following things you will need:

    •2 Lemons
    •Small microwave safe bowl

    MATERIAL REQUIRED

    PROCESS

    Step 1

    WATER IN THE BOWL

    First and foremost pour a half cup of water in the bowl.

    Step 2

    SQUEEZE LEMON

    Next, take 2 lemons and cut the lemons in half and squeeze the juice into the bowl. Also, drop the lemons halves in the bowl.

    Step 3

    PLACE THE BOWL IN OVEN

    Place the bowl in the oven and bake it at 250 degrees for about 30 minutes. You can leave it for a longer time if the buildup is really bad.

    Step 4

    DON’T OPEN THE DOOR

    Don’t open the microwave door. The water and lemon juice will heat up and the vapors will help to loose food gunk.

    Step 5

    FINAL CLEANING

    Next, open the door and carefully remove the bowl along with the lemons and let the oven cool. When the oven has cooled off then remove any residue using a scouring pad. For inside cleaning of a stove and stubborn spots, use lemon water as a rinse aid. Then use the towel to dry it off.

    AN EFFICIENT AND EFFECTIVE METHOD

    AN EFFICIENT AND EFFECTIVE METHOD

    This method is efficient and effective as compared to the method which involves chemical cleaners. Chemical cleaners are dangerous if breathed in or touched and will cause indoor pollution. Using of lemon is a safer and easier process. It will not only remove dirt and grease from your microwave oven but will also produce a lovely lemony scent throughout the kitchen.

  • HOW TO CLEAN BATHROOM SINK DRAIN

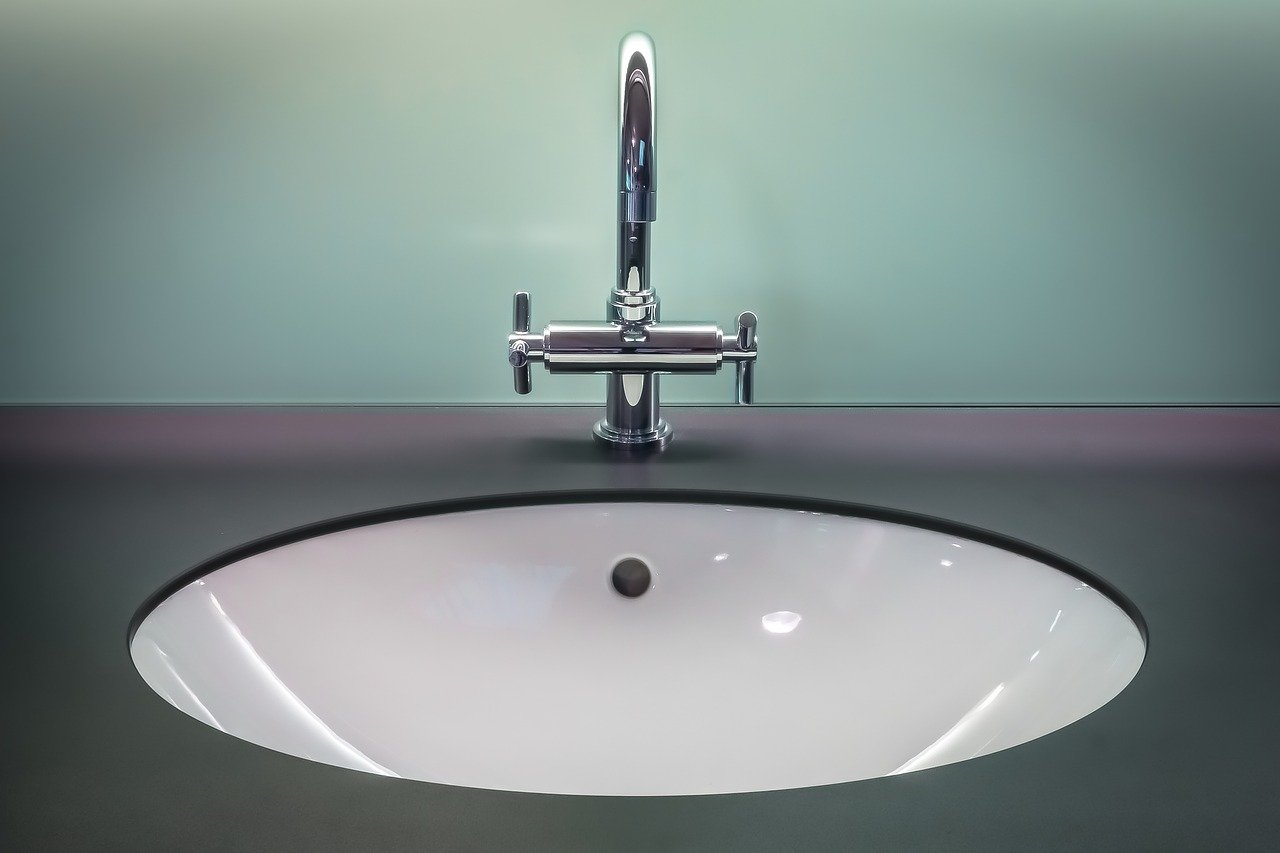
    Slow or clogged drains are common and ordinary problems with bathroom sinks. Fortunately, there are many methods to fix it typically with simple, easy and time saver methods almost within few minutes or span of time. The cause of this problem can be hairs, gummy soap which stuck that causes the stopper or pivot rod and clogs the drains. Let us share some of the most effective and useful remedies on how to clean bathroom sink drain.

    how to clean bathroom sink drain

    In those few handy methods, I am telling you some of easiest methods to make it easy for you to perform it while cleaning the bathroom sink drain.

    how to clean bathroom sink drain

    How to Clean Bathroom Sink Drain WithWire/Coat Hanger

    You will need some tools to clean bathroom sink drain with this method. Grab some necessary tools for this DIY task that will save your time and frustration. Use (1) Slip joint pliers (2) Stiff wire or wire coat hanger.

    How to Clean Bathroom Sink Drain WithWire/Coat Hanger


    How to Clean Bathroom Sink Drain WithWire/Coat Hanger

    • Use (1) Slip joint pliers (2) Stiff wire or wire coat hanger.
    • Pull out the stopper; notice if it’s coming out, then pull it out.
    • Sometimes it will come out immediately, but if not it’s held with pivot rod.
    • If that is so, release the stopper by removing the pivot rod nut & pulling out the pivot rod.
    • If you can’t loosen it up, use the pliers.
    • With the pivot rod pulled out you will be able to lift out the stopper.
    • Then to have the clog out, bend the wire in a tight hook (with a light-duty clothes hanger or short length of electrical wire will work out)
      Take out the hairs.
    • If you didn’t have to remove the pivot rod to remove the stopper, you can just drop the stopper back down into the drain.
    • If you have removed the pivot rod, firstly drop the stopper into the drain.
    • Next, line up the pivot rod with the slot in the stopper and reinsert it. Finally, hand-tighten the pivot rod nut.
    • Run hot water down the drain to help clear out any remaining soap scum and to check that the clog is gone.
    • Check around the pivot rod nut to make sure it’s not leaking.
    • If you see drips, tighten the pivot rod nut slightly with a plier.

    How to Clean Bathroom Sink Drain with Lemon, Baking Soda, Vinegar and Boiling Water

    How to Clean Bathroom Sink Drain with Lemon, Baking Soda, Vinegar and Boiling Water

    It uses natural solvents. Instead of relying on drain cleaner products, which are often corrosive and can cause allergic reactions and respiratory problems, you can use household items that you can find easily at your home like rags, baking soda, vinegar, lemon and boiling water.


    • Gather your materials.
    • Measure out the ingredients.
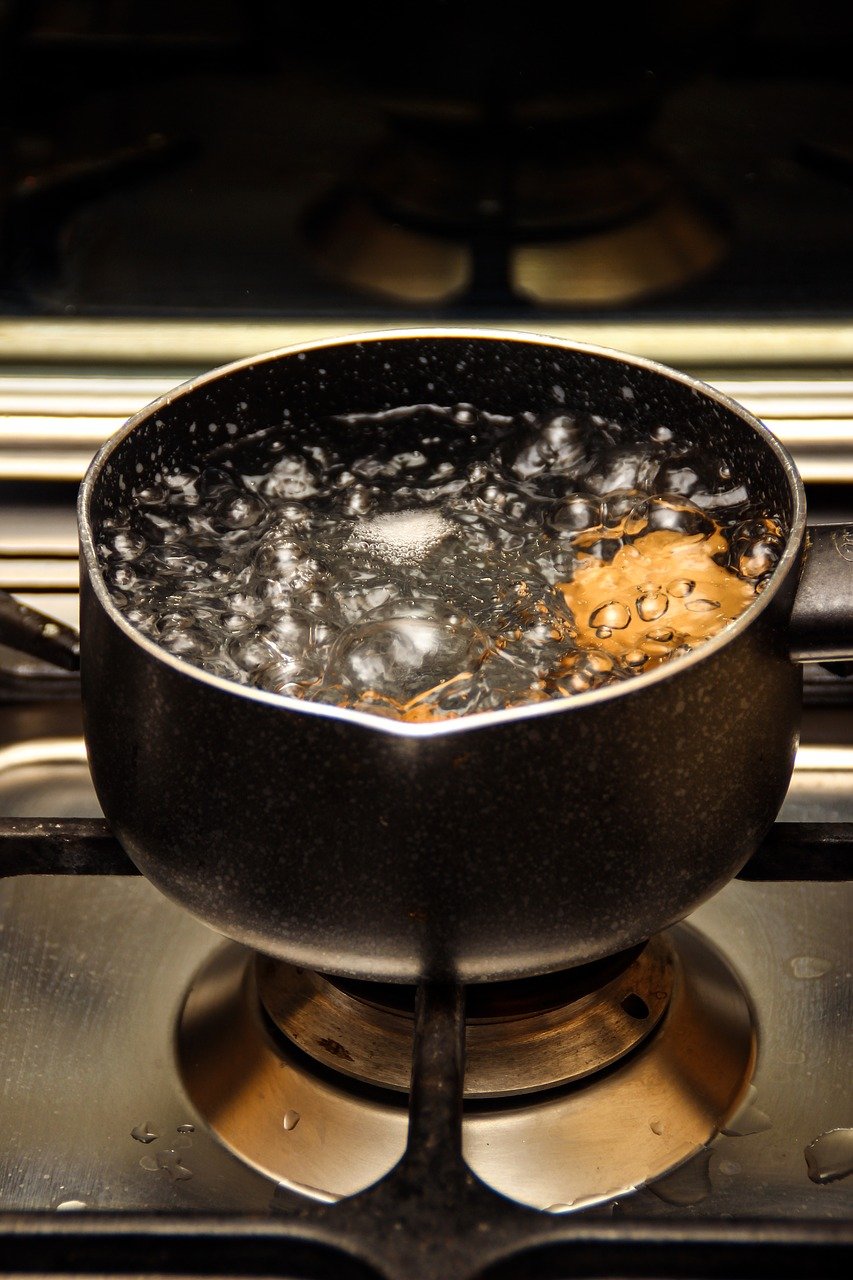
    • Take ¼ cup of baking soda, 1 cup of white vinegar and 1 large pot of water to boil.
    • Have a rag or sink stopper handy.
    • Pour the baking soda into the drain.
    • Make sure that most of the baking soda falls directly into the drain rather than around it in the sink.
    • Pour in the cup of vinegar.
    • A fizzing noise and bubbles may come up due to the chemical reaction.
    • This is completely normal and should mean that the chemicals are eating the blockage in your sink.
    • Plug your drain with a rag or sink stopper.
    • The above step will stop the bubbles from rising up and will keep the chemical reaction concentrated on the clog.
    • Wait for fifteen minutes.
    • Allow the baking soda and vinegar reaction to fully work their magic here! While waiting, you should heat up the pot of water to boiling point.
    • Pour in the pot boiling water.

    How to Clean Bathroom Sink Drain with Lemon, Baking Soda, Vinegar and Boiling Water
    The above step will push down the baking soda, vinegar, and blockage.
    As you pour the water watches if the sink is draining any faster.
    If it is still not going in normal speed, there can still be a bit of the blockage.
    Try to repeat the process again if this happens.
    Before pouring in the boiling water, you may squeeze in the lemon juice, specifically if you notice an unlikeable smell coming from the sink.

    How to Clean Bathroom Sink Drain with Lemon, Baking Soda, Vinegar and Boiling Water
    Bathroom sinks usually become clogged by bits of hair which in the long run rot and smell bad.
    This additional step will defuse the odor and will also further assist break down that blockage.

    How to Clean Bathroom Sink Drain With Plunger

    How to Clean Bathroom Sink Drain With Plunger

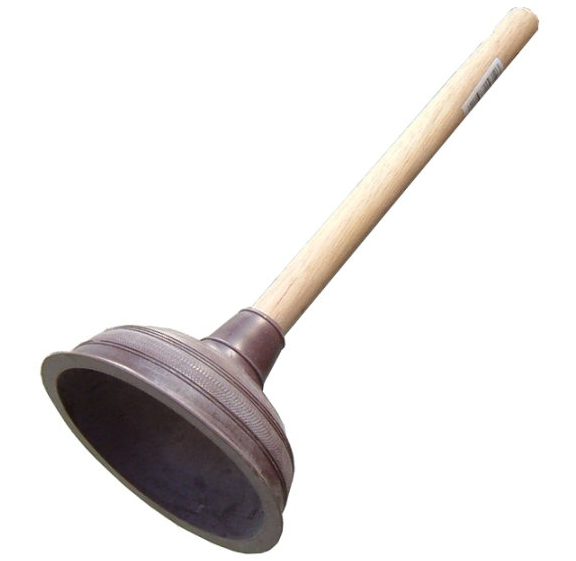
    This method is of traditional way, using the plunger. Gather your tools.

    For this method, the only need is a flashlight and a plunger.
    You can purchase a smaller one specifically made for sinks at any hardware store but a deeply cleaned toilet plunger works very well.
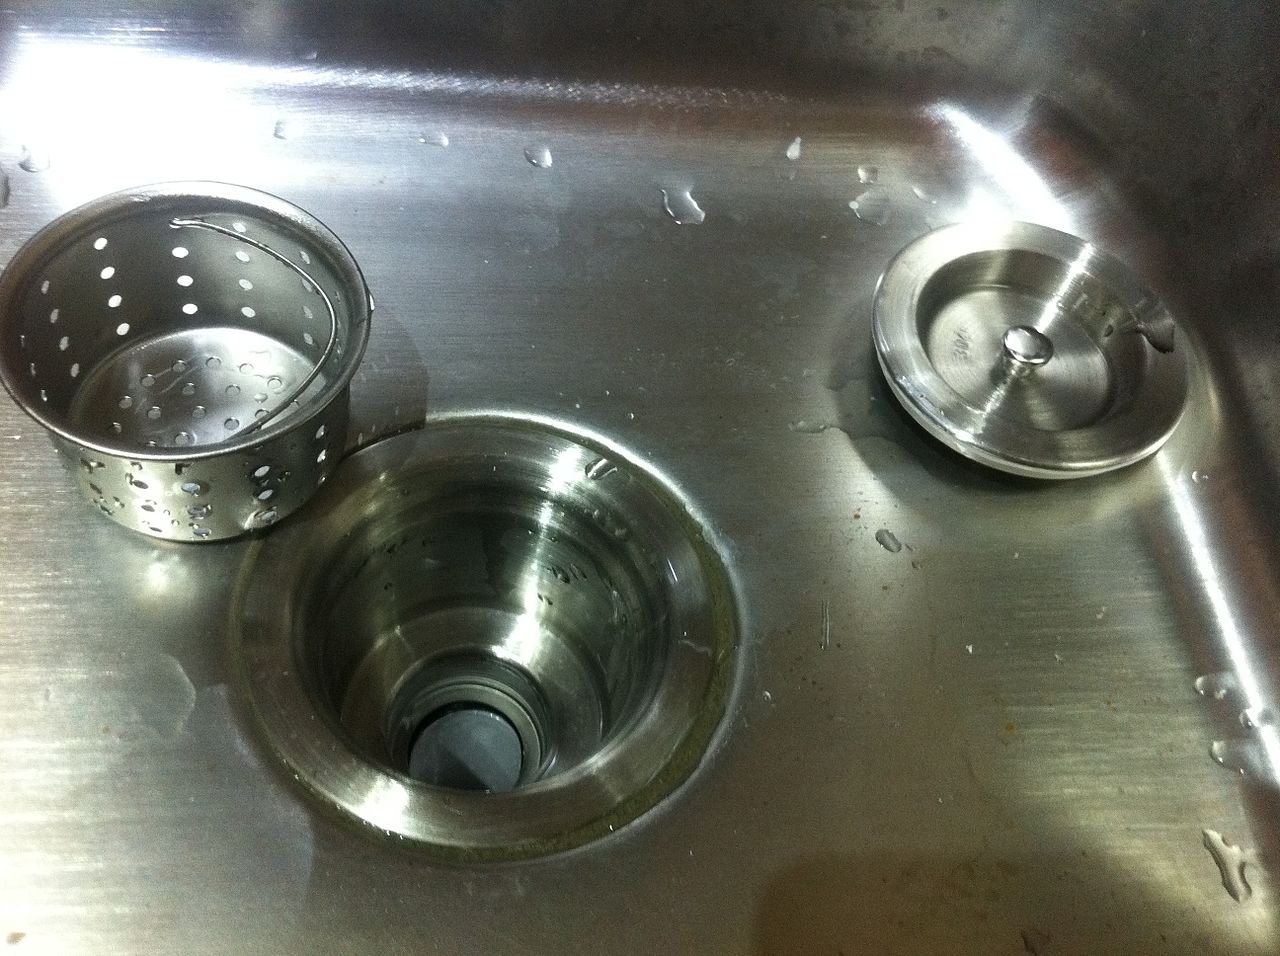
    Remove stopper of the sink.
    This step is central otherwise you will just be plunging the stopper up and down rather than forcing up the clog.
    Using your hands pull the sink stopper up as far as it goes out of the drain. Then you need to turn it to the left and continue to unscrew until it comes out.
    Turn on the sink.
    Fill some water but just enough to cover the drain. An inch or so of water should be just fine.
    Generate a suction seal.

    How to Clean Bathroom Sink Drain With Plunger
    You need to place the plunger directly over the drain and press down once until you feel rubber bottom tighten into a seal.
    You may have to stand on a chair to make sure you are directly towards the sink.
    Plunge it.
    Using the handle of the plunger, plunge vigorously up and down about 10-20 times.
    Make sure that the plunger is tightly sealed around the drain, creating suction so that the plunger is actually forcing the blockage through.
    Remove the plunger for checking of blockage.
    Then shine the flashlight into the drain to check for the blockage.
    If you can see the blockage and can reach with your fingers and pull it out, do so. If not, repeat the steps until the clog comes out.

  • How to Clean a Microwave- Cleaning Hacks

    When it comes to microwave cleaning hacks, certain tips and tricks come in mind. But which one is possible, you can never know without experiment. Most cleaning detergents work quite effectively while washing dirty mess or other household items. Cleaning out dishwashers, refrigerators or any cupboard could be a hectic task without any quick remedies. Kitchen appliances are the most tricky to be cleaned and washed. Some fortunate ways are at our hand to remove any excessive smells and dirt from the appliances. Without any doubt, a microwave oven is amongst the most used kitchen appliances. But with consistent and careless usage, it gets dirty and demands proper cleaning. So here is a comprehensive guide on how to clean a microwave perfectly.

    How to Clean a Microwave Perfectly

    Baking Soda- The Cleaning Master

    Baking soda has been found to be a common ingredient readily available in our kitchens. It is one of the most basic cleaners. It’s quite inexpensive and multipurpose too! Everyone needs a multipurpose solution for every cleaning activity. It acts both as a detergent and a deodorant to eliminate bad smells or foul odors in any utensil or appliances. To remove stubborn stains from most surfaces this ingredient can create magical results. One can easily wipe off the dirt with this simple remedy. As compared to other cleaning solutions it’s not expensive either and easy to be applied.

    Baking Soda- The Cleaning Master

    Sometimes baking can be a tough task when you face a greasy stain full inside of microwave oven afterward. It becomes a difficult task to wash out spots and grease on the revolving glass plate inside. Baking soda can work as a miracle for your kitchen when cleaning a microwave.

    How to Clean a Microwave with Baking Soda

    You can make a paste of baking soda with water and use a sponge to wipe out any stains and grease from the oven. Similarly you can dissolve spoon full of baking soda in water in a bowl, then boil in microwave. This will give a stain free look afterwards with refreshing smell. You can remove greasy stains by adding baking soda on the microwave plate making a paste and then clean with a sponge. You can use baking soda instead of detergent; apply paste with a waste toothbrush to remove stains from affected area. Baking soda simply absorbs odors; it neutralizes the acidic smells and eliminates them. Baking soda is the most convenient solution for kitchen cleaning. It can simply transform your kitchen into an all clean look.

    If your microwave smells like rotten eggs or some baked pizza or other meals, you can remove that by cleaning and deodorizing with a solution of baking soda mixed with water. You can then wipe down the inner sides of a microwave. You don’t need to worry when using baking soda as a cleaning agent; it gives effective and long lasting results.
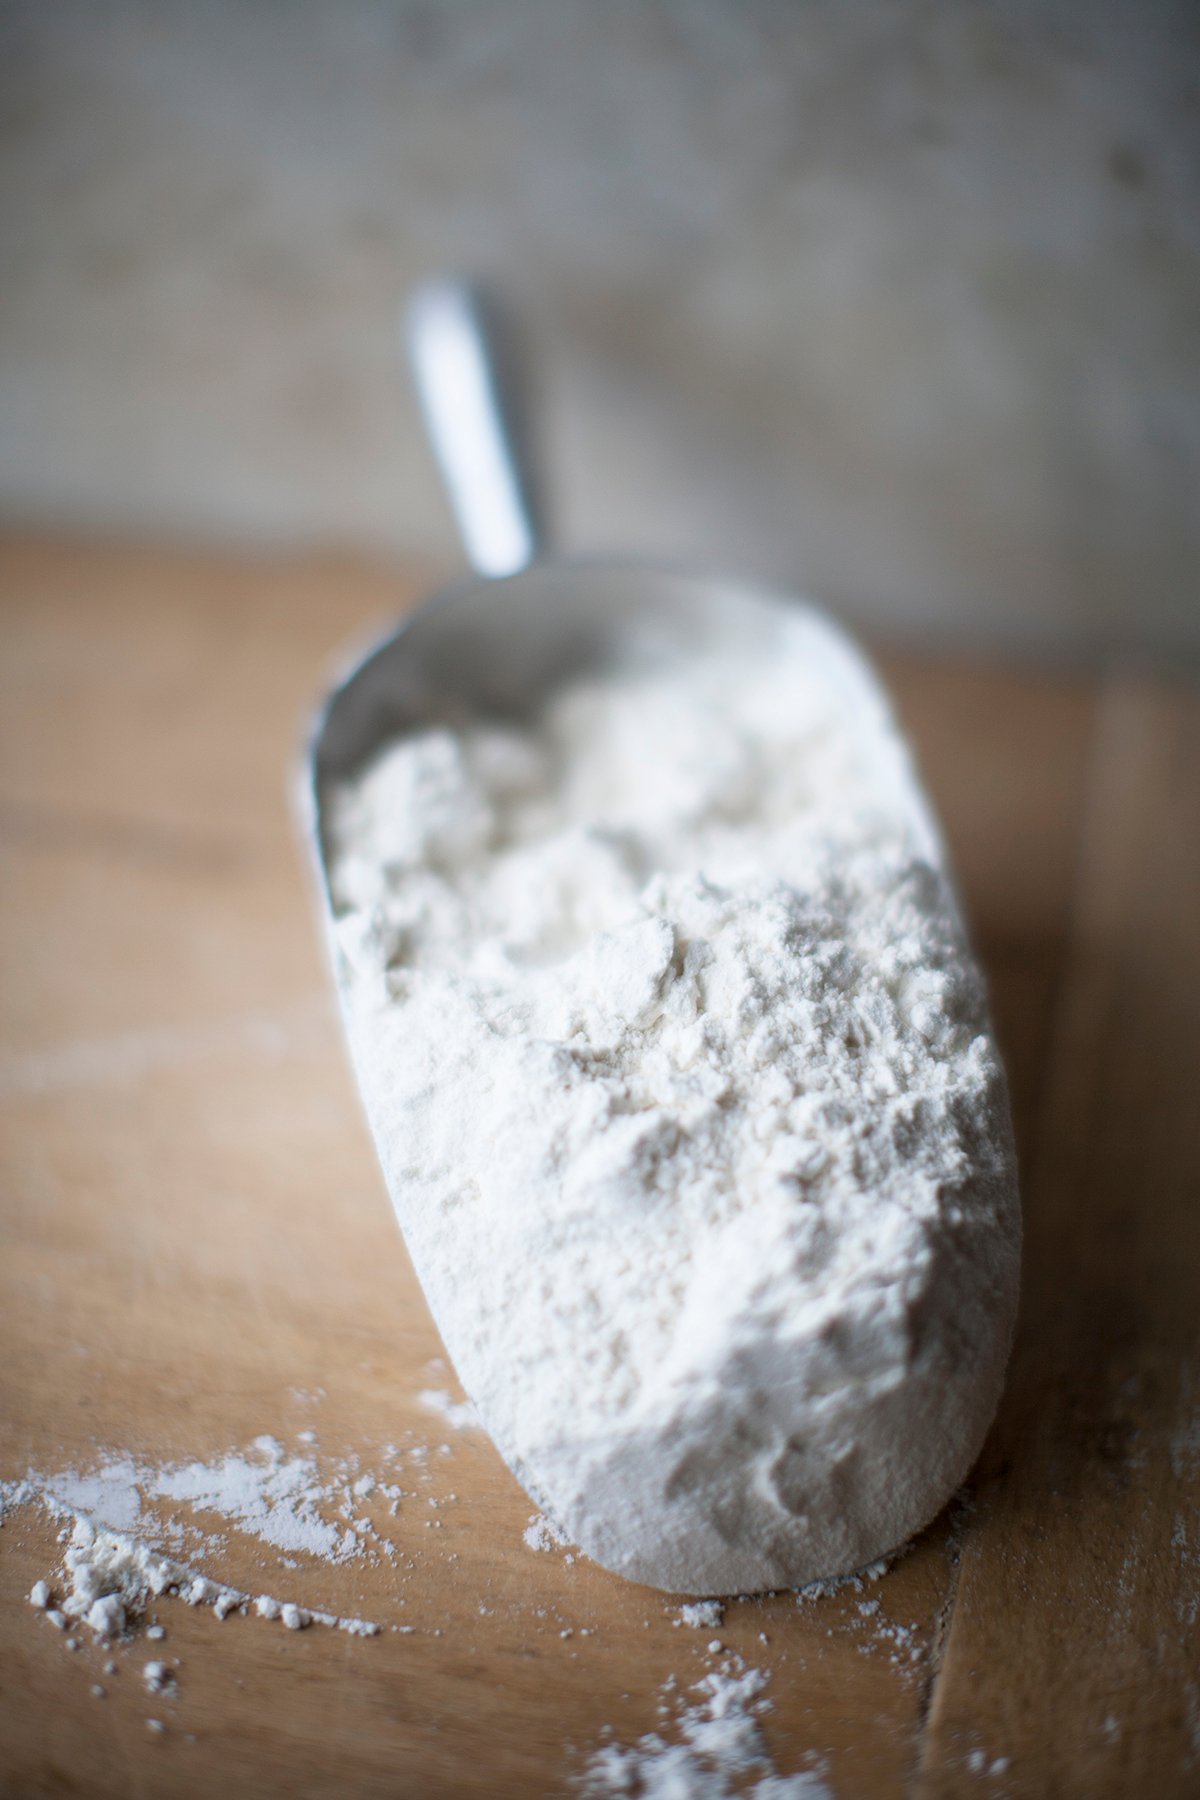
    With some explosions and splattering of food particles inside the microwave, it gives a disgusting look. You don’t need any commercial detergents for this; just use a baking soda solution for that. Excessive chemicals can cause a harsh effect on the microwave surface, avoid doing that and make your job easier by scrubbing less and quick cleaning. It’s a natural, environment friendly item in your kitchen for your help. Scrubbing with baking soda can make it lot easier to handle any grim or tough spots on the microwave.

    How to Get Rid of Annoying Microwave Smell?

    Foul smells can also spread out when there is some leftover food in the microwave. Once you open up the microwave you get a bad experience. Using it again you need to wash and deodorize it thoroughly.

    When there is some scorching food stuck inside the oven, you can use a damp cloth to wash it and remove any spots or splatters inside. Sprinkle some baking soda on the surface of microwave and wipe off all interior with cloth or sponge. It is gentle enough to be used for a microwave. Use a cloth to remove any residue material left behind. If you don’t have much time for cleaning baking soda is an instant cleaning hack. Every kind of contamination can easily be removed from the microwave by using this clean solution without the use of harsh chemicals.

    Simple Steps to Use Baking Soda

    Vinegar and lemon can serve the purpose also but they are expensive as compared to baking soda. So use a natural solution and get your desired results.

    Place a bowl inside microwave with two tablespoons of baking soda and water in it. Set the microwave timer for 3 minutes. The baking soda will absorb all odor and dirt will be removed from inside walls with steam. Take out the bowl and remove tough stains from the microwave walls. Wipe off with a cloth or towel.

    Simple Steps to Use Baking Soda

    Another way is to use a sponge and dip in baking soda with water solution and scrub the microwave interior. This could be the smartest way to clean out the nasty looking microwave. You can freshen up your oven with a just simple trick, even if no one is willing to do so. After removing the particles and cleaning inside, you will get a wonderful smell with quick freshness. Baking soda can be used as a freshener for your microwave as it works in your fridge. Place a baking soda box inside the microwave when you are done with baking and get smell free and clean look all the time.

    Although cleaning microwave looks tedious but you can maintain it regularly to ensure a great smell of food inside the oven. Get awesome results without any risk or damage to your microwave.

    Some safety measures, please be sure the power cord is not attached while cleaning task. Examine the inside carefully and then spot the dirtiest parts inside to be washed. This will be helpful in your cleaning process. Make sure to have some cleaning paper towels with you also to wipe out any dirt and interior cleaning. Now then you can make a baking soda paste or solution to remove any mess inside.

    How to Clean a Microwave with Vinegar and Baking Soda

    Vinegar and Baking Soda can be combined to use for cleaning also. This method will be repeated to get best results until no baking soda remains inside.

    How to Clean a Microwave with Vinegar and Baking Soda


    You can use many methods for cleaning according to your availability but this one proves to be inexpensive of all. It will allow you to get rid of bad odors; it’s easily used the ingredient and natural household item too. Get a cleaner microwave and enjoy your food!

  • How to Remove Hard Water Stains from Toilet Bowl Naturally

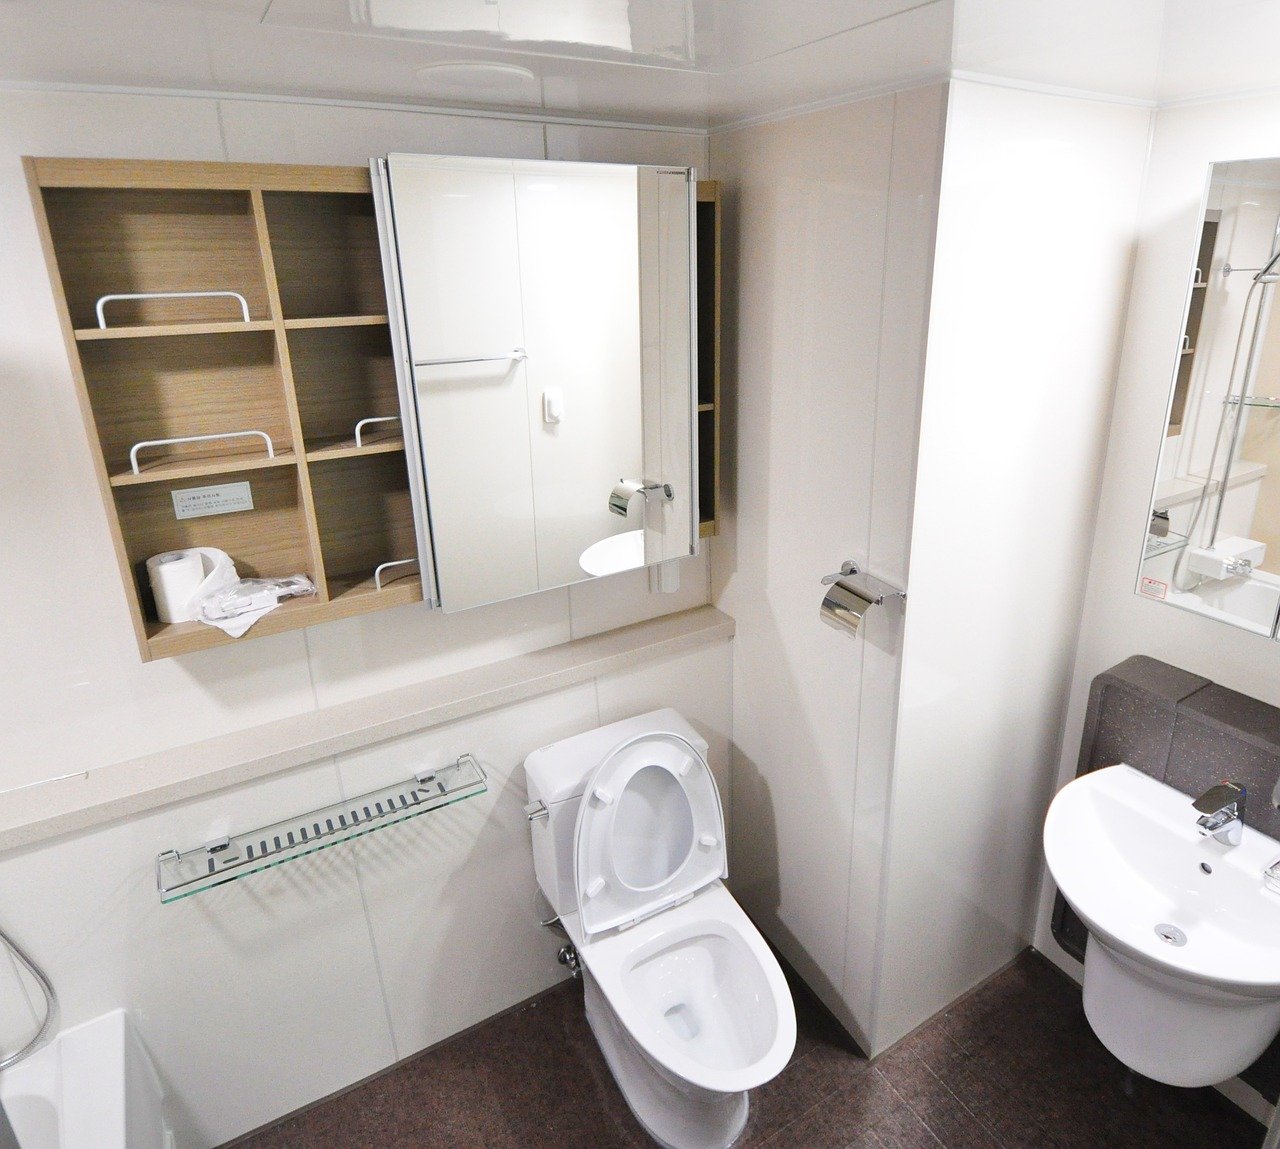
    Hard water can quickly build up on faucets; showers, sinks and toilets, and over time can leave rust and scale stains that are very unsightly and often extremely difficult to clean. Nowhere is this more problematic than in a toilet, which sees a lot of use and holds standing water constantly. Here are the simple procedures on how to remove hard water stains from toilet bowl naturally.

    How to Remove Hard Water Stains from Toilet Bowl Naturally

    There are many cleaning products available on the market that can be used to remove hard water stains in the toilet, but some of the most effective cleaners are common household products. There are several different options that can effectively remove hard water stains from plumbing fixtures without the use of harsh chemicals. Try one of the following options for cleaning a stubborn toilet bowl ring.
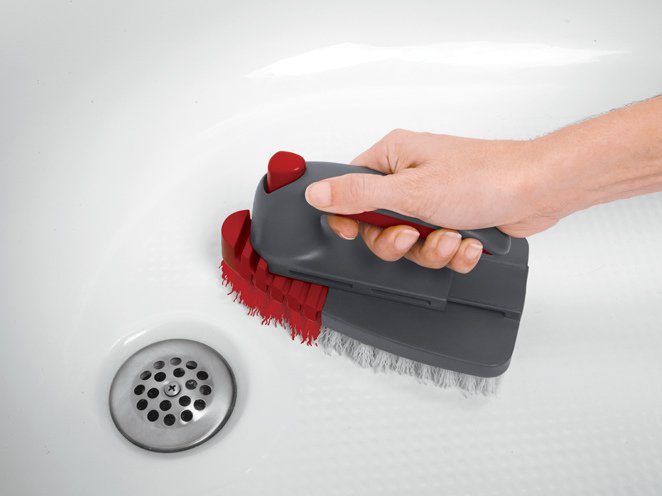
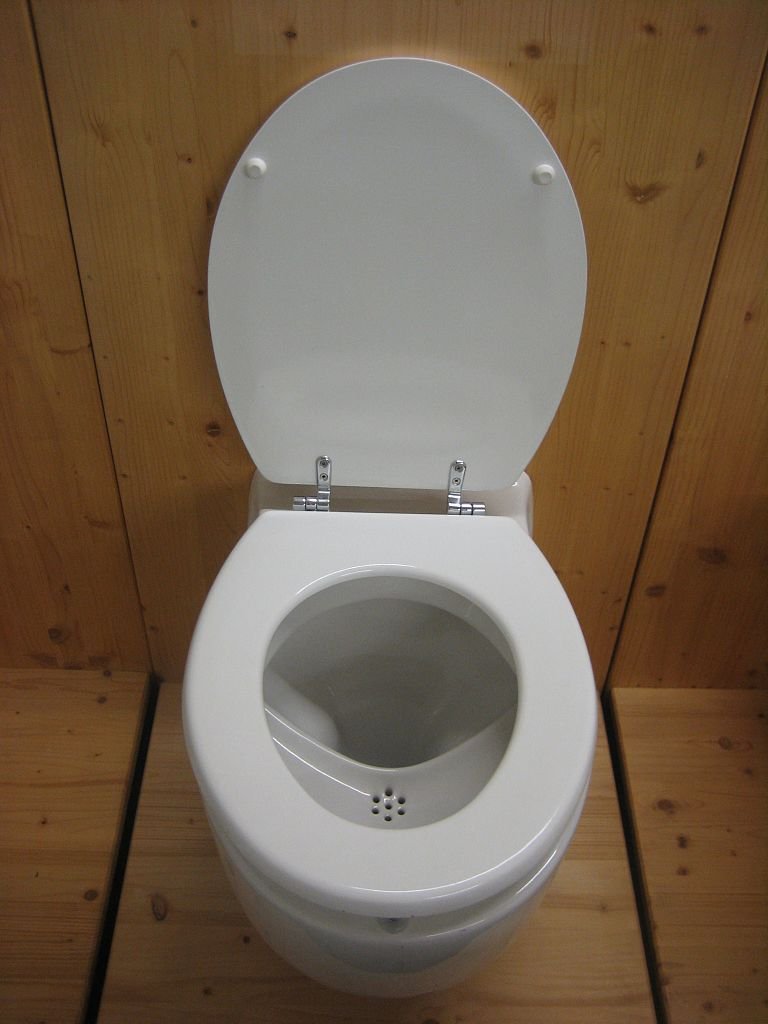
    How to Remove Hard Water Stains from Toilet Bowl Naturally

    How to Remove Hard Water Stains from Toilet Bowl Naturally

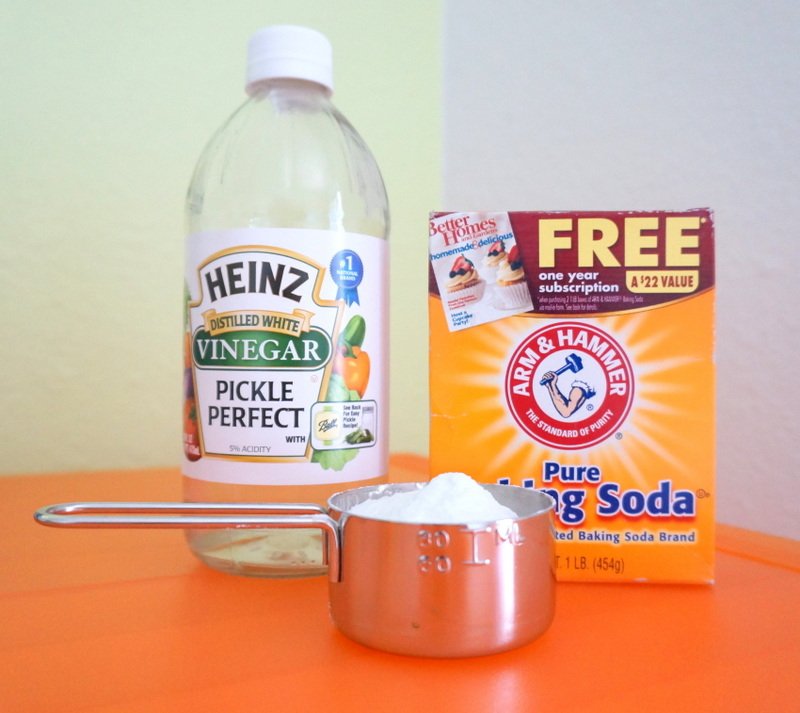
    Baking Soda and Vinegar

    Baking soda and vinegar are two of the most useful common household products that can be used to clean many things, including hard water stains in the toilet. The process is as follows:

    •Pour about a cup of vinegar into the toilet bowl and swish it around with a toilet brush. Let it sit for about a minute.
    •Then add about 1 cup (amount doesn’t need to be exact) of baking soda to the toilet bowl and follow it by adding another cup or two of vinegar.
    •Allow about 10 minutes for the fizzing action to work.
    •Use a toilet brush to swish the solution around the bowl, making sure to get the solution onto any stains that are above the water line. Don’t flush the toilet.
    •Let the vinegar and soda solution sit a while. Then, try scrubbing away any remaining stains.

    Handy Tip

    While you have the baking soda and vinegar out, use them to give the bathroom sink drain a boost with some homemade drain cleaner.

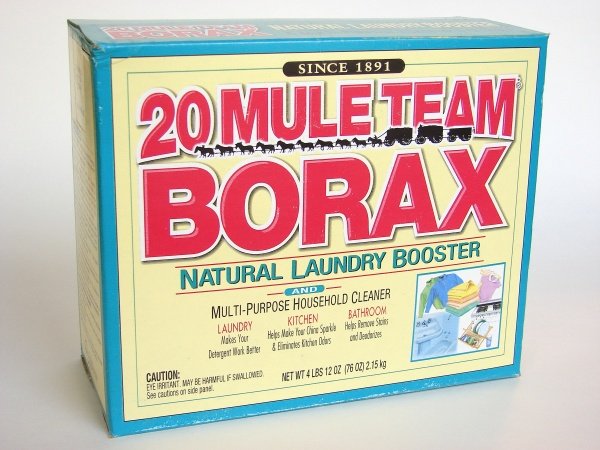
    Borax and Vinegar

    Borax and Vinegar


    Borax is a great multi-purpose cleaning product that can be effectively used to clean hard water stains in the toilet and other plumbing fixtures. Following is the process:

    • Pour 1/4 cup of Borax into the toilet bowl and swish it around with a toilet brush.
    • Then add 1 cup of vinegar and allow the mixture to sit in the bowl for about 20 minutes.
    • Finish by scrubbing the bowl with a toilet brush to remove hard water stains.

    Borax Paste

    To remove serious stubborn hard water toilet stains, try using Borax paste. Following is the step by step process:

    • Start by shutting off the water to the toilet and draining the toilet so that the hard water stains are not covered by water.
    • Make a paste by mixing 1/2 cup of Borax and enough vinegar to form a thick paste.
    • Immediately spread the paste onto the hard water stains in the toilet to cover them. The Borax will harden quickly so don’t add the vinegar until you are ready.
    • Allow the paste to sit for 15 to 20 minutes. Then, scrub the paste and stains off.

    Scour with a Scrub Brush

    Scour with a Scrub Brush

    After applying Borax paste, you may have better results if you use a scrub brush instead of a toilet brush. The Borax paste sticks and hardens and a scrub brush will allow you to apply enough elbow grease to work the paste and stains off. Make sure to wear rubber gloves whenever working with chemicals by hand, even common household ones.

    Scrub with Sandpaper

    Scrub with Sandpaper

    Another option for scrubbing stubborn hard water stains in the toilet is extra-fine-grit wet sandpaper. A good choice is fine drywall sandpaper, but other wet/dry sandpaper can also be used. Use the sandpaper with any of the mixtures noted in the previous steps to scrub off any remaining hard water build-up from the toilet bowl.

    Note: You don’t want to scratch the porcelain, so be sure to use extra-fine-grit sandpaper and never sand it dry. Keep the area wet as you scrub to prevent damage to the finish.

    Clean the Toilet Regularly

    There is no need to use harsh and costly chemicals to remove hard water stains in the toilet. Borax, vinegar, and baking soda do a great job of cleaning and disinfecting. It can prevent hard water stains from building up.

    To keep a toilet clean and free of hard water build-up try a regular cleaning with Borax, since it can help to soften hard water. Just use 1/4 cup with every cleaning.

  • Small Bedroom Organization Ideas- Five Easy Hacks

    We all need overly bright and airy rooms according to our living standards., However, most people fails to avail the leisure due to lack of interior design hacks. Now the whole world revolves around the digital world and one can idea a quick idea regarding almost any matter through the internet. So, here we have some easily to apply tips and tricks which you can try to your space to make it look better yet brighter than ever. Small bedroom organization ideas are important to enjoy luxury in a small place.

    Small Bedroom Organization
    First, make sure you have all the necessary items which will mention this article so that you will enjoy the flavor of this scrumptious ideas. We have five very exciting small room hacks which may assist you to revamp your cluttered small room into a minimal interior decor finish. For that you need to start from the base of your interior design rules, yes, it is wall paint.

    Small bedroom Organization Ideas

    Small Bedroom Organization Ideas

    1.Turn Dark Wallpapers Off and Add Splash of Light Shades

    Turn Dark Wallpapers Off and Add Splash of Light Shades
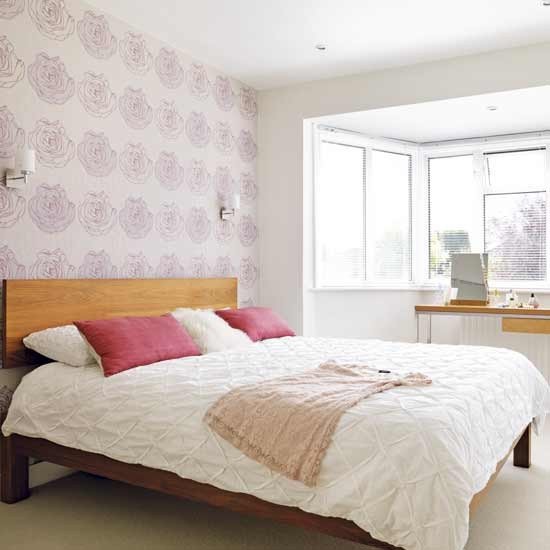
    Are you fed up of congested and narrow looking space of your living room? Turn the dark shades off and bring new colors to your wall or add light shades of the wallpaper.

    Tip 1

    You can paint your room in light color e.g. off-white, pastels of green, blues, purples and pinks or any light shade you would like to add in your room which goes perfectly with the interior pieces and furniture in your living room.

    Tip 2

    If you did with the light paint on your room walls. You can move to the next phase of light shade with small patterned wallpaper. Where actually you need to paste wallpaper? Well, this sounds an interesting inquiry. You need to apply wallpaper where you have a window in your room. Window wall would complement this piece of wall decoration. Moreover, it will look bright and more spacious.

    2.Low Profile Interior Accents

    Low Profile Interior Accents

    Furniture that is lower to the ground will make a sentiment openness in a room just by the way that they leave more space above them. In the room, pick a space bed or even take a stab at setting a sleeping cushion specifically on the floor. In the front room, grasp your internal Mad Men style with low-to-the-ground mid-century pieces. Or, on the other hand, if your choice runs more toward the sentimental and luxurious, nineteenth-century furniture additionally has a position of safety.

    3.Say Goodbye to the Curtains and Floor Rugs

    Say Goodbye to the Curtains and Floor Rugs

    This point doesn’t clarify that if you really need to say goodbye to the rugs and drapes in your small room. Don’t apply this point if your room has the rough floor and rusted window rallyings, rather you can choose breezy curtain fabrics like chiffon and net for your window drapes. Rugs usually make room congested and over filled up, use of one tone pastel rugs has its place in the small room interior design.

    If your window is opening in the backyard and garden and has fine wood or iron finish you can spare them empty without the need of drapes. Likewise, if your small room has a vinyl furnish and sparkling titles, you can ditch rugs that way. Do read the description of each point as we have explained Dos and Don’t’s of the same idea.

    4.Go Minimal (Less is more)

    Go Minimal (Less is more)

    An awesome approach to make a little room look roomy is by wiping out any superfluous furniture. All things considered, an extra large bed, floor-length wraps, a side table or two and a minimized cabinet are fundamentally all you require. The fantasy of space gets upgraded when you pick a highly contrasting shading plan.

    5.Paint Colors to Make your Room Look Bigger

    Paint colors to make your room look bigger

    A room’s size is in some cases a matter of discernment, and the paint hues on the wall have a ton too with that observation. A few colors can really make a room seem little yet a narrow feel, while there are some other shades or probably lighter tones which can renew the walls and feel bigger.

     White

    White reflects light, in this manner making space look brighter and feel more open. This color makes any room seem greater and easily complement with any kind and color of furniture and adornments.

    Yellow

    A light and baby yellow can likewise reflect light and can make a gentler other option to white (insofar as it’s not very striking of a yellow). Include white accents, for example, on the trim, to add furniture dimension in the room.

    Light gray

    A quieting, light shade can help extend a room and, dissimilar to white, doesn’t push off a glare.

    Monochrome

    Use a monochromatic shading plan for the whole space to open it up e.g white and gray and other shades with white will bring the more pleasant yet chicest effect to your entire room. Pick floor rugs, furniture, and accents in comparable shades – like a designed mat in white and gray so that this makes a moderate, clean look that makes the whole space feel bigger.


    These hacks are a powerful source to transform your small looking bedroom or any space into brighter, wider and lighter look at the same time. Make sure the dimension and the construction of your home prior to applying these above hacks to your small room.

  • How to Make Small Bedrooms Look Bigger

    Sometimes even a big bedroom appears small yet congested. The problem is ‘NO PLANNING’ while decorating your bedroom. If you are moving to your new house or planning to redesign your bedroom, you need to plan first and go online to get some tips and ideas on how to make small bedrooms look bigger. You will find thousands of results regarding this keyword by the different bloggers and interior designers guiding you to make your living better.

    How to Make Small Bedrooms Look Bigger

    We have discussed some brilliant sneaky and easy to apply ideas to your bedroom. You can try these small bedroom hacks to bring some charm to your bedroom once you had on your newlywed bedroom interior.

    How to Make Small Bedrooms Look Bigger

    Structure of Small Bedroom

    Structure of Small Bedroom

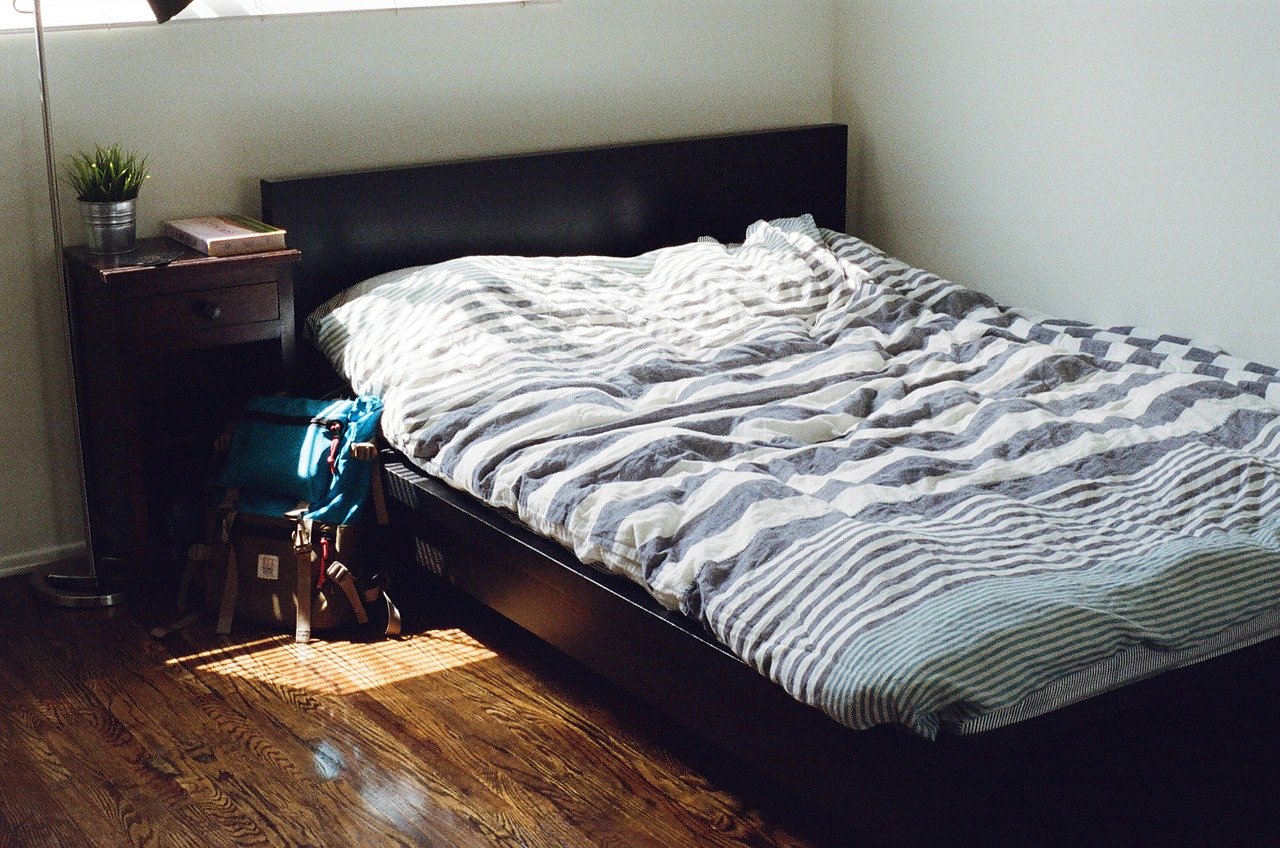
    The design structure of your room is first to determined while revamping your bedroom. Some bedrooms have large areas for windows while some have different segments of windows in one room. It is better to know your bedroom construction first to make a difference which you actually looking forward to.

    Minimal Beds and Furniture

    Minimal Beds and Furniture

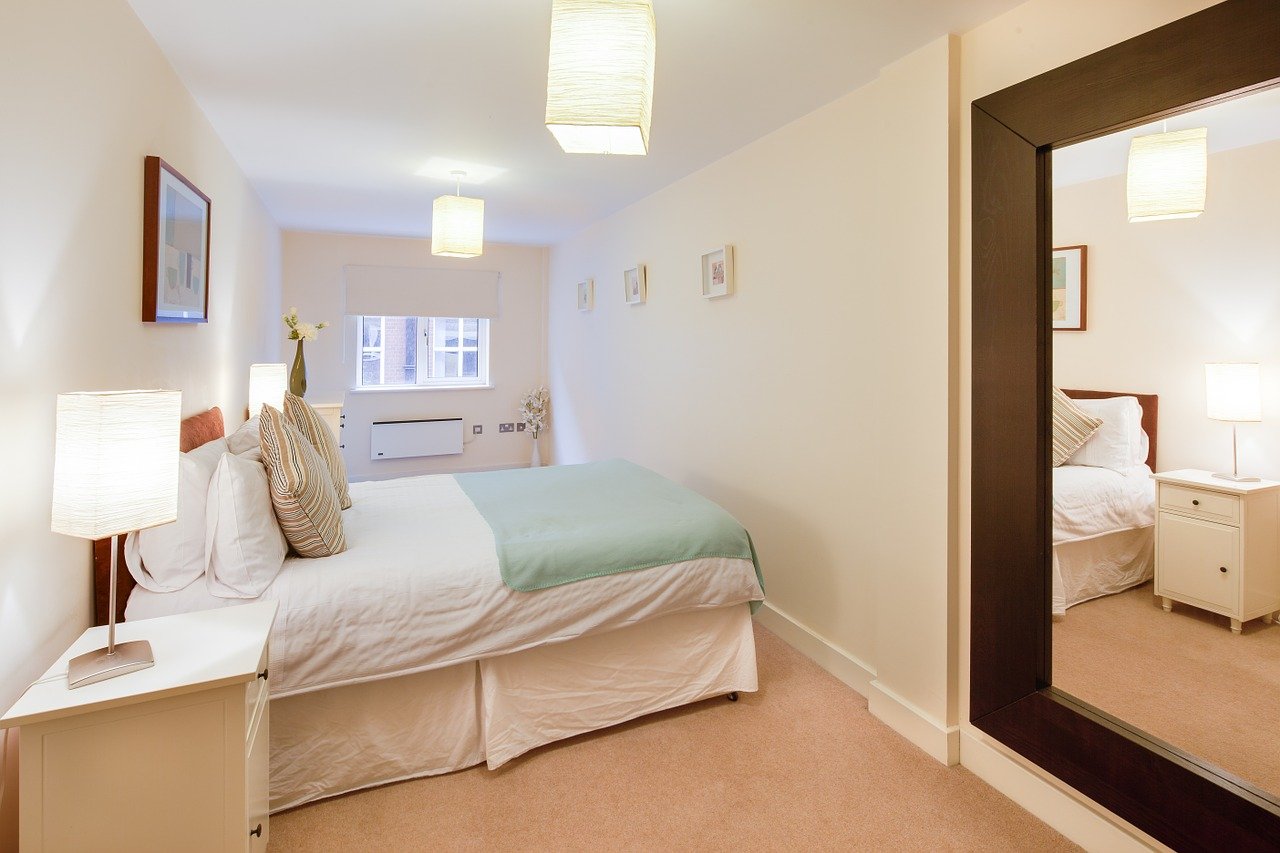
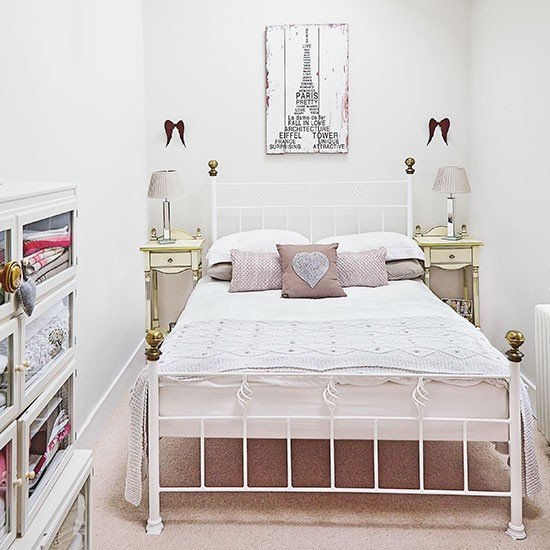
    Yet this is the best strategy to adopt while planning for the bedroom for the brighter yet larger look. Oversized and Goudy furniture will not treat you well for its largeness in size in small bedrooms. Bring minimal furniture and beds to your bedrooms in a lighter shade whites, light powder pink, light blues and any light shades which complements your room and your behavior at the same time.

    Minimal accents usually cut off oversized and clutter within the space and keep it simple and elegant at the same time. If we explore some interior magazines so they have enforced minimal furniture for the apartments, condos and other spaces. This kind of furniture occupies less space in a simplicity plays its role there.

    Paint your Bedroom Walls With Light Color

    Paint your Bedroom Walls With Light Color

    Light shades mean more brightness and that could only be possible if we know how to play with the colors. The balance in color selection is important and should be considered before planning to redesign your small bedroom. You can go for ‘monochromes’ which means light and dark shades of the same color.
    If you are living near the Seaside, white and light blues will surely complement your bedroom and makes it bright and spacious. Goudy and loud sharp color would not be a sensible approach if you want a peaceful environment in your space.

    Light Color Drapes/Curtains

    Light Color Drapes/Curtains

    Like walls like curtains. For instance, if you have painted your walls in white then you can choose light tones of blues, greens, and purples to suits best with your bedroom furniture. Simply spread the same color of bed sheet and bed cover with the flowers on your side tables.

    We must know the right balance of color before moving on because can affect a great deal on your bedroom’s entire appearance. Ceiling cover curtains will bring the more spacious look of your bedroom. Make sure curtains would be in light fabric rather in the thick fabric which will not only block the sunlight, however, it will make the room warm which is only best in winters.

    Add Extra Mirrors

    Add Extra Mirrors
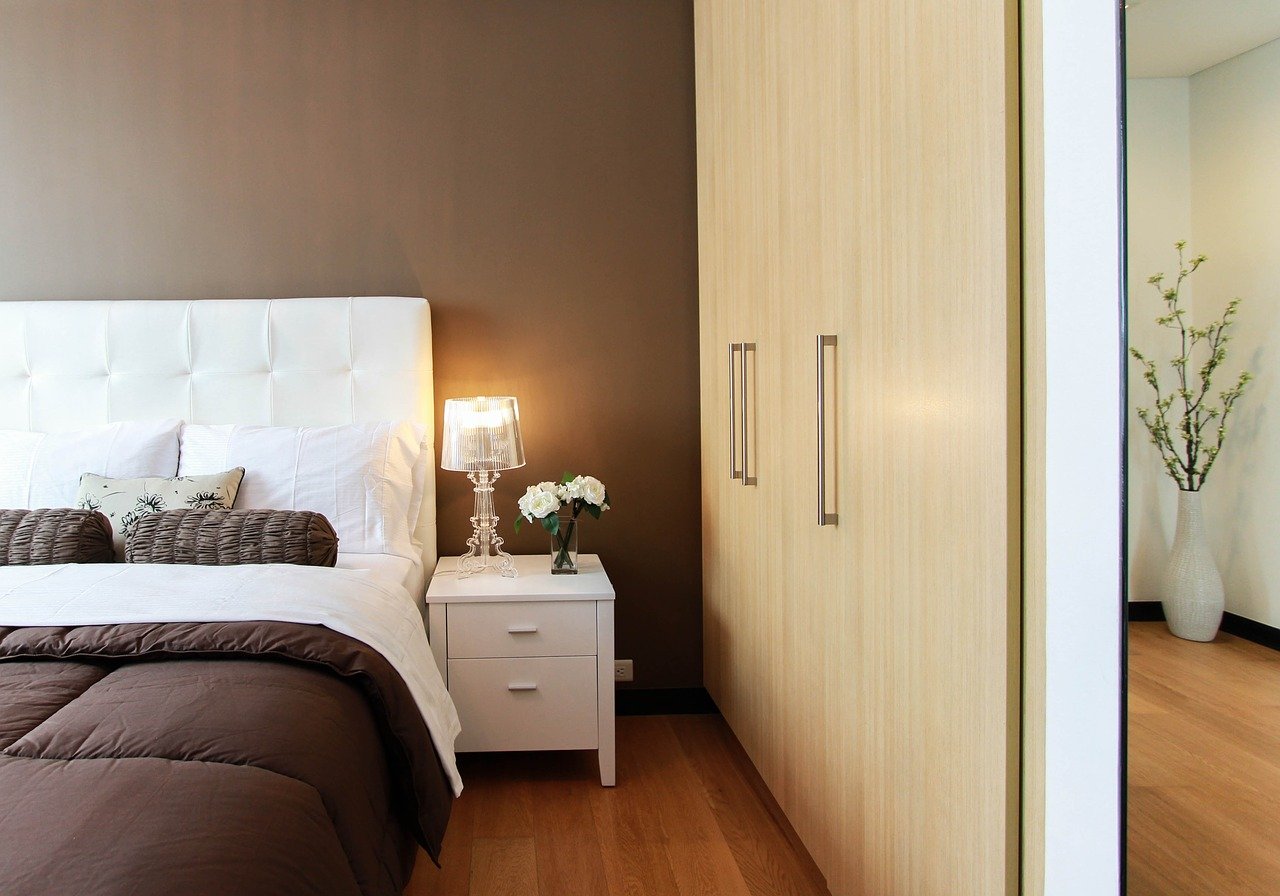
    Yes, we all love to see ourselves in every angle and it doesn’t mean that make your room little mirror shop. Choose at least two large size mirror and hang them beside of your bed above your night lamps. Mirrored wardrobe doors are an elegant and clever choice for small bedrooms. They enhance the feeling of space, especially when the color scheme is white, as mirrors reflect light colors like white. So, while the overall color scheme remains the same, the sense of space is enhanced.

    The Art of Matter

    The Art of Matter


    Hanging light shades of painting is one of the most effortless approaches to make a room look bigger yet brighter. The paintings in a room give your eye something to concentrate on past the physical border of the room and have the impact of extending space. “Try not to overburden the walls with heavy paintings, keep it light and simple.

    Instead, pick a couple of bigger art pieces and place them on various walls of your rooms whether over the headboard of your bed or above your lamps. Doing as such makes your eye move around the space and you see the design requirements of the room less. When hanging over your bed an interior expert Marvin suggests keeping the workmanship inside the width of the bed itself and hanging it around six to eight creeps over the headboard.

    Built-In Storage Furniture

    Built-In Storage Furniture

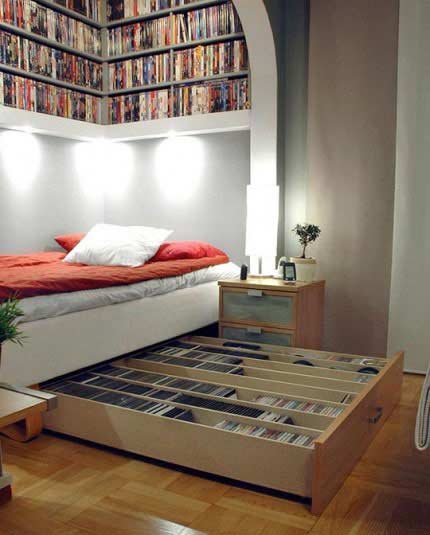
    It’s truly imperative to keep surfaces clear and have space to move around or for your eye to go. Furniture that has shrouded capacity is an extraordinary approach to keeping things flawless and clean. Stay away from substantial pieces like cowhide stockpiling seats that sit ideal on the floor and select a footed bed with capacity drawers. The built-in storage capacity usually consists of six dresser drawers, and on the grounds that the bed is on feet despite everything you get air coursing underneath, so it won’t outwardly overpower the room.
    These are some useful techniques which you can adopt to turn your small looking bedroom into bigger and brighter appearance. If you pick only one tip from the above, this will lead you to frustration and you will feel uncontented. Make sure you have enough money or pocket full while thinking to redesign your bedroom.

  • Wood Floor Cleaning- Cleaning wood floors with Vinegar

    Whenever someone considers getting hardwood floors in their home, the first thing that comes to their mind is their maintenance. Hardwood floors are very difficult to maintain, or so everyone believes. This is however not entirely true. Hardwood floors are actually much easier to maintain than what everyone thinks. But if the maintenance is not done right, then it can be an issue and cause the wood floors to deteriorate in quality. Cleaning wood floors with vinegar is one of the most effective and easiest ways.

    Why use Vinegar for Cleaning Wood Floors?

    There are a number of ways to maintain the shine on the wood floors but special cleaners might cost a bit more than you are willing to spend on a floor cleaner, which is justified obviously. So, there is a perfect substitute, which costs a lot less and is available in almost every house. What might that be, you ask? Well, what other than vinegar? Vinegar is a great disinfectant and antibacterial. It has a pH of 2.0, and the high acidity helps to break down dirt, rust and other stubborn marks that cannot be cleaned with any other cleaner. It is biodegradable and contains no harmful chemicals that could affect anyone adversely and is also safe for the environment.

    Cleaning Wood Floors with Vinegar

    Cleaning Wood Floors with Vinegar

    The key to using vinegar for cleaning wood floors is to use the right proportion. Since vinegar is quite acidic, it has to be diluted with water. But since you are using the solution to clean wood floors, you need to take care of not using too much water since that will ruin the wood floors and make the wood swell. In order to easily clean wood floors, follow these few steps and it will be as good as new.
    1. Sweep the floor with a dry broom in order to get rid of the excess dirt.

    2. Mix one gallon of water with one cup of vinegar (take extra care of being very precise with the ratio).

    3. Dip the mop in the solution and wring until it is only damp and not completely wet.

    4. Mop the floor with the solution and rinse if mop gets dirty or use a new solution if the current solution is getting dirty.

    Once you are done with the process, you can arrange the room to the way it was before since the floor needs no extra steps to clean the vinegar and water solution from it as it is a non-toxic solution. You will notice a gorgeous shine to your floor once you are done cleaning it.

    Benefits of Cleaning Wood Floors with Vinegar

    Benefits of Cleaning Wood Floors with Vinegar

    The most important and obvious reason is that it is very cheap and even easier to find since it is a staple in almost every household. Many household cleaning items have very harsh and toxic chemicals that may do the job at the moment but can be incredibly harmful to your family (especially if you have children) and for the environment as well. Some chemicals emit harmful fumes, which, if inhaled, can be quite dangerous.

    Moreover, using the basic vinegar and water solution is easier than going through the hassle of finding a floor cleaner, which ends up not even being effective. Vinegar is a tried and tested item to help clean floors. It removes dirt very effectively and gives a shiny finish to the floors. Vinegar kills bacteria and mold, and an added benefit is that it has an indefinite shelf life.

    Disadvantages of Cleaning Wood Floors with Vinegar

    Even though it may be a cheaper way to clean your floors, it may also be damaging them. Using the solution is some tricky business. You have to be extra careful of the ratio you are using because if not, it could go from a clean, shiny wood floor to a ruined, rippled wood floor. Most people do just that. They use more water than necessary, which ruins the wood floors. Some people mop the floor with too much water soaked in the mop, which again causes damage to the wood.

    The shine of the wood floor is basically a layer of chemical finish used on the wood and since vinegar is acidic, it can dissolve or remove that chemical from the wood surface, which, in turn, could make the floor dull or cause discoloration. So if you want to prevent the risk, you can use a recommended cleaner by the wood floor installing company.

    Other Ways to Clean Wood Floors

    Other Ways to Clean Wood Floors

    Use a broom to regularly sweep the floors to prevent any dirt accumulating in the first place. If you like how vinegar cleans your floors, then instead of mopping and taking the risk of using too much water, you can store the solution in a spray bottle. Use that spray bottle to spray a very thin layer of the mixture on the wood and clean with a cloth.

    Another alternative is that if you want to avoid using the mixture of water and vinegar altogether, you can make use of microfiber cloths; they are not rough so they will not damage your floors. They have hundreds of tiny fibers, which are very effective at cleaning dirt and removing particles from the surface. Most importantly, they are hypoallergenic and will cause no reaction of any sort, so it is even safer than vinegar since vinegar can have a strong smell and it may cause irritation among infants.
    The only reason because of which vinegar could harm your wood floors is if you use the wrong proportion of water and vinegar in the mixture. So all you need is to measure the mentioned ratio and you will be good to go. However, if you are still unsure of how it will work. Just do a patch test on the floor, that is, use the mixture on a small area of the wooden floor. You could also, for comparison purposes, use a proper wood floor cleaner on another area and check, which works better. That way you can choose easily which method you would prefer to use.